
Pekka Buttler, March 2026
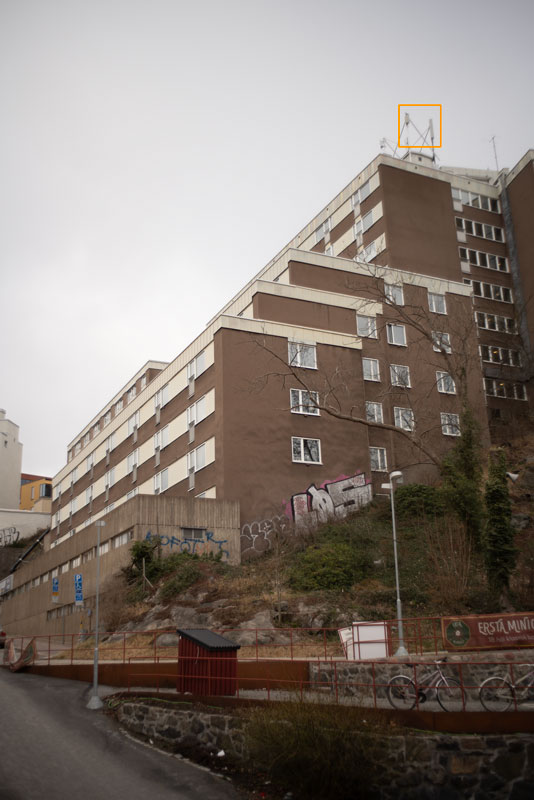
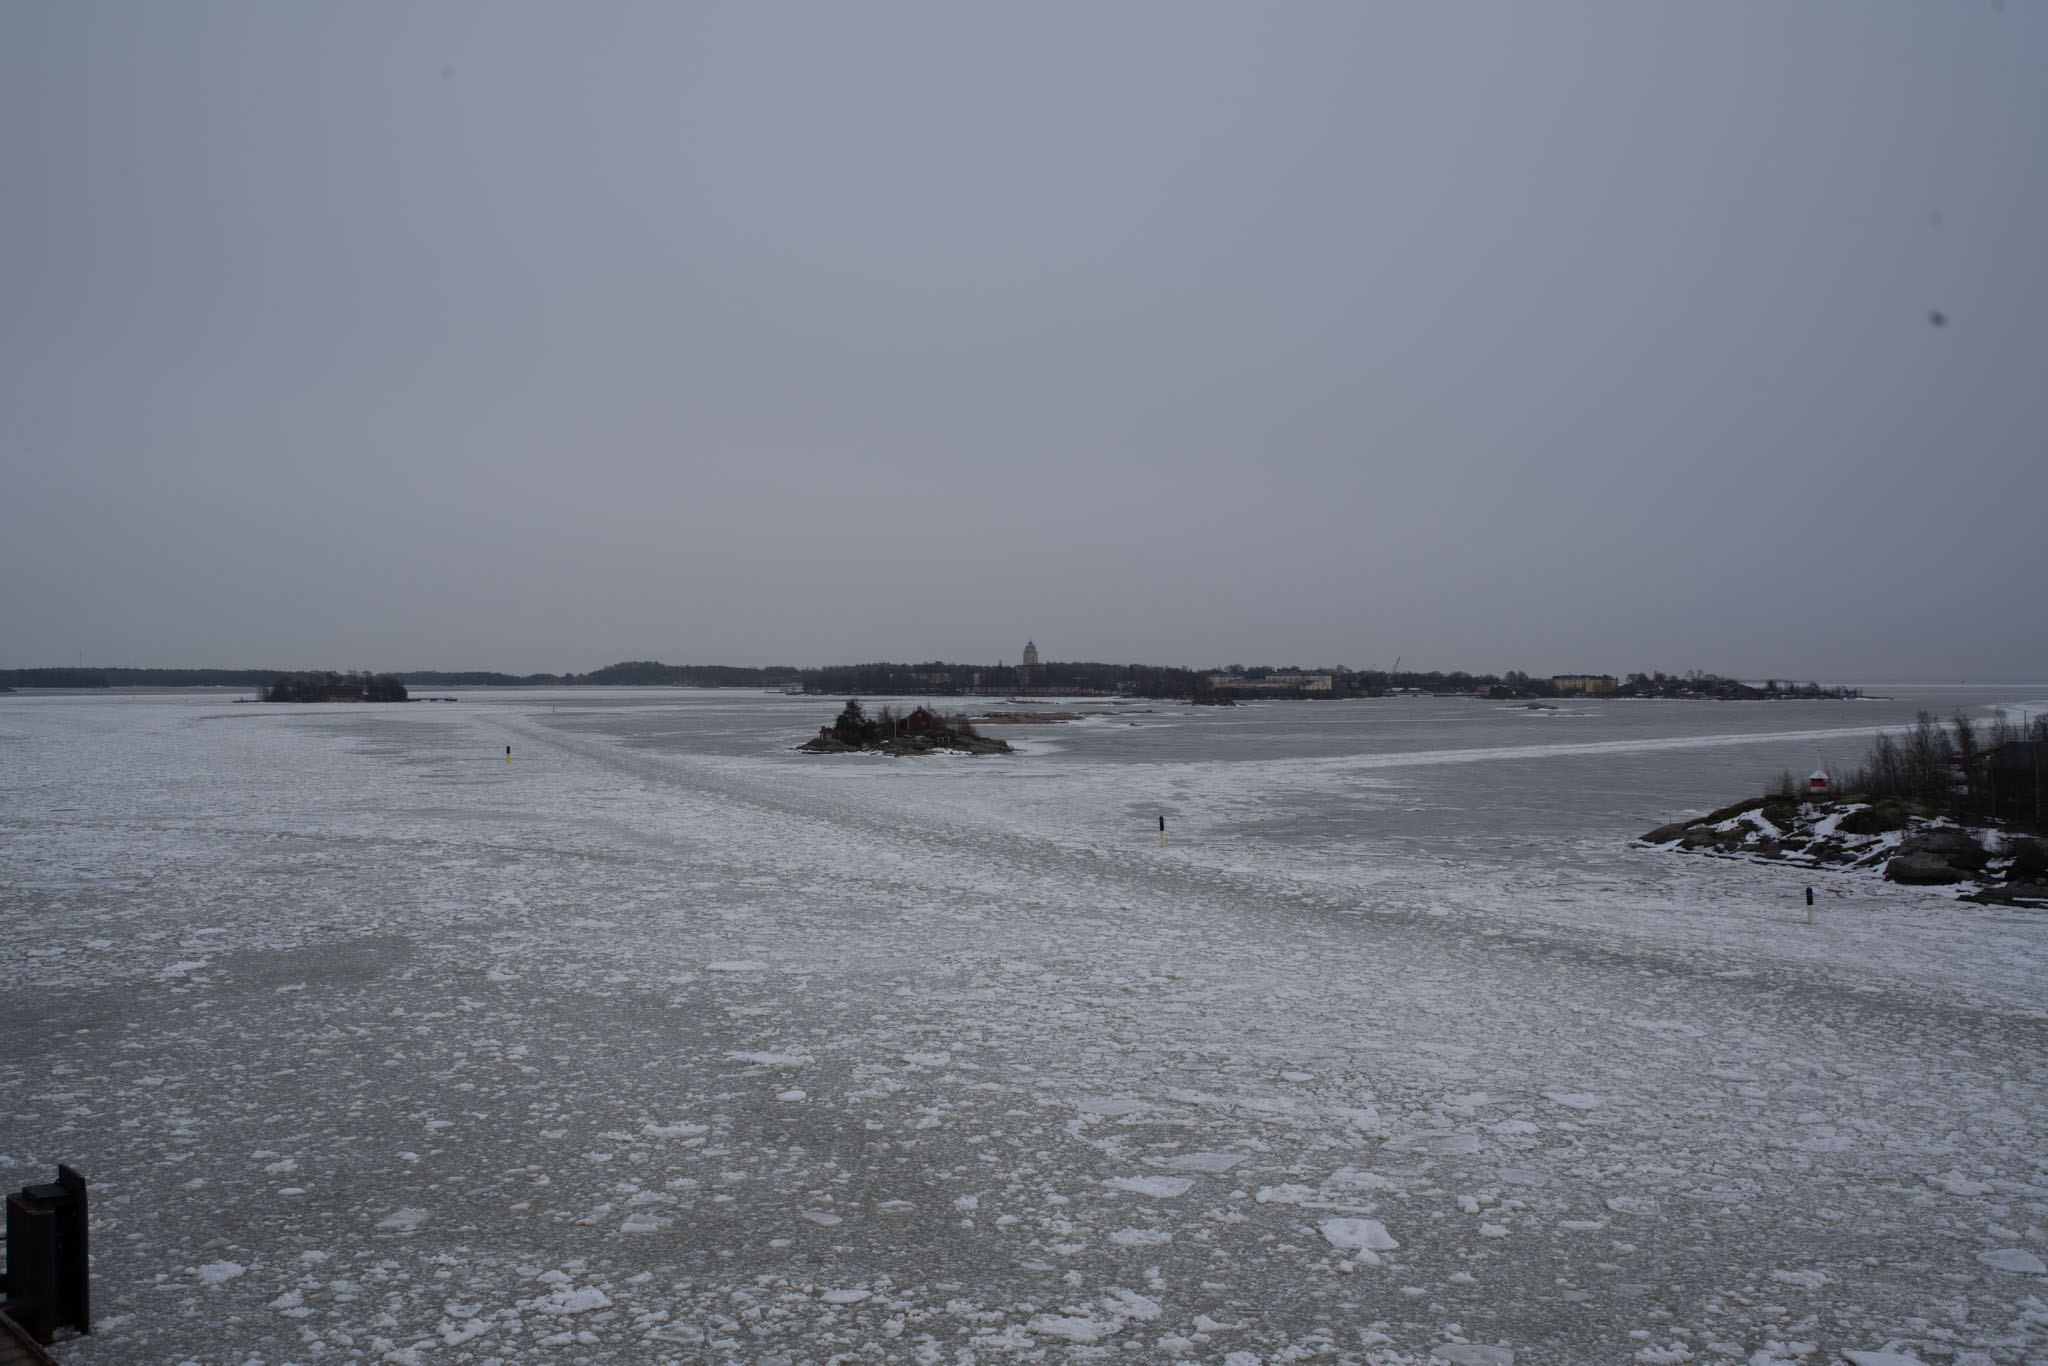
(Featured image: A summer paradise waiting for summer
Konica Hexanon AR 35 mm f/2.8 @ f/8, 1/125 s and ISO 100 )
Introduction
First off, you can also access the lens’ data sheet.
The Konica 6 elements in 5 groups 35 mm f/2.8 design is one of those where it seems that the manufacturer got it so right from the beginning, that two decades went by without the manufacturer needing to change anything substantial about the optical recipe.
Konica introduced the 35 mm f/2.8 lens together with its early Konica F system in 1960. Due to the characteristics of the Konica F system, this meant that often the same lens would be given two different housings – one with aperture automation and another with a preset aperture.
When the Konica F system was replaced by the AR system in 1965, those same lenses were initially just given a new mount as well as a minor cosmetic upgrade. From 1965 to 69, Konica offered the same optical recipe in two housings: one with aperture automation and a minimum aperture of f/16, another in a preset aperture housing, offering a minimum aperture of f/22.
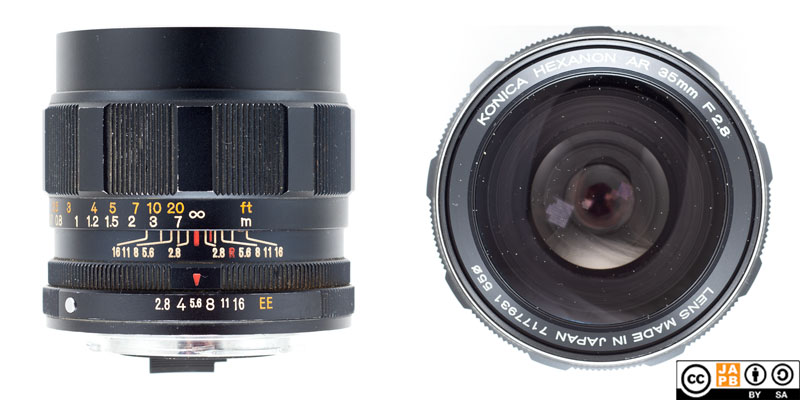
After 1969, Konica discontinued the preset aperture version, and in 1971 Konica introduced a faster 35 mm lens (the Konica Hexanon AR 35 mm f/2) that automatically became the go-to 35 mm for any ambitious Konica shooter. The venerable automatic version of the 35/2.8 remained fundamentally unchanged in the lineup. During that time, the lens progressed through the cosmetic evolution traditional for Konica AR lenses (from glossy black with silver ring to matte black with silver ring, to all-black matte [pictured lens], to all-black matte with rubber focus ring).
in 1981 Konica replaced the old, f/16 version of the 35/2.8 with a more modern, more compact version of the lens. According to sources, the production of this later version was in its entirety subcontracted to Konica’s long-time partner Tokina and it is unclear whether the update was based on hoping for a better or more economical lens (or both).
Hence, the lens that we’re dealing with here is fundamentally a 1960s wide-angle design that has thereafter only been upgraded cosmetically and in terms of coatings. Let’s see how it performs.
Ergonomics
Konica AR lenses in general
The Konica Hexanon AR1 lenses use the Konica AR lens mount. The Konica AR mount is a relatively typical male bayonet mount that is different in two respects2, neither of which impact adapting these lenses to mirrorless cameras. The availability of Konica AR adapters is good, and adapters can be had in all price brackets (from premium to medium to noname adapters). Using Konica AR lenses on your mirrorless camera also necessitates no setting rings or aperture engagement switches:
– Insert your Konica AR lens into your Konica AR adapter.
– Twist and listen for a click
– Go out and shoot.
My copy of the Konica AR 35/2.8
My copy (pictured) of the Konica Hexanon AR 35 mm f/2.8 is of the variety that has already lost the silver/aluminium ring that characterises many earlier Konica lenses but has not yet adopted the rubberised focus ring typical of later Konica lenses. Using the typology developed by Jean-Jacques Granas3, this would be a C-type lens.
As usual, there are those who like and appreciate rubber focus rings, and then there are those who don’t. In terms of ergonomics, I find the metal focus ring typical of C-type lenses to be suitably grippy. The focus ring action of Konica lenses almost invariably requires a wee bit more force than many other lenses. Even when using fleece gloves I find the metal focus rings to do their job very well.
My main complaint with the otherwise very fine Konica AR lenses is always the aperture ring, as it has two characteristics that I have no love for: First, the lenses have an Auto exposure mode that is always just one (admittedly longish) step beyond minimum aperture. Hence you can enter this auto exposure mode (coded as EE on older and AE on newer lenses) accidentally, but you need to press a button on the aperture ring to exit the auto mode. And unless you know your Konica lenses intimately, you may need to remove the camera from your eye to find that button.
Secondly, the click stops of Konica lenses are often on the noisy, even raspy side. Konica lenses originally always offered half-stop clicks (and this lens is among those) before moving to offering only full-stop clicks. While there are some differences in the raggedness of those clicks from one Konica lens to another, this is one of those lenses where – at the risk of going over into mild exaggeration – moving the aperture ring feels like something you’re doing something you’re not supposed to do. As a result, you often need a fair bit of force to get the aperture ring moving, and once you get it to move, you have to pay attention and count the number of clicks (because very often you get more clicks than you wanted).
Importantly, while these are features that work agains the modern photographer who is using his Konica lenses adapted to one or other mirrorless system, on the original Konica Auto-Reflex system you only used the aperture ring when you wanted to manually adjust your exposure (and with the majority of Konica users that was: rarely).
Please note though that while I like to make unappreciative noises about the aperture rings on Konica Hexanon lenses, I have never been annoyed enough by them to leave a Konica lens at home. Also, I have noticed that with time I have learned to deal with both limitations as only mild annoyances.
Konica was an early believer in filter thread standardisation and with the exceptions of some extreme wide-angle lenses, exceptionally bright lenses, bright tele lenses and some zoom lenses, 55 mm is the Konica filter thread diameter. This helps, because one can pack a wide range of Konica primes in their backpack and make do with only one set of filters.
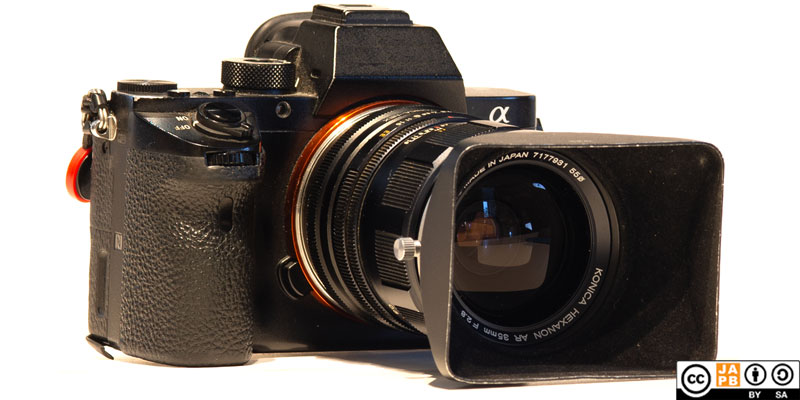
Konica also offered a range of very nice rectangular clamp-on lens hoods for their wide-angle (24–28 and 35 mm) lenses that are both impressive to look at and actually work very well.
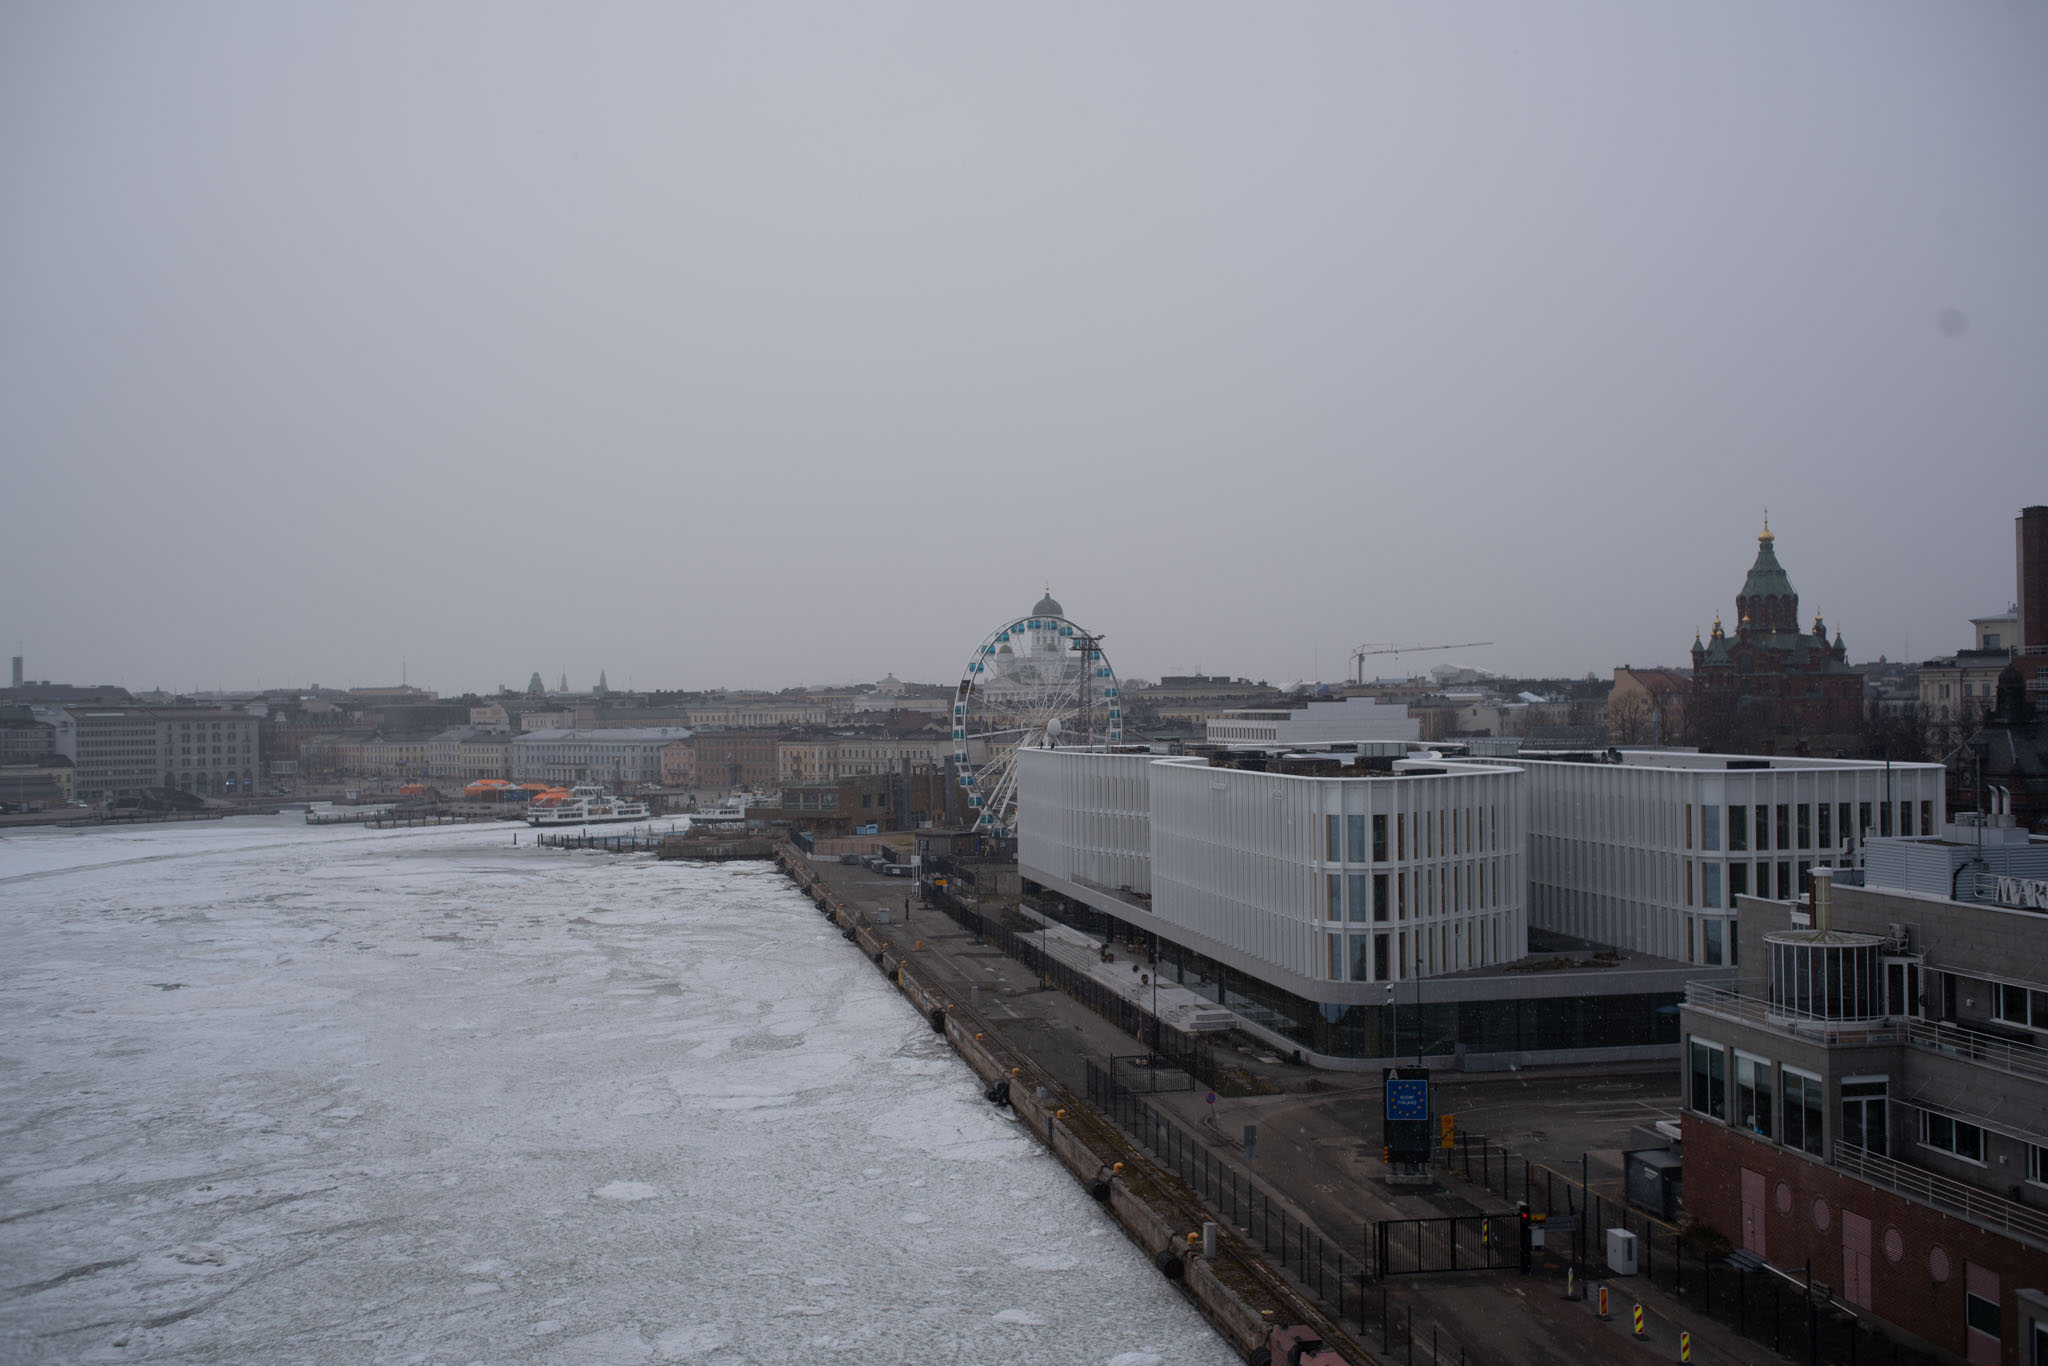
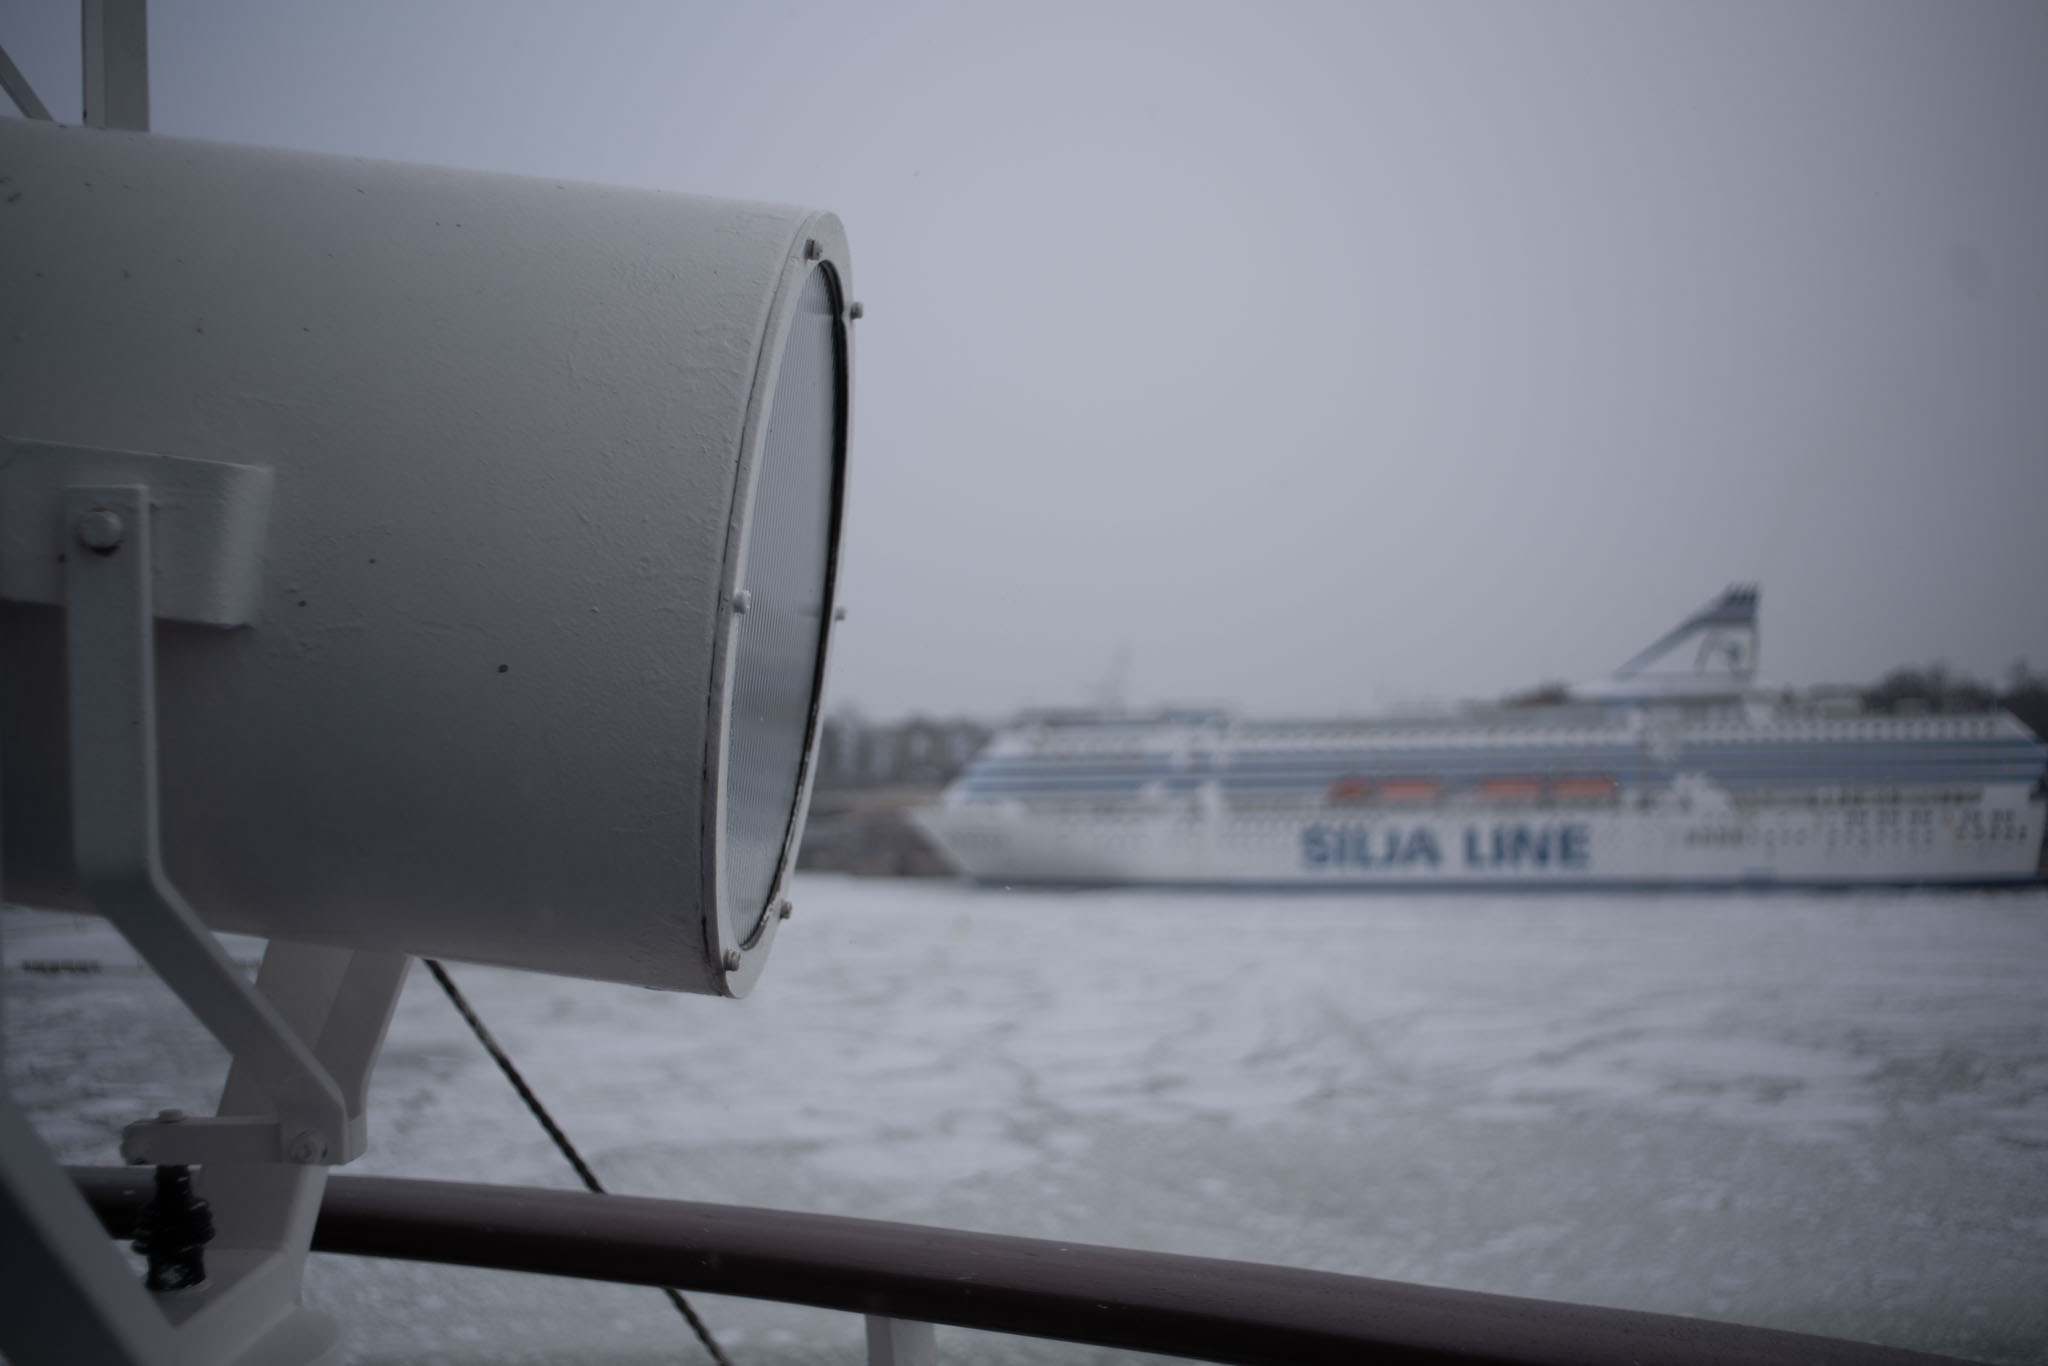
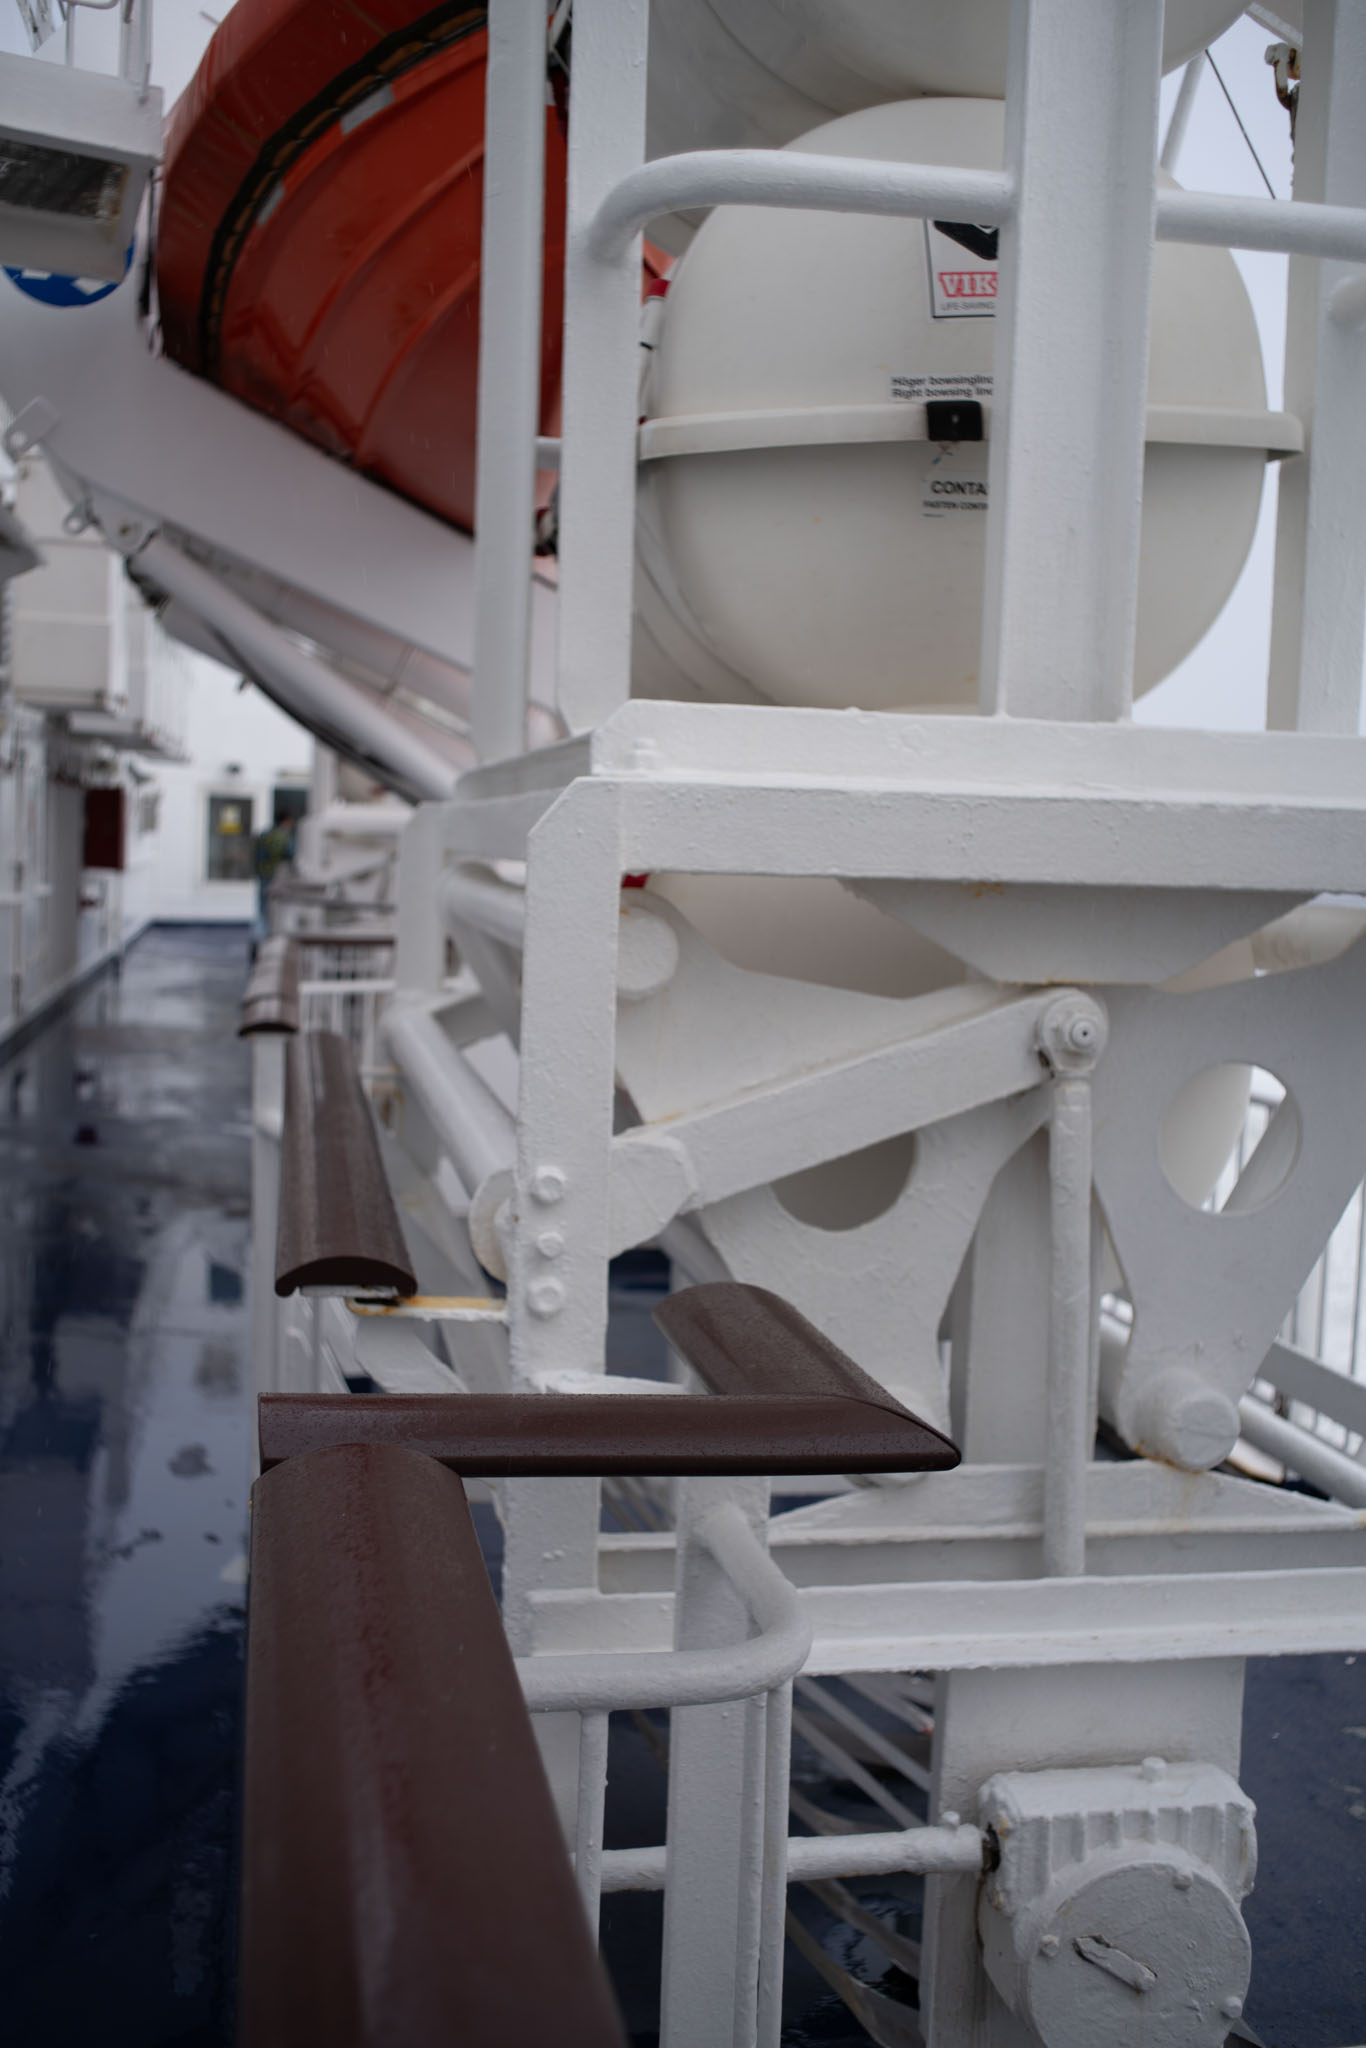
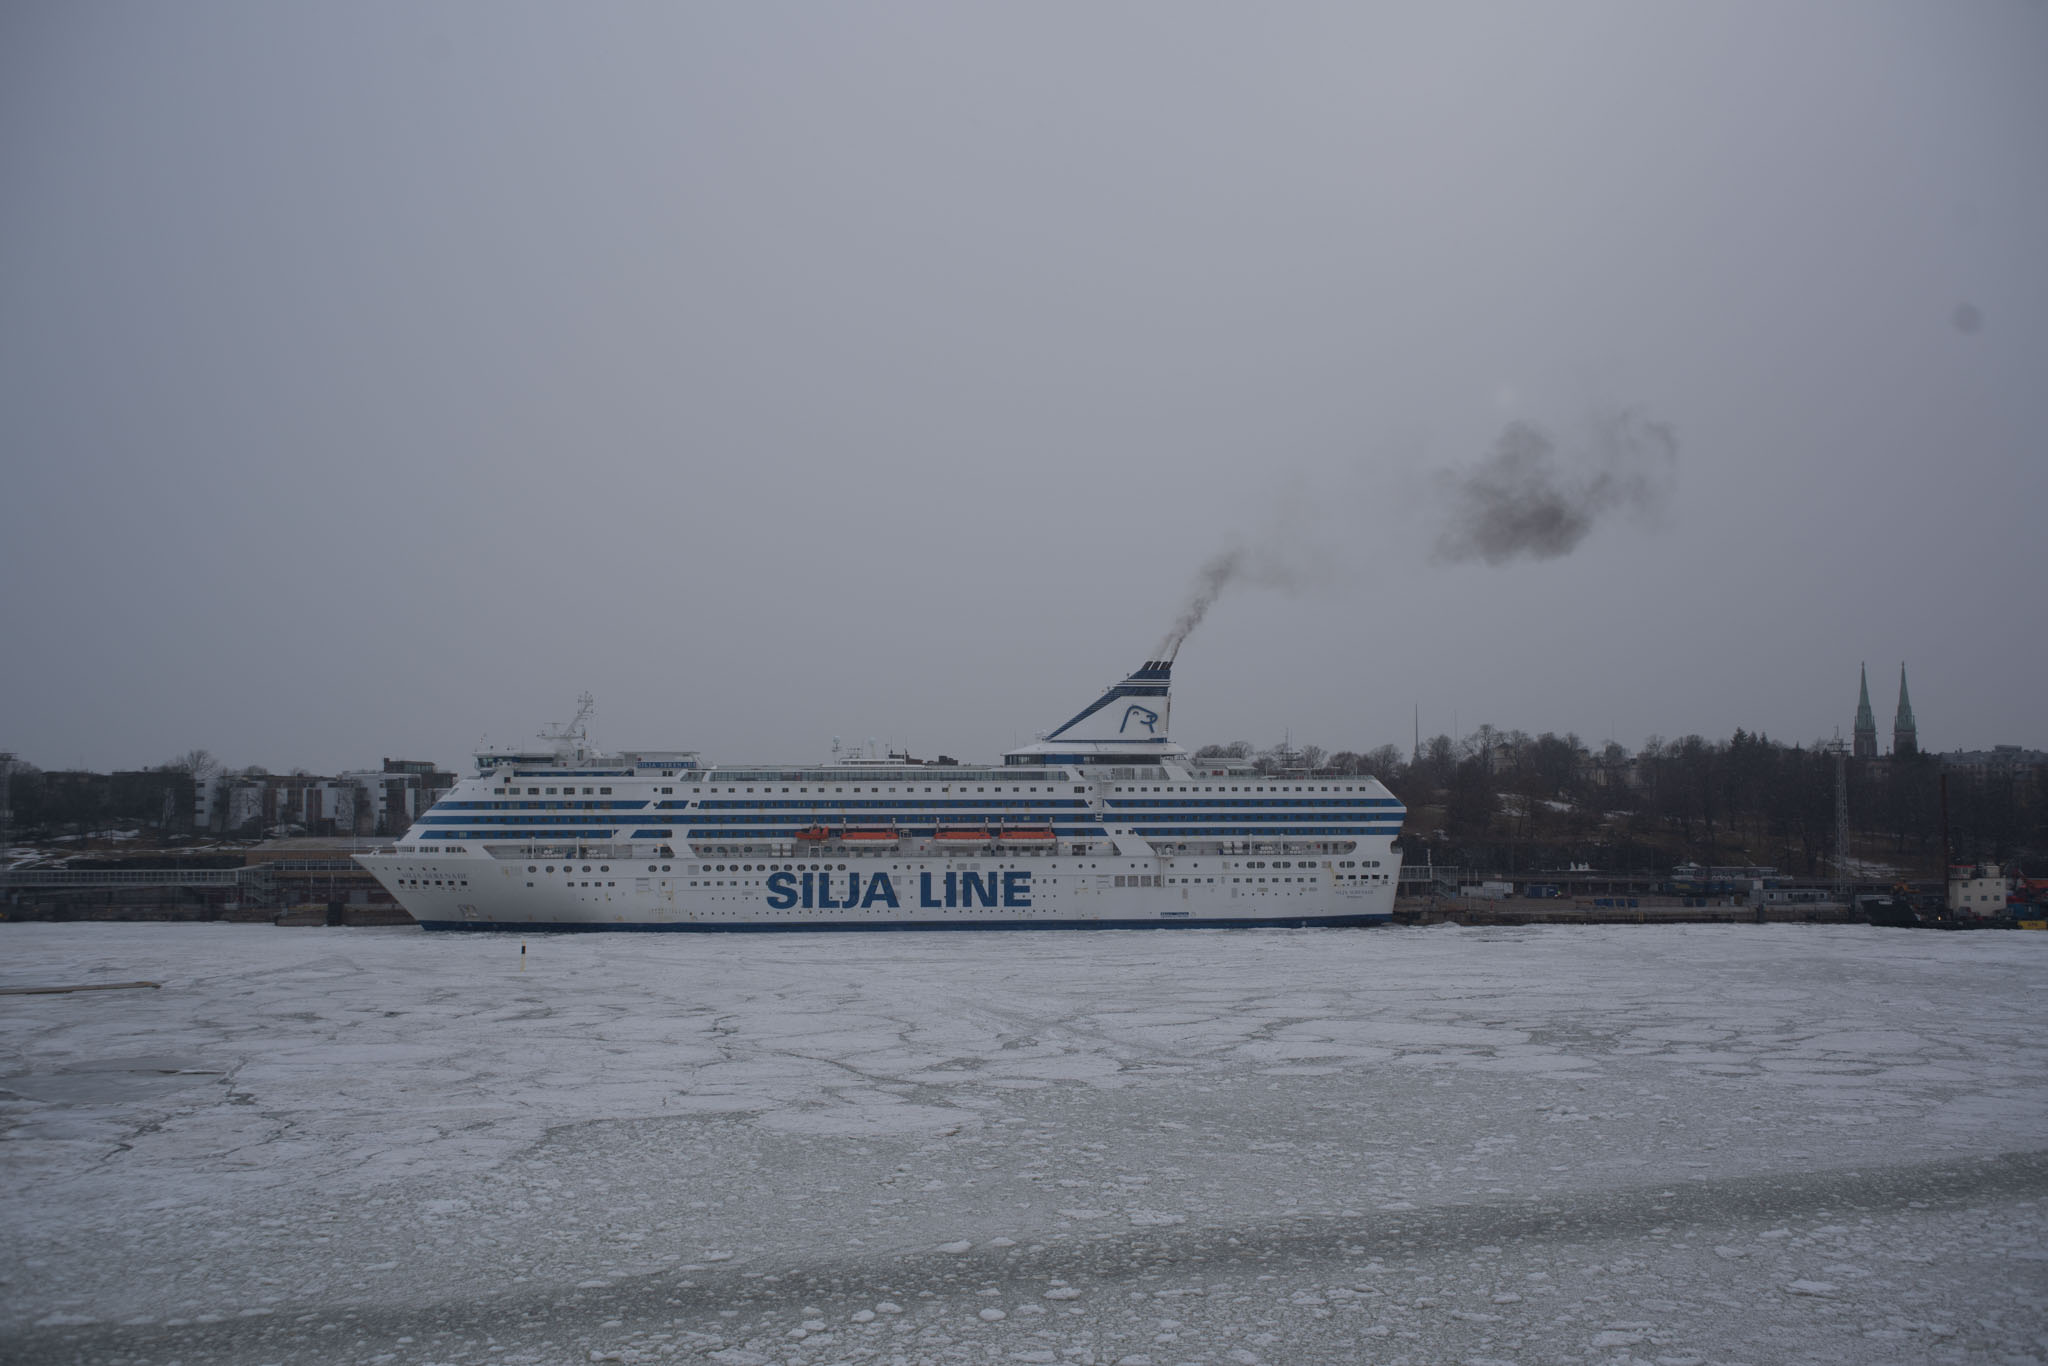
Setting the scene:
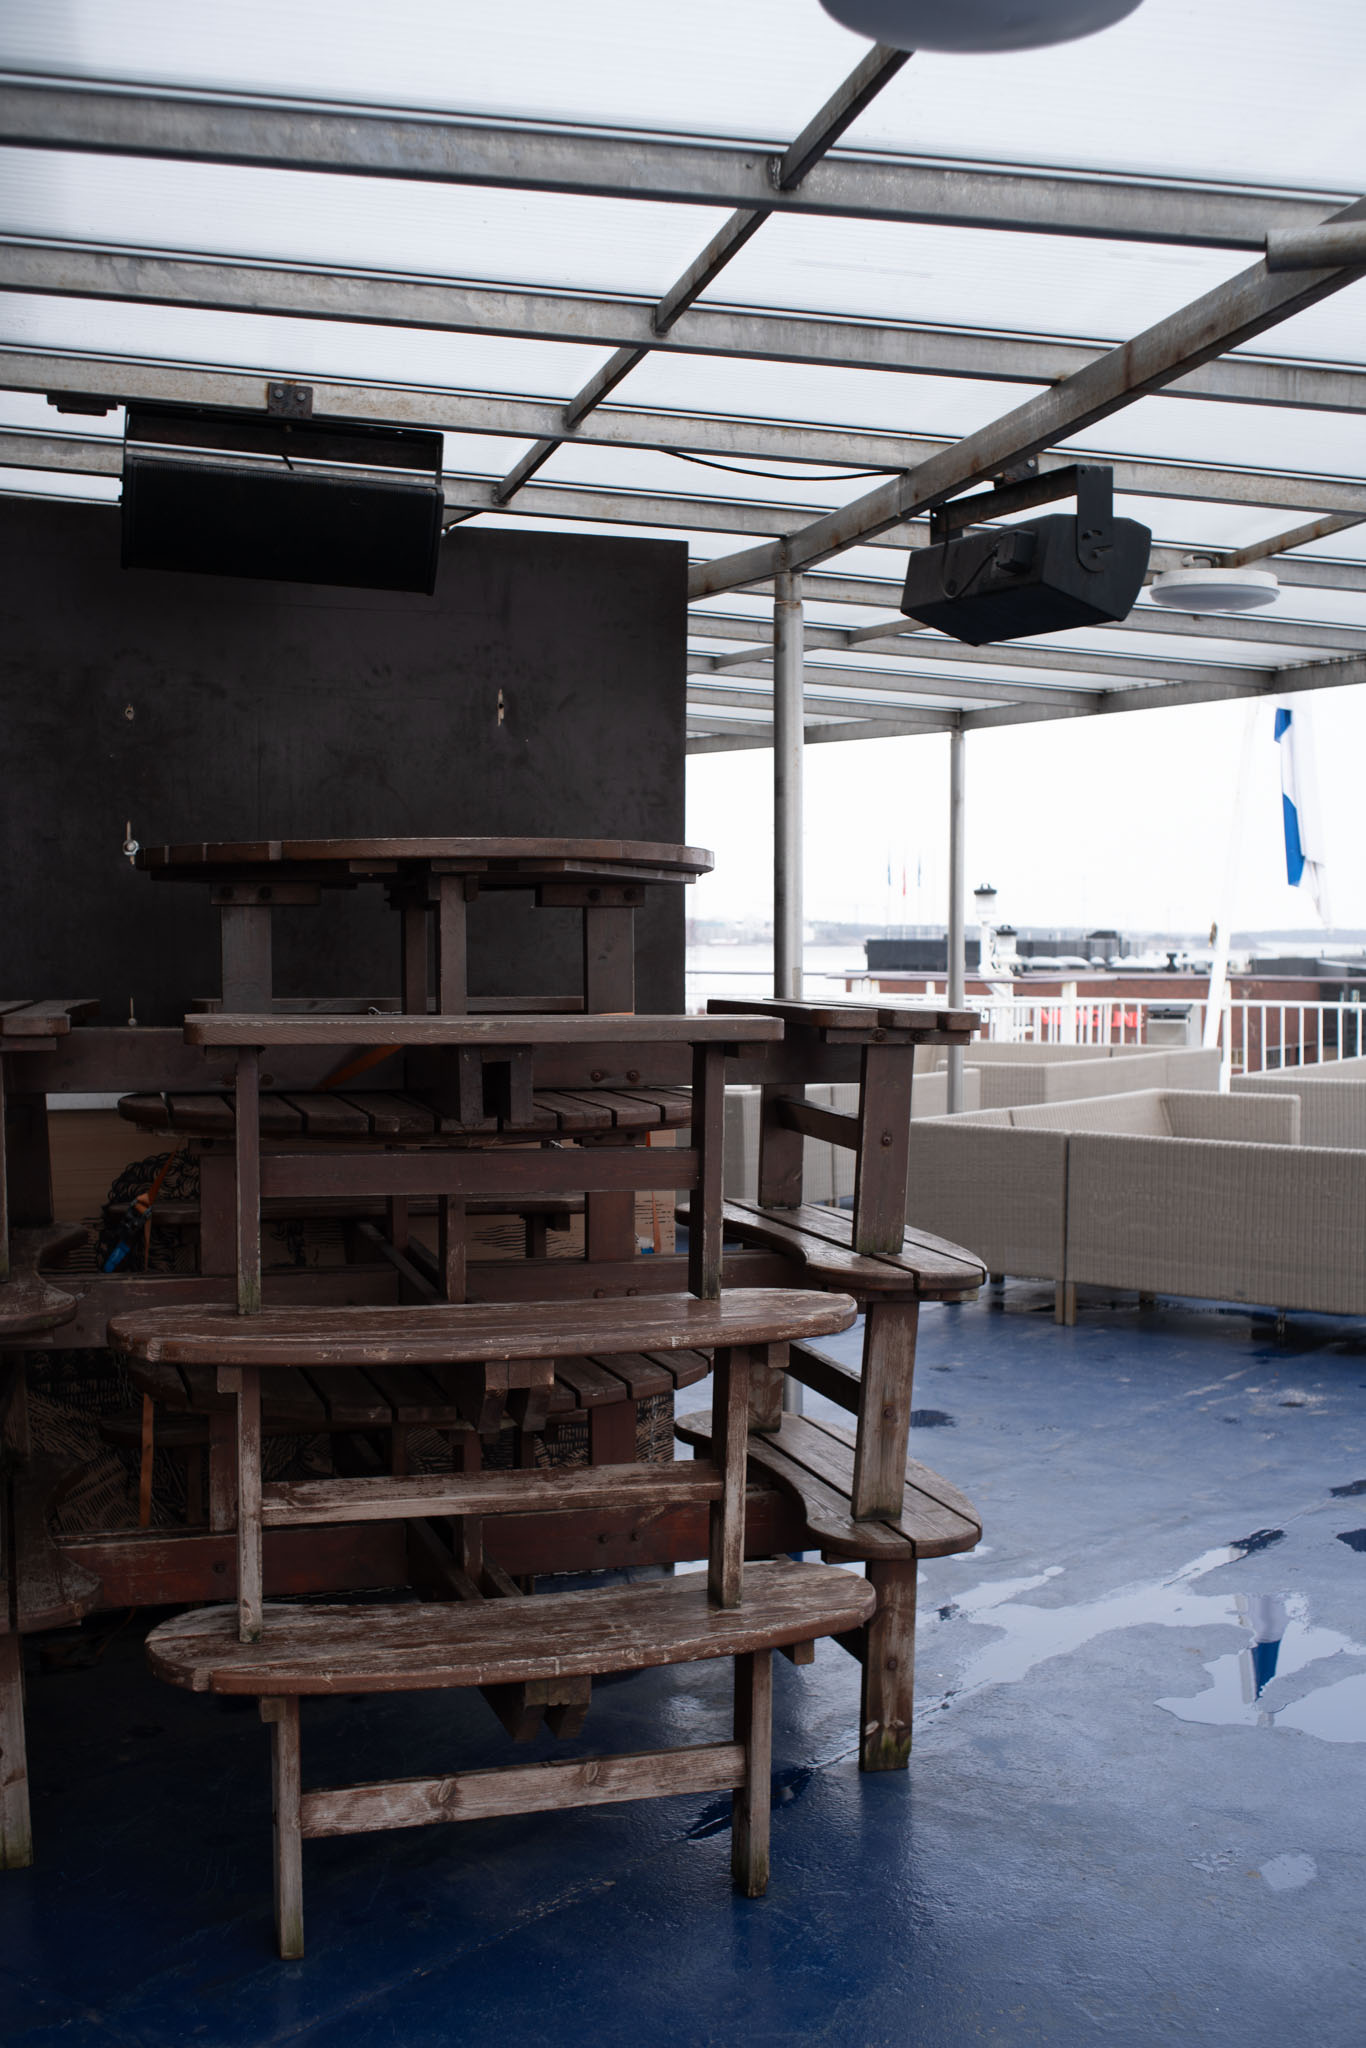
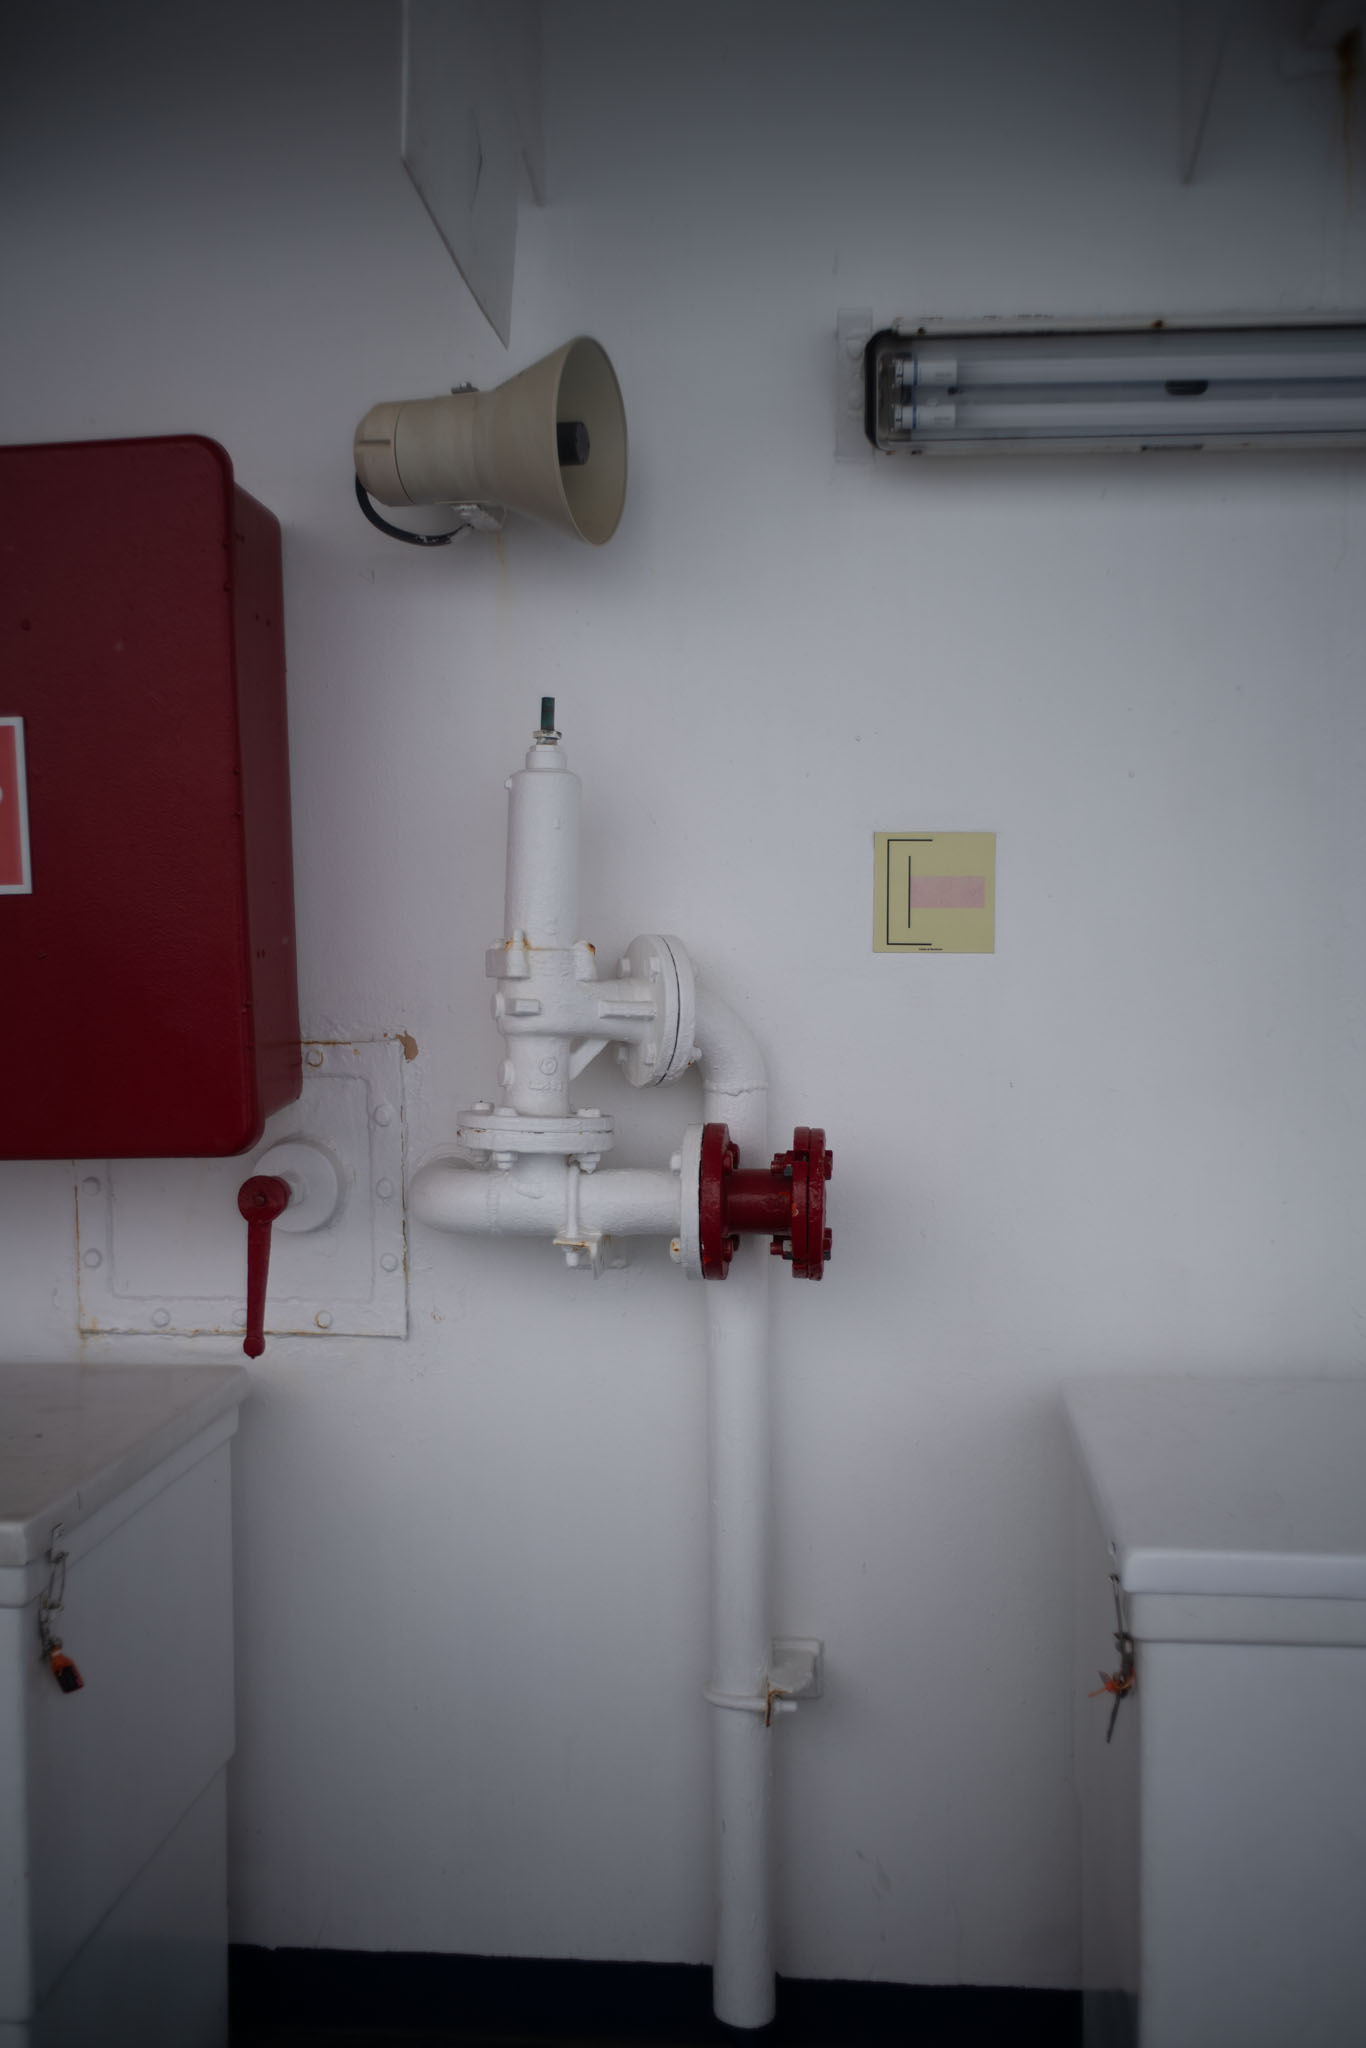
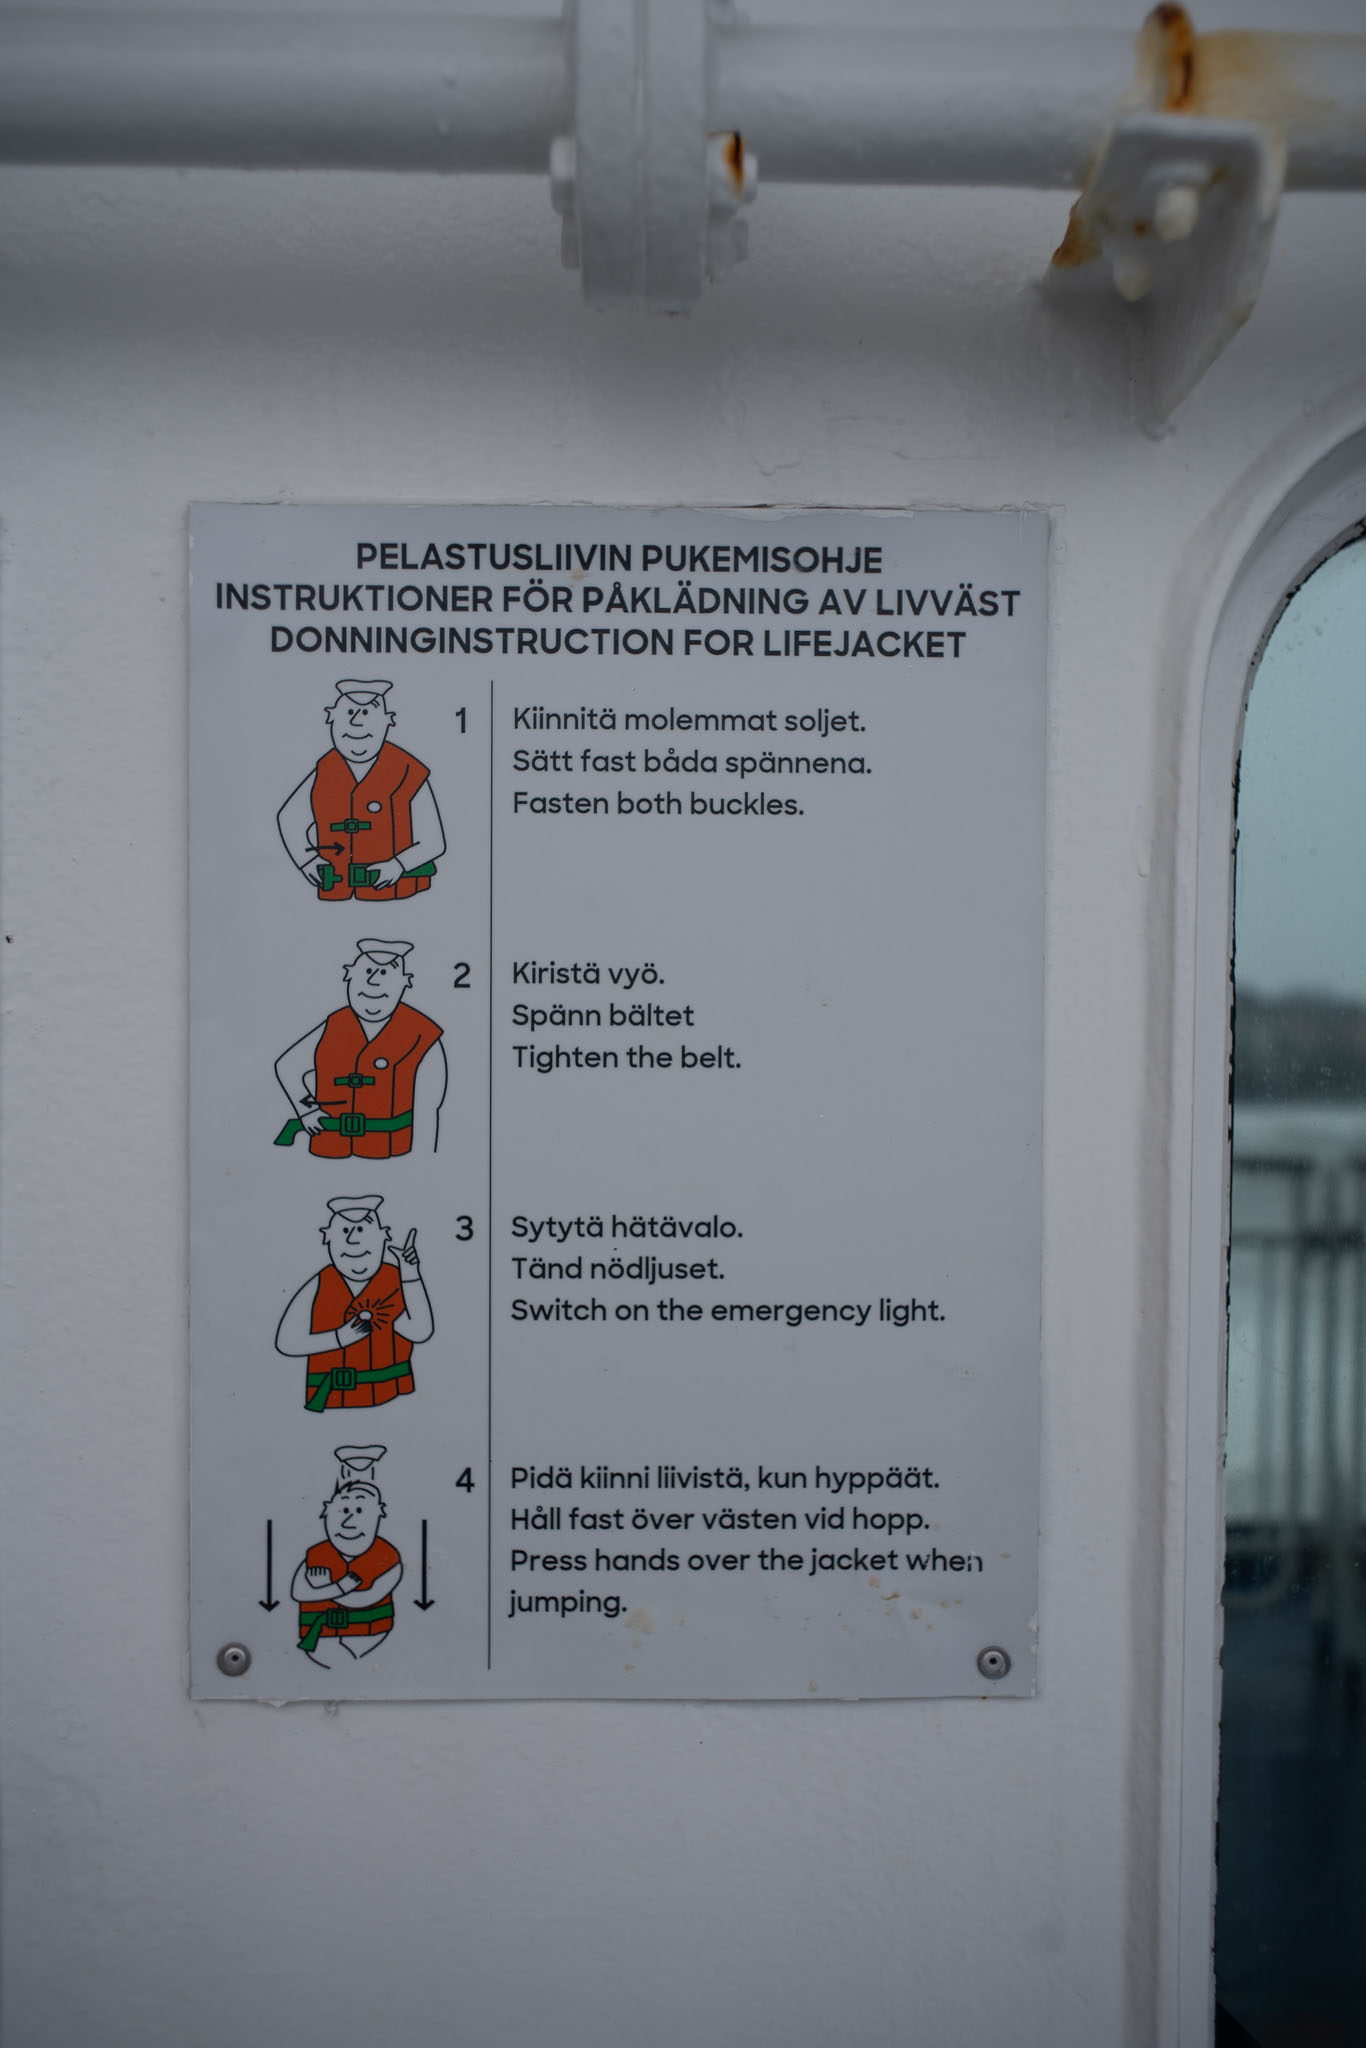
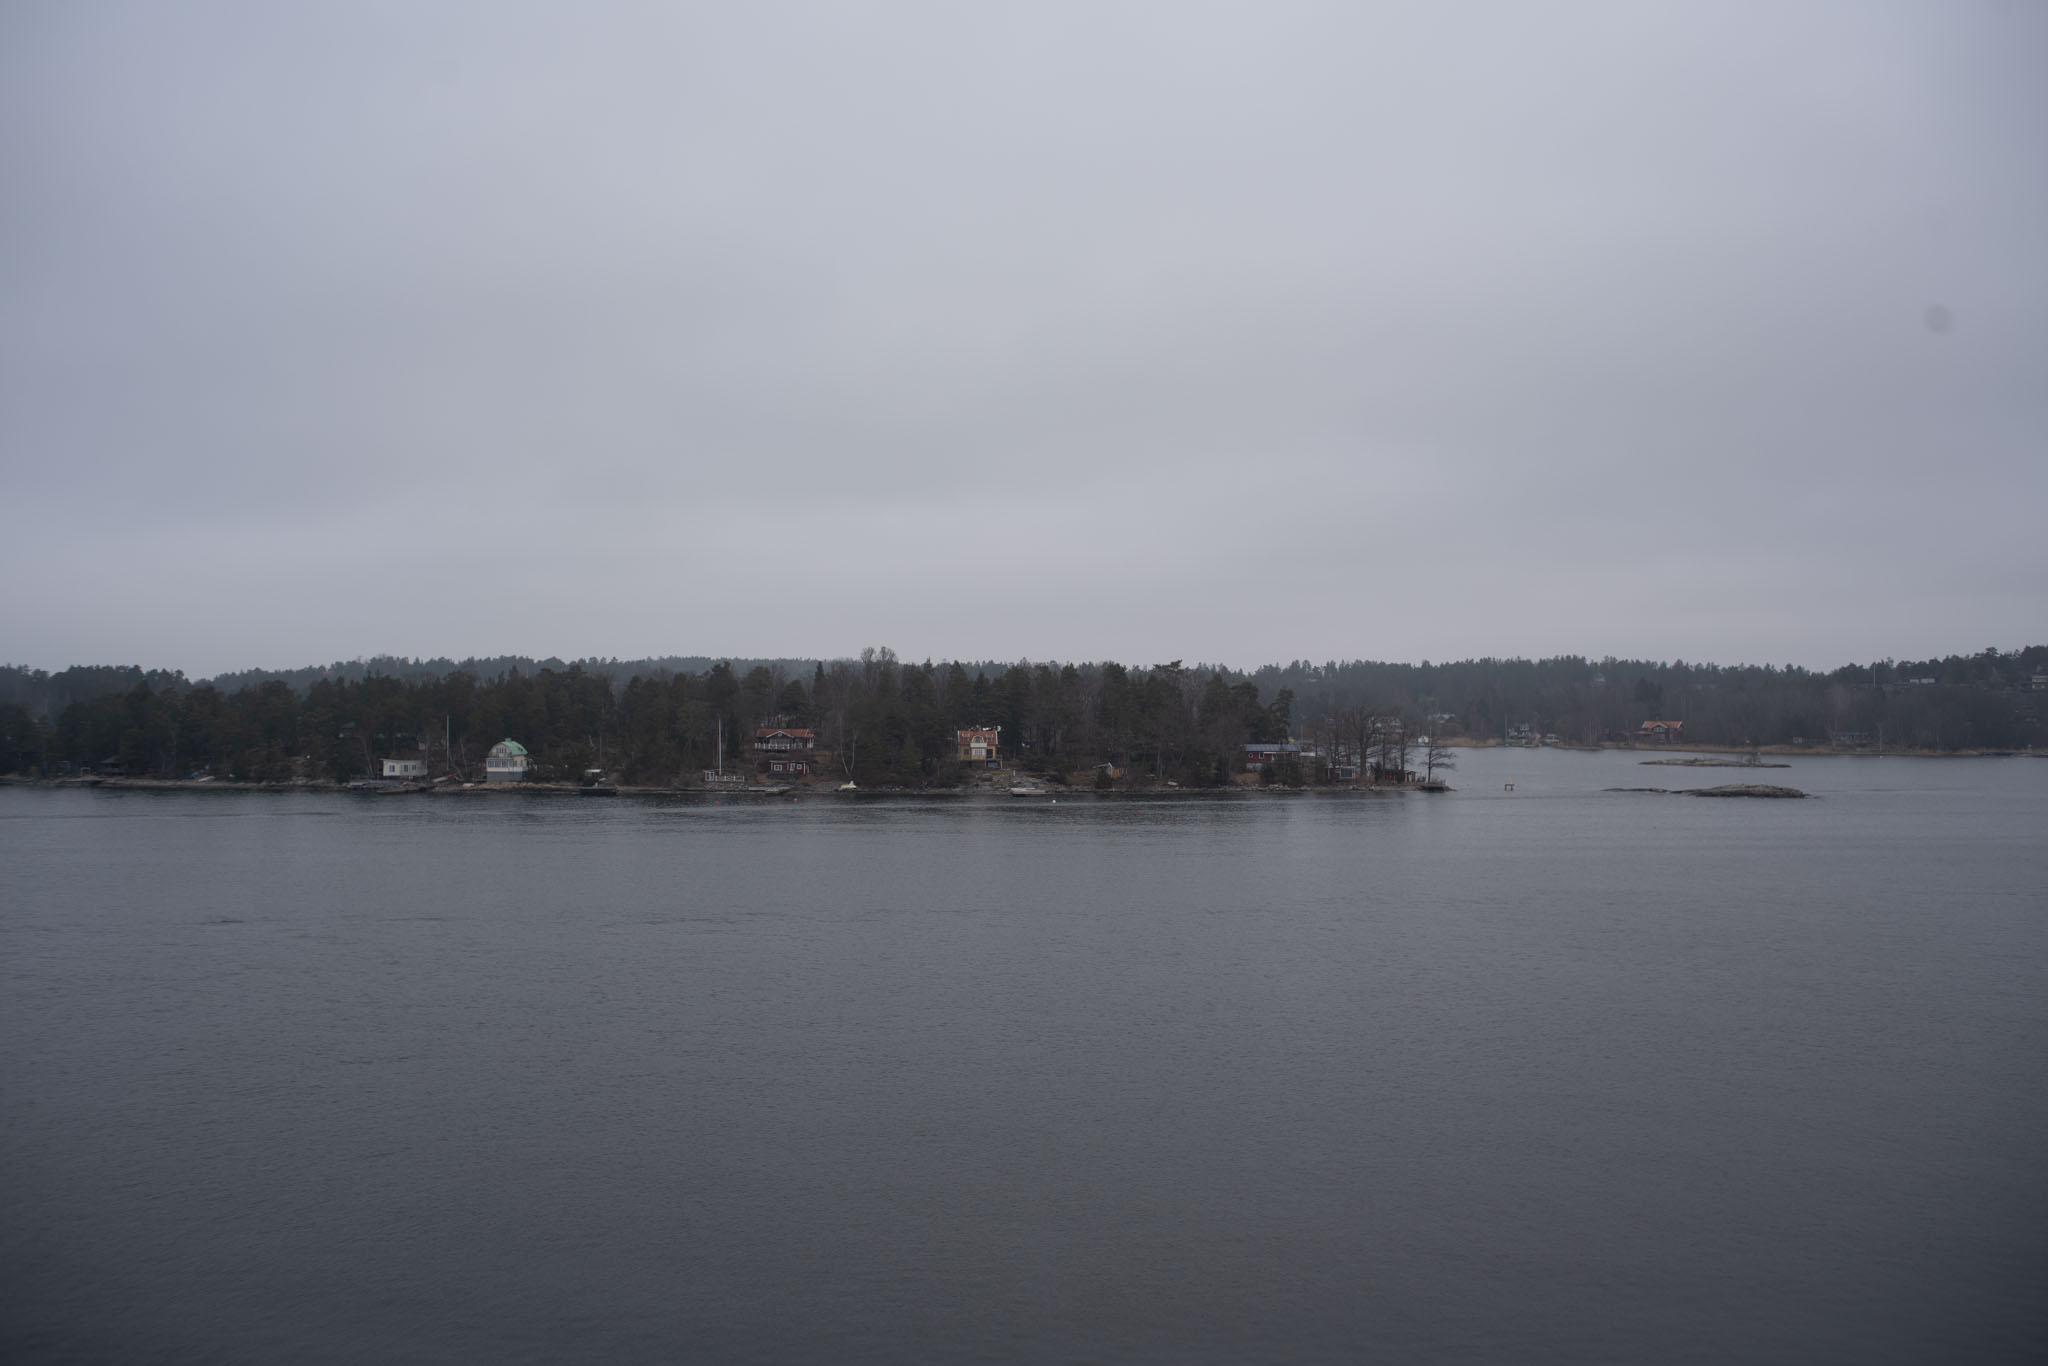
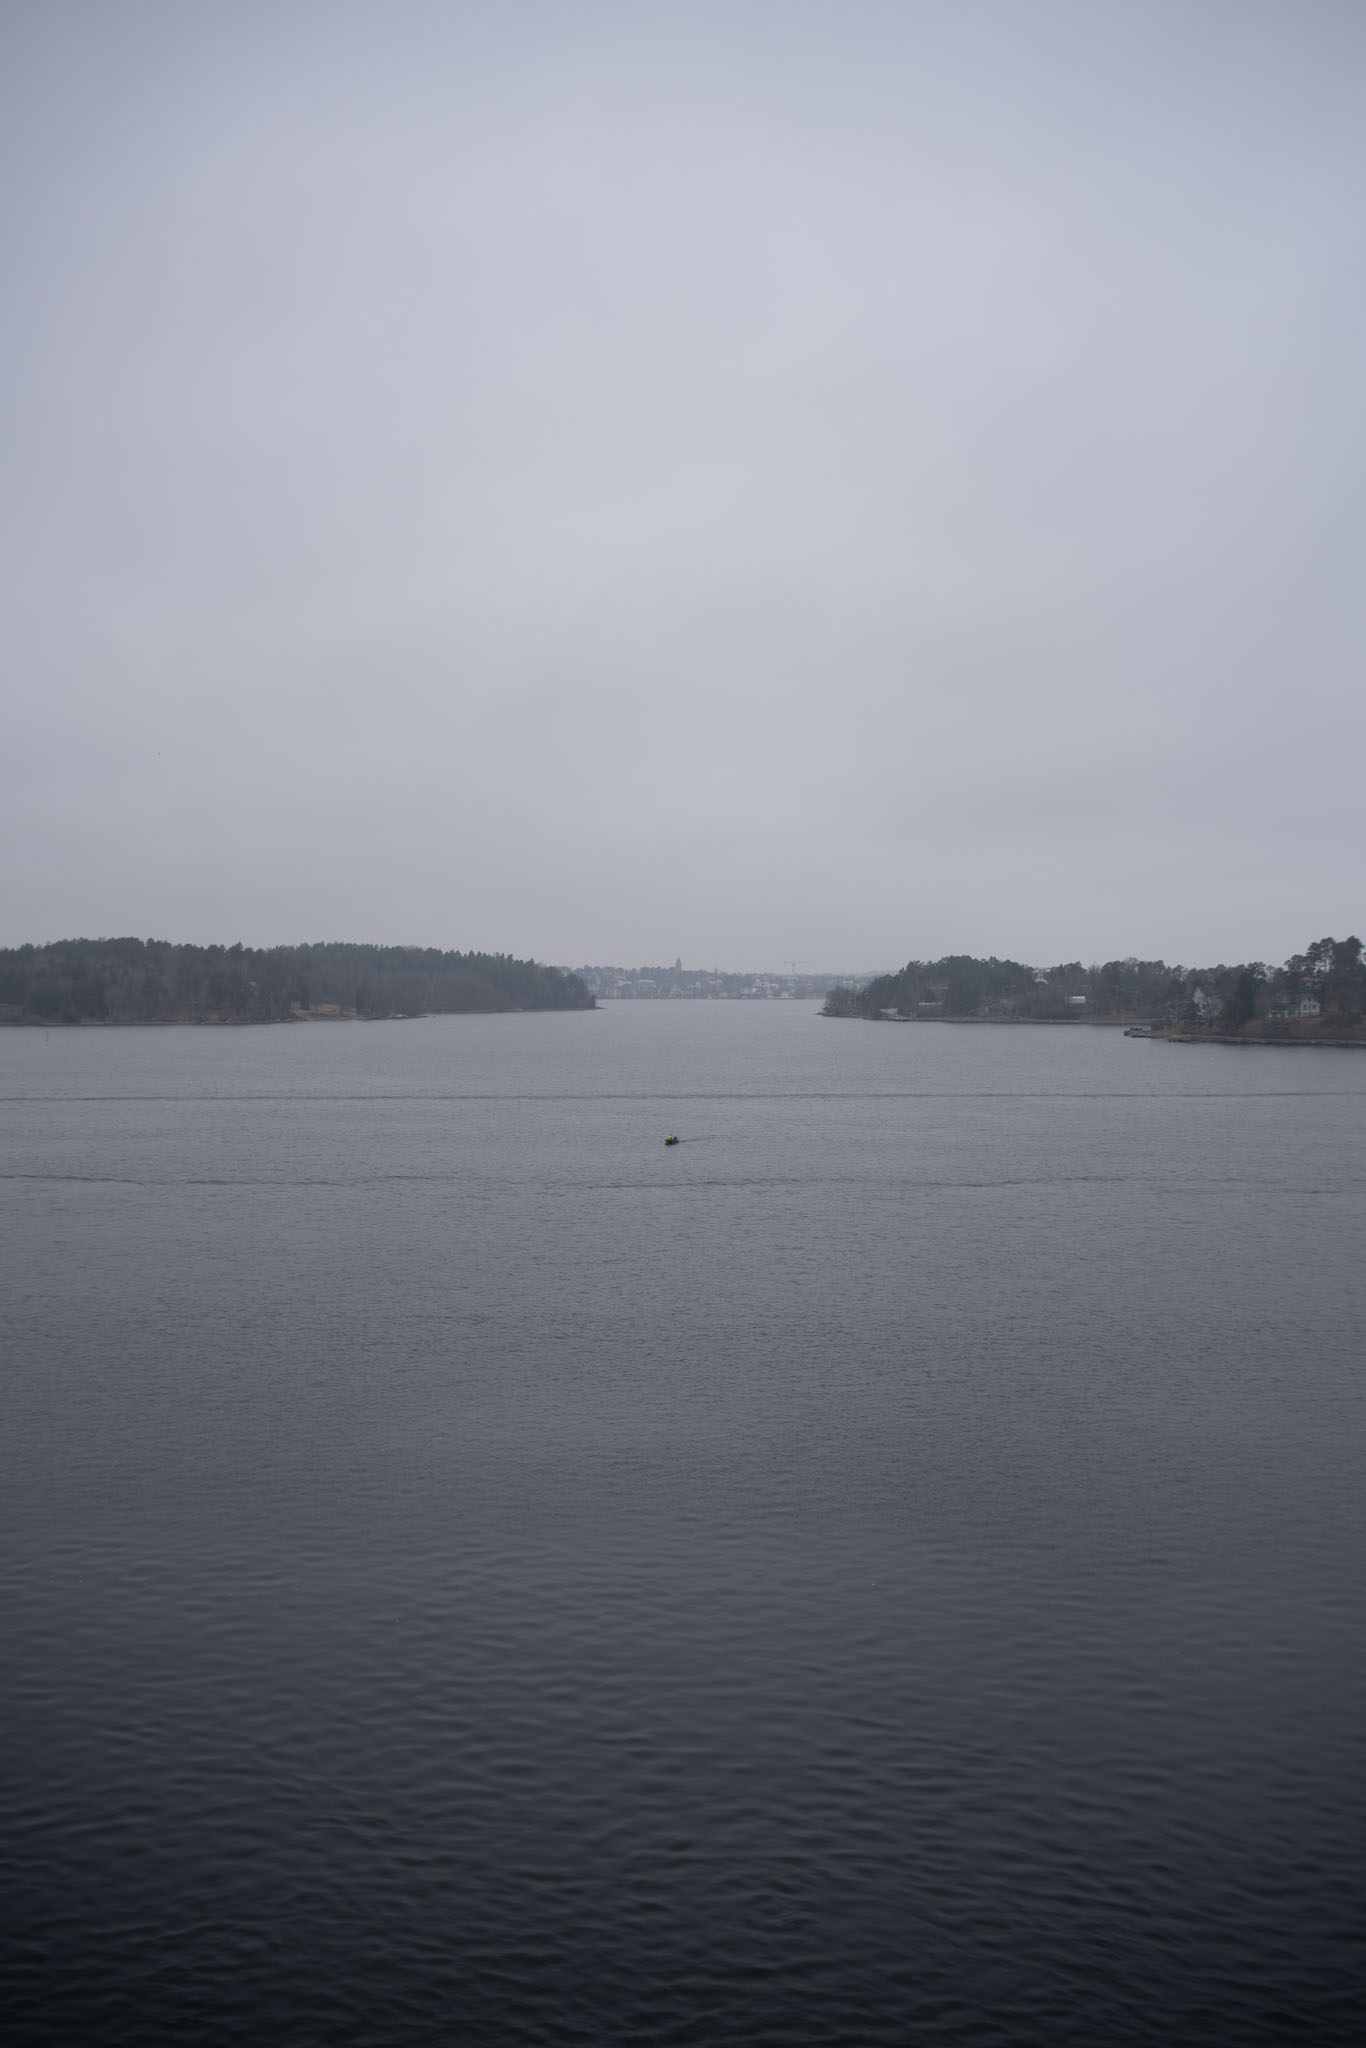
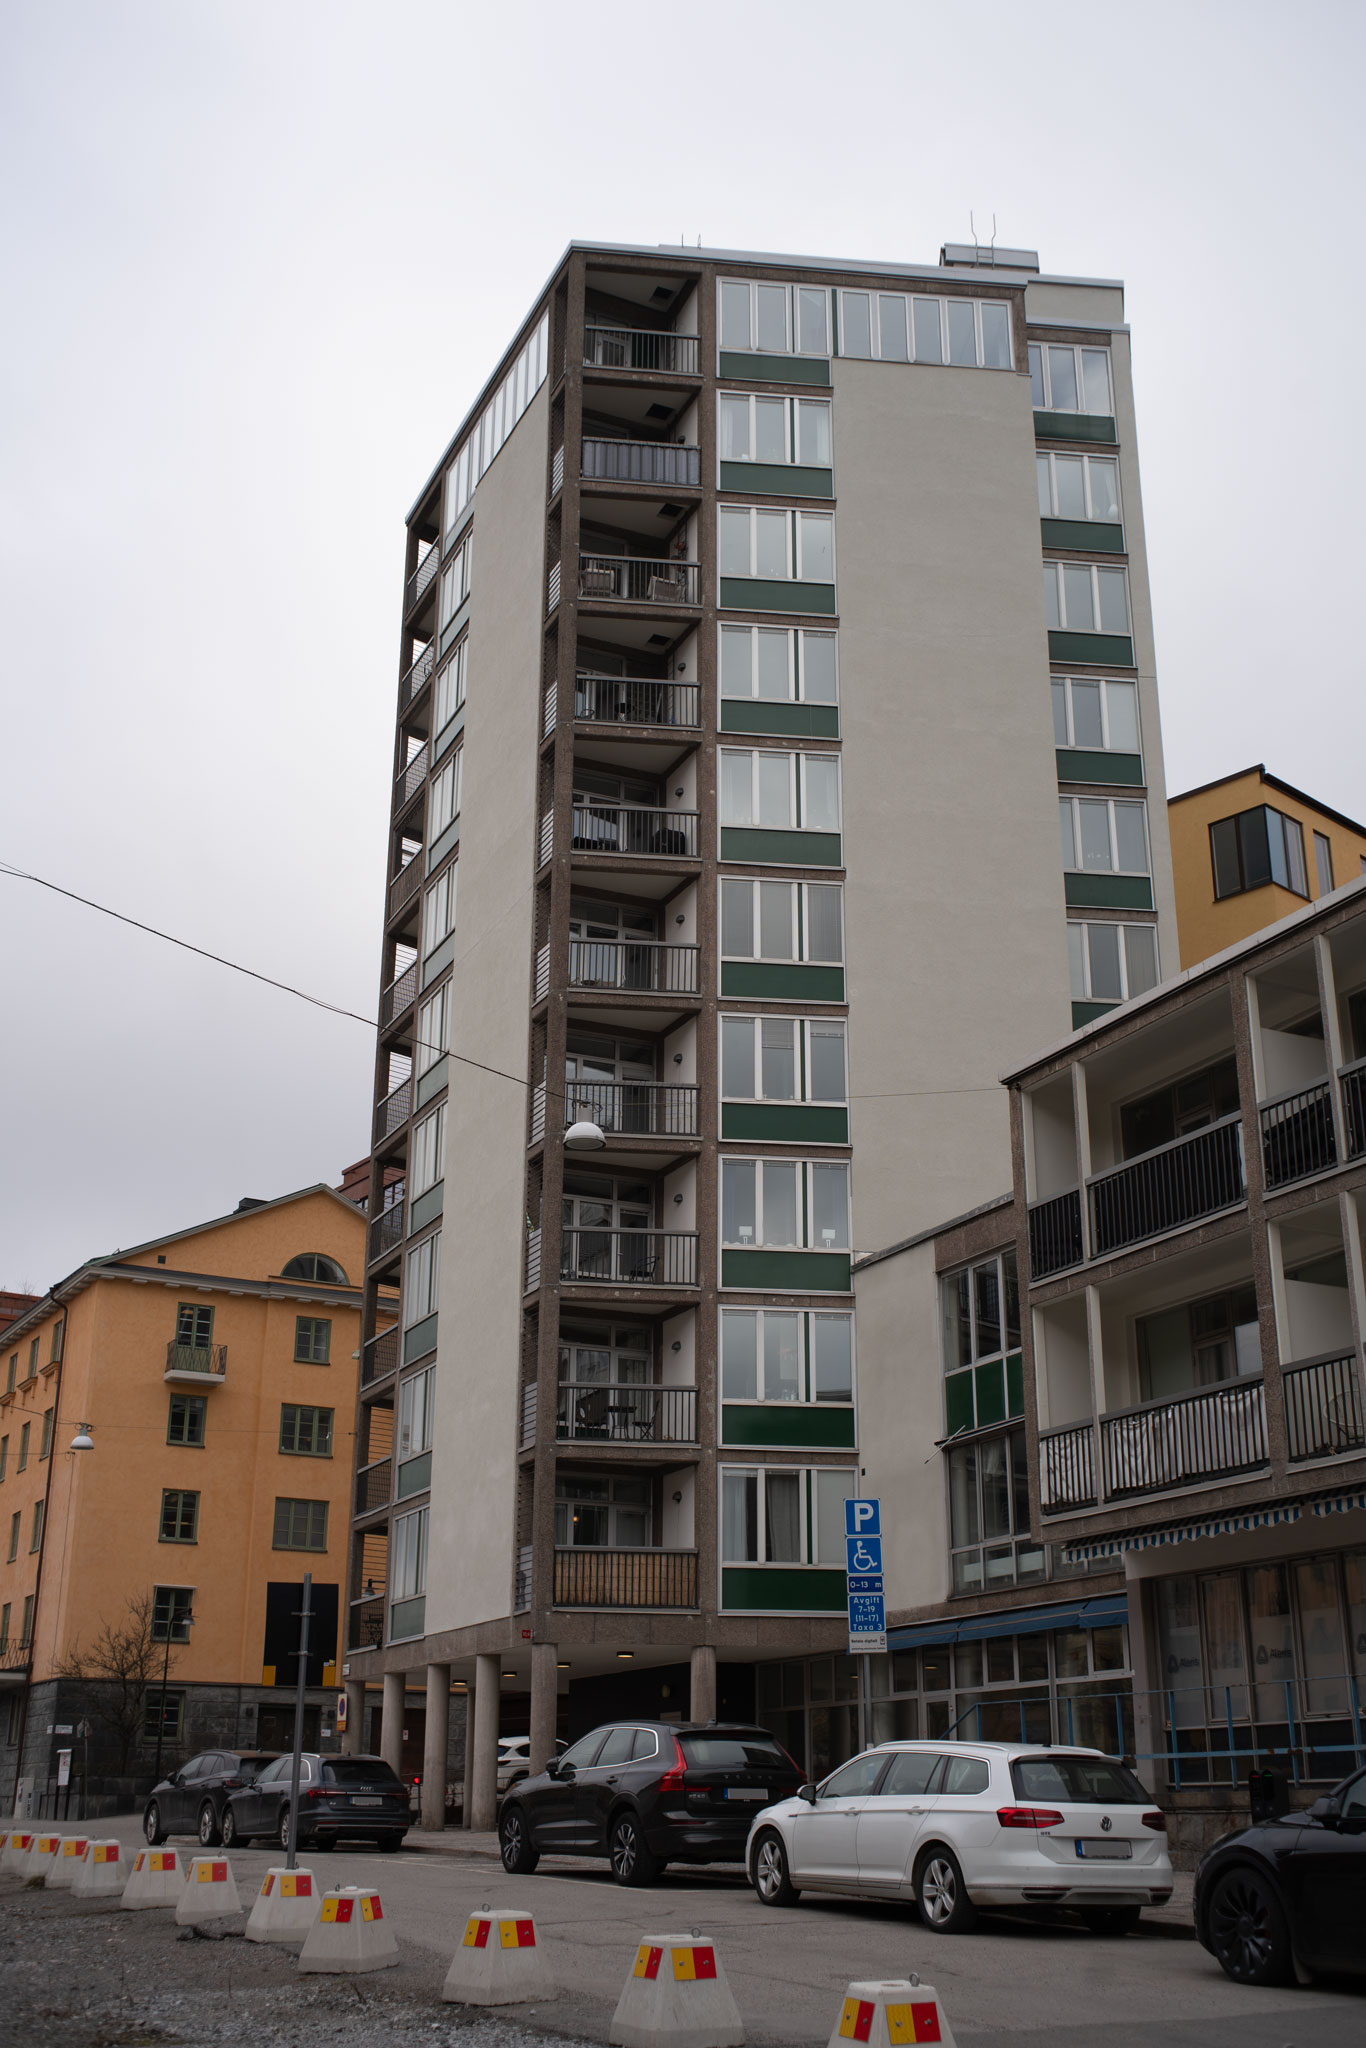
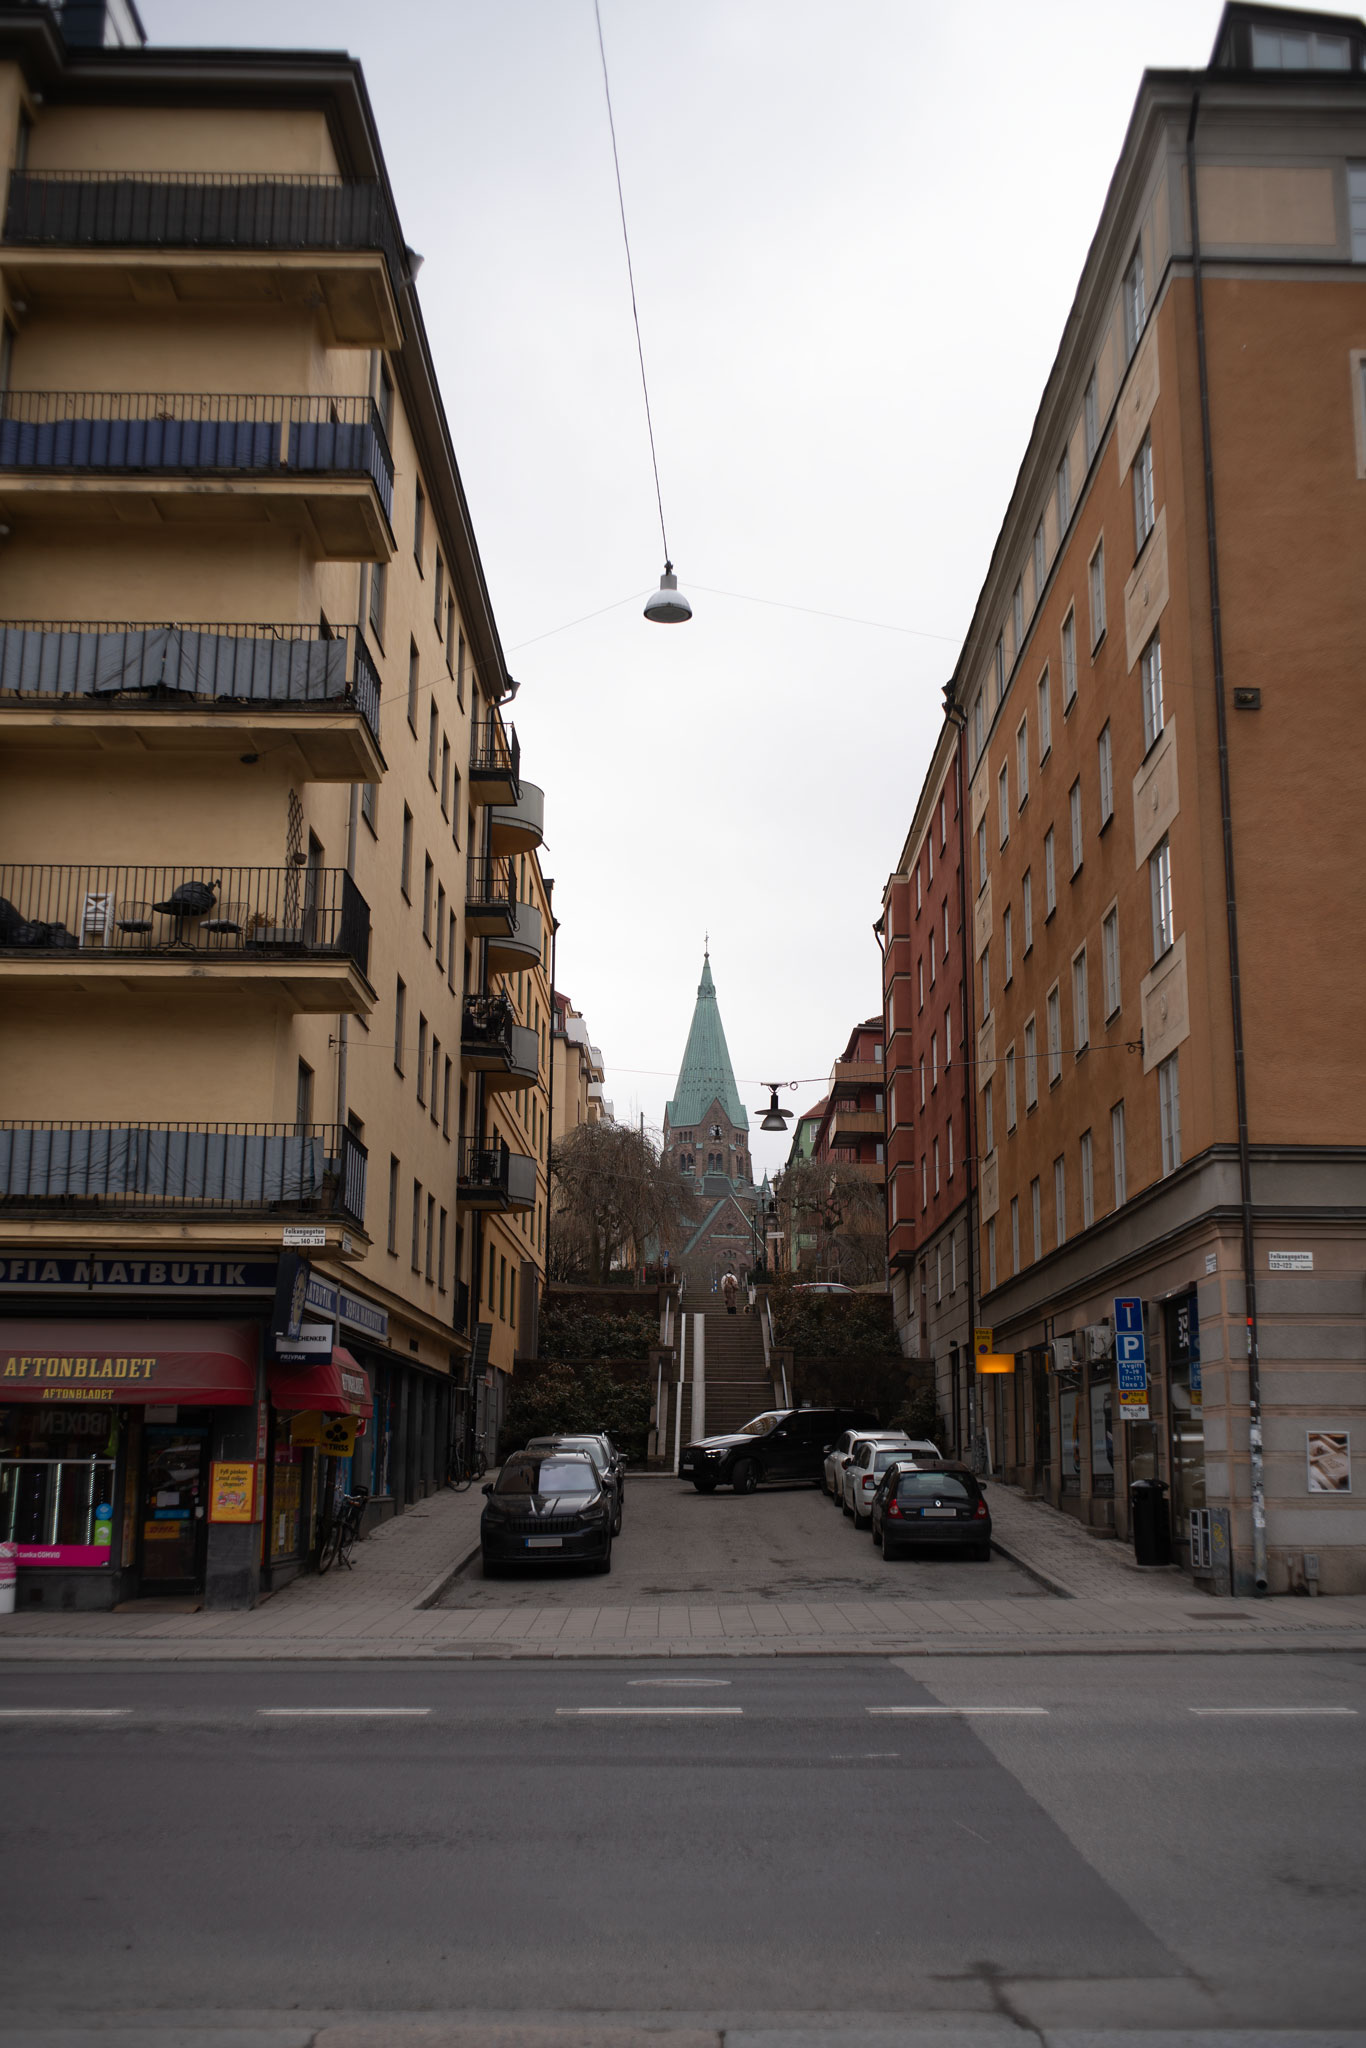
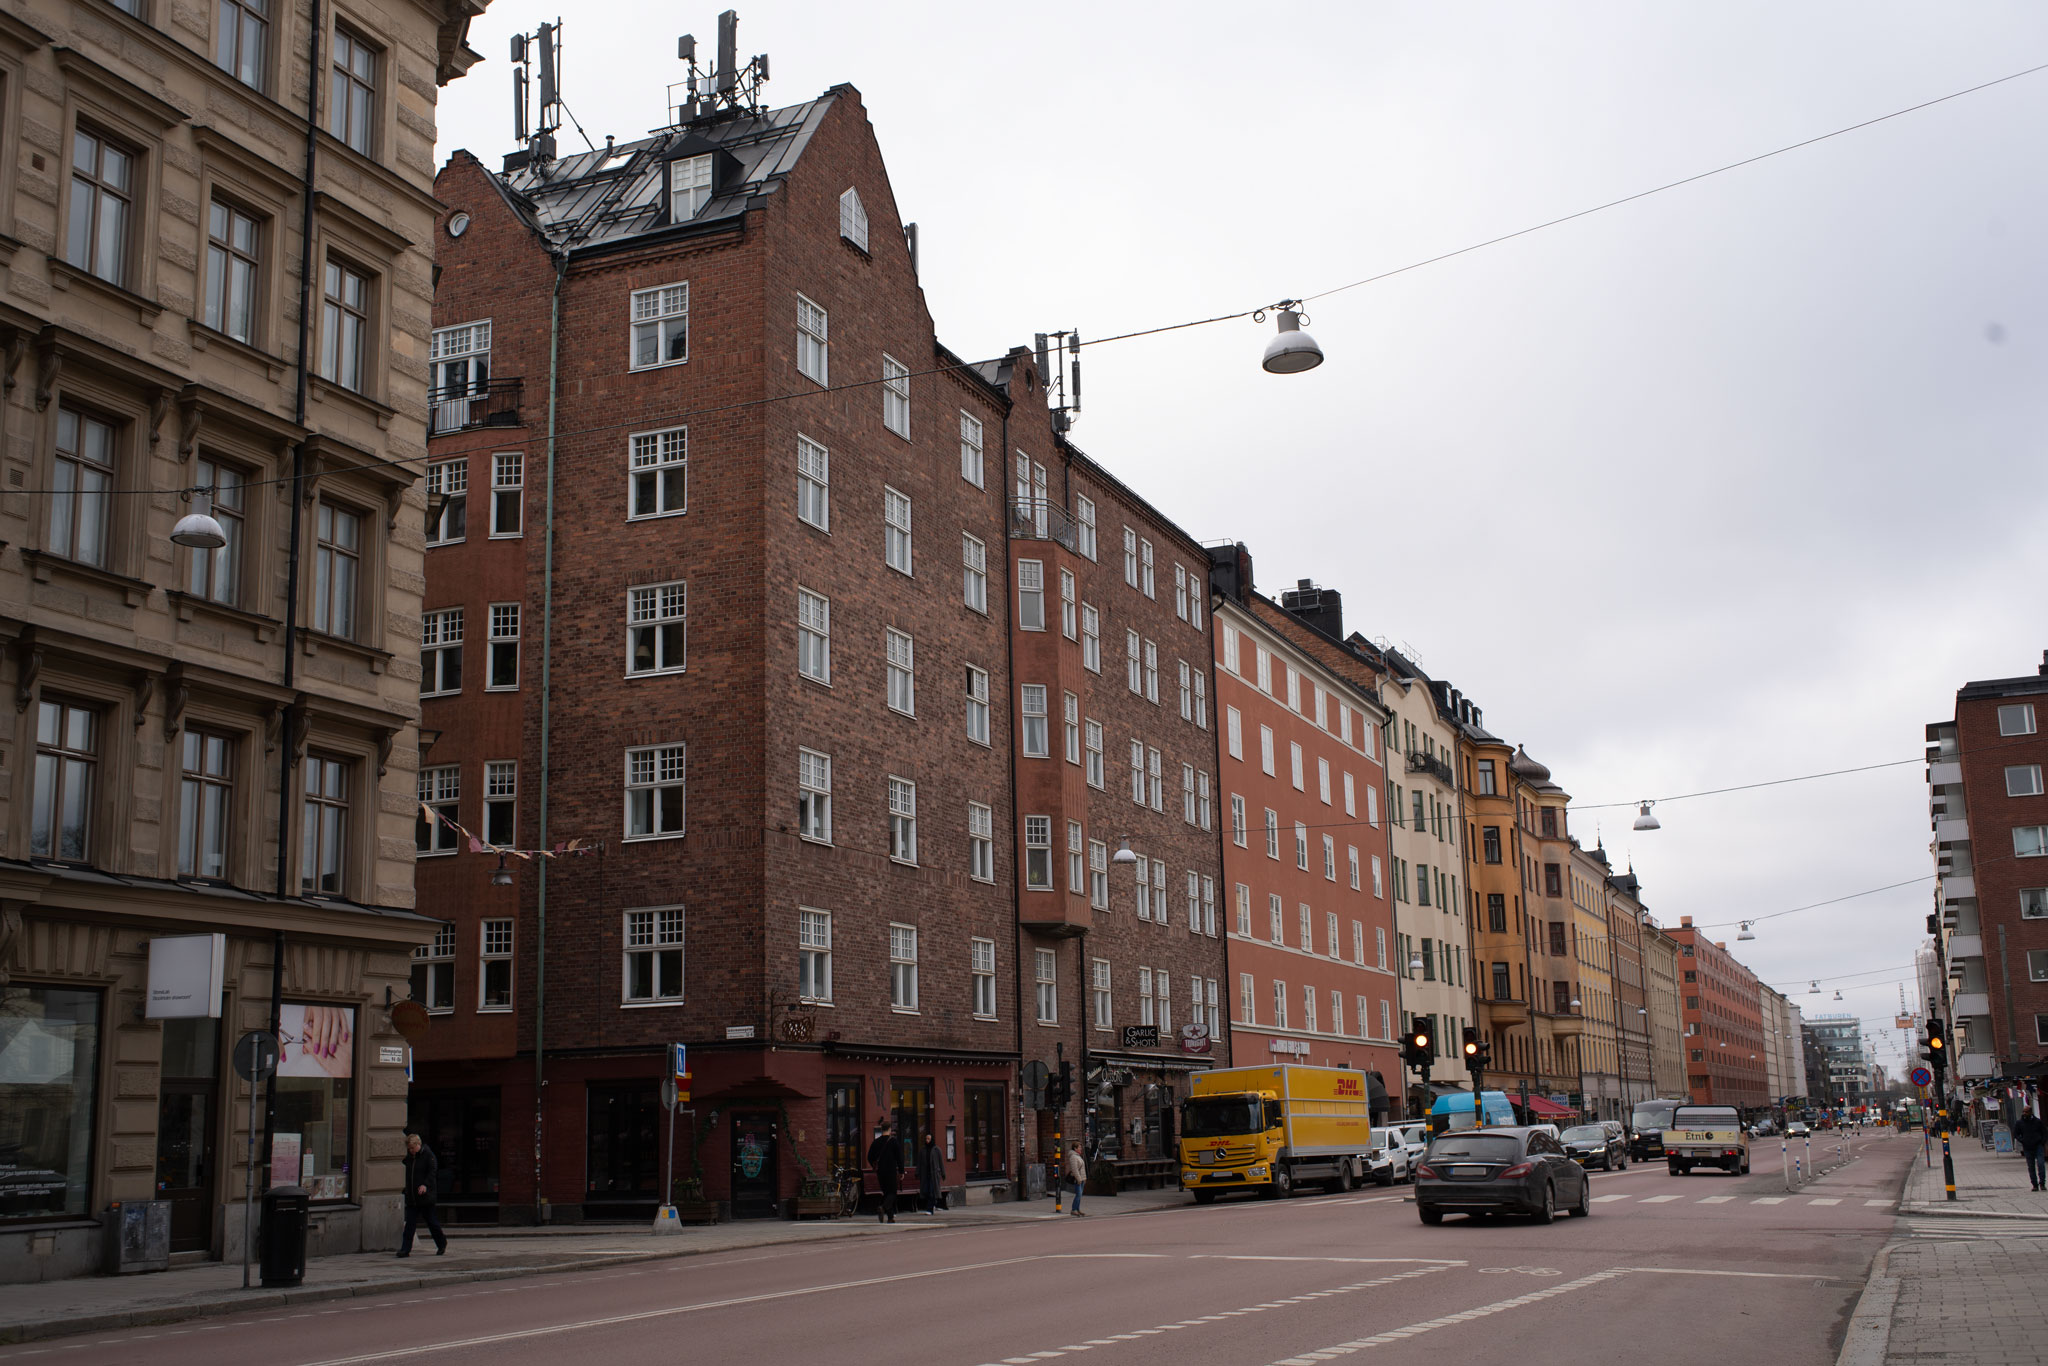
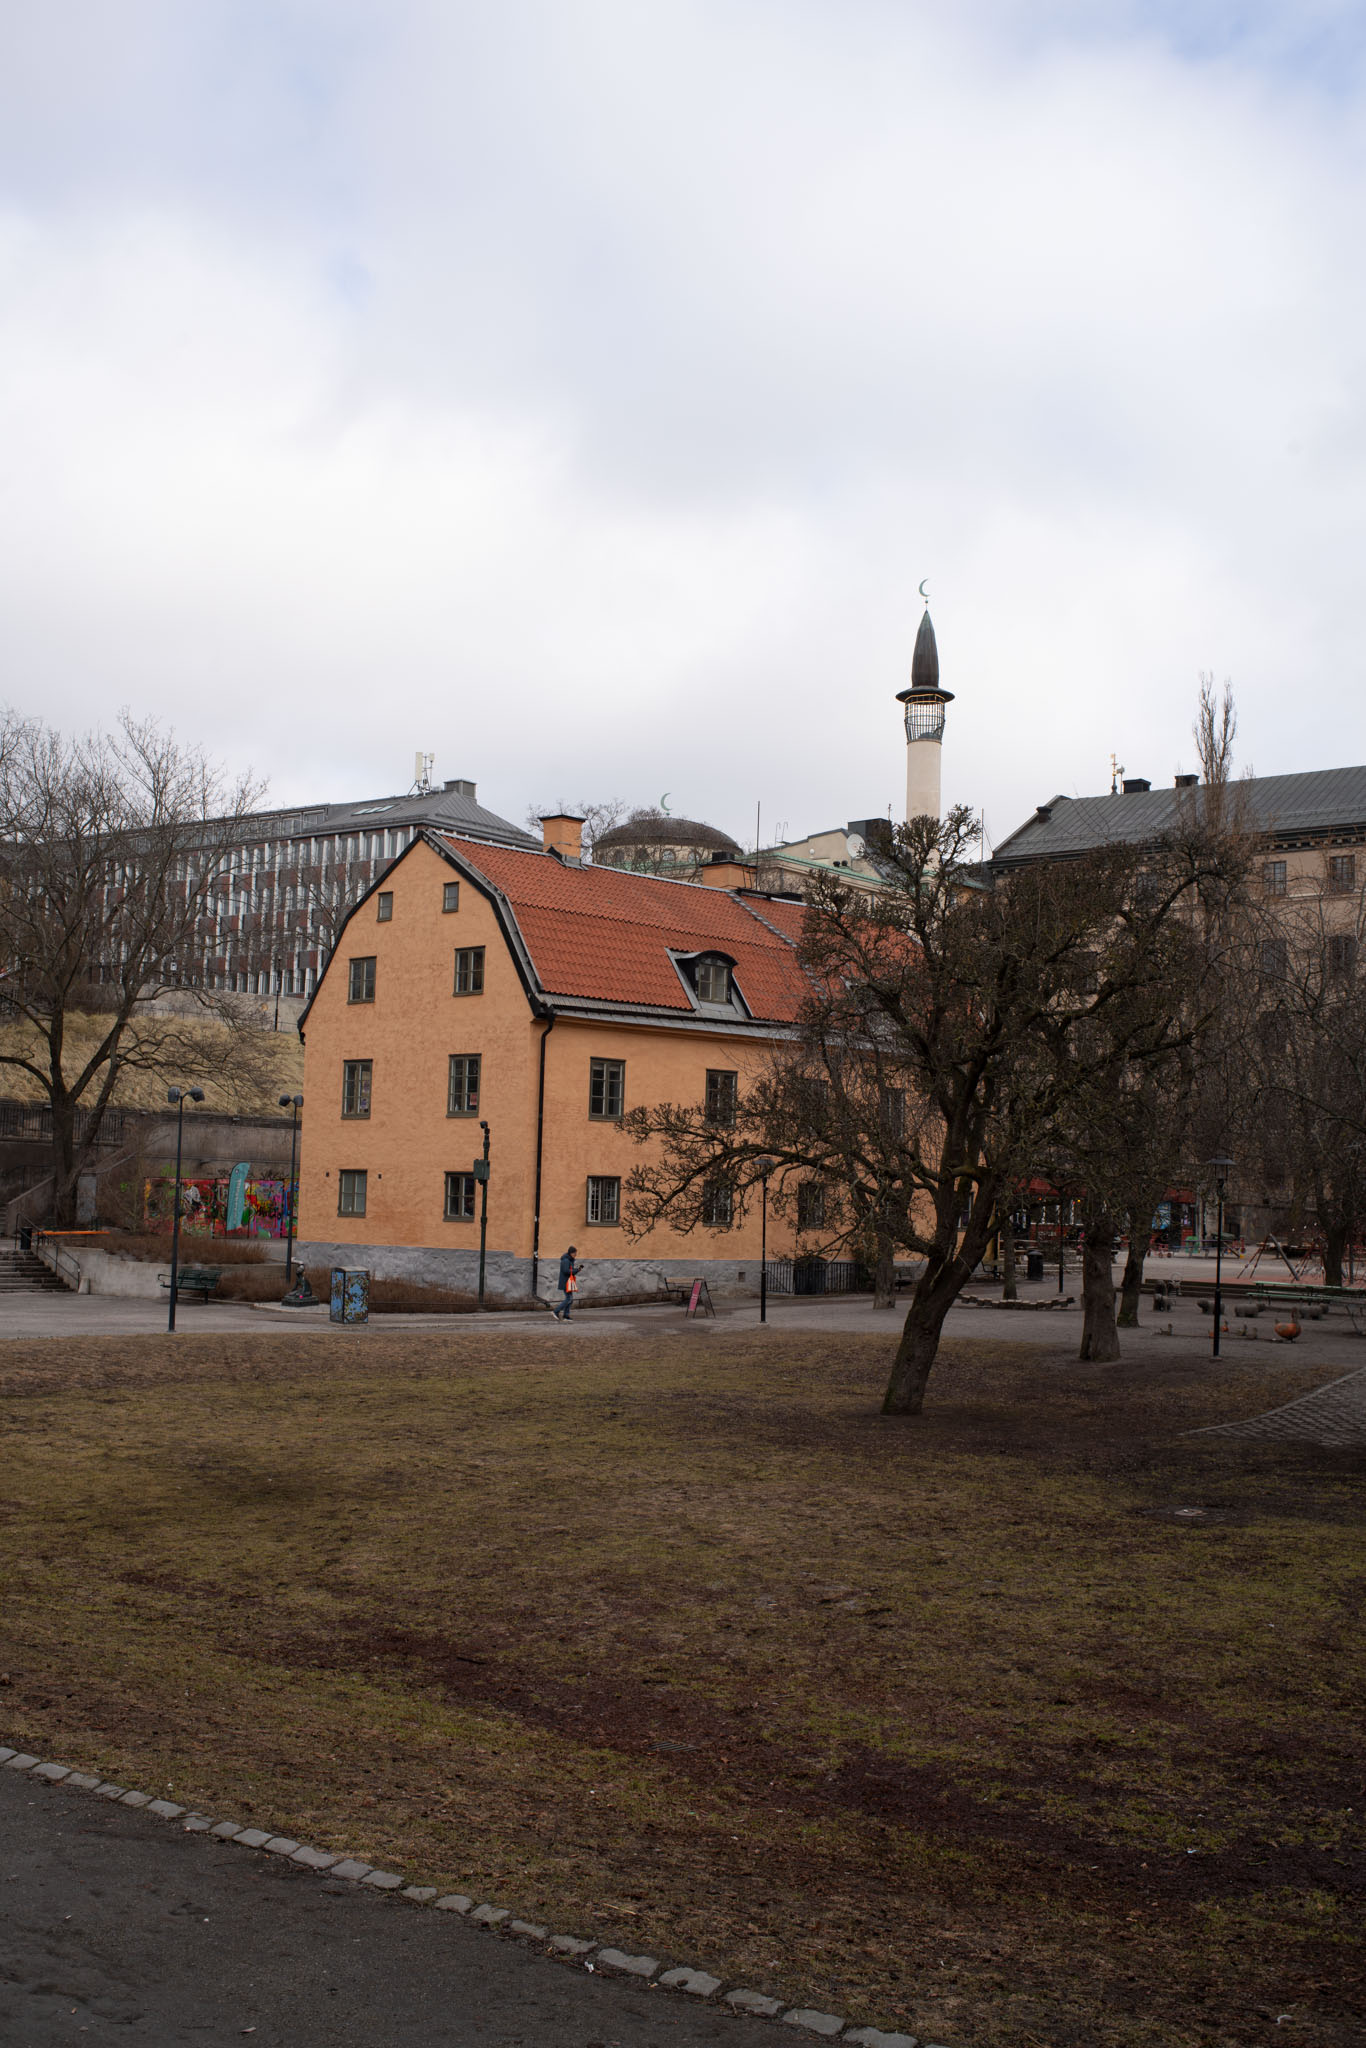
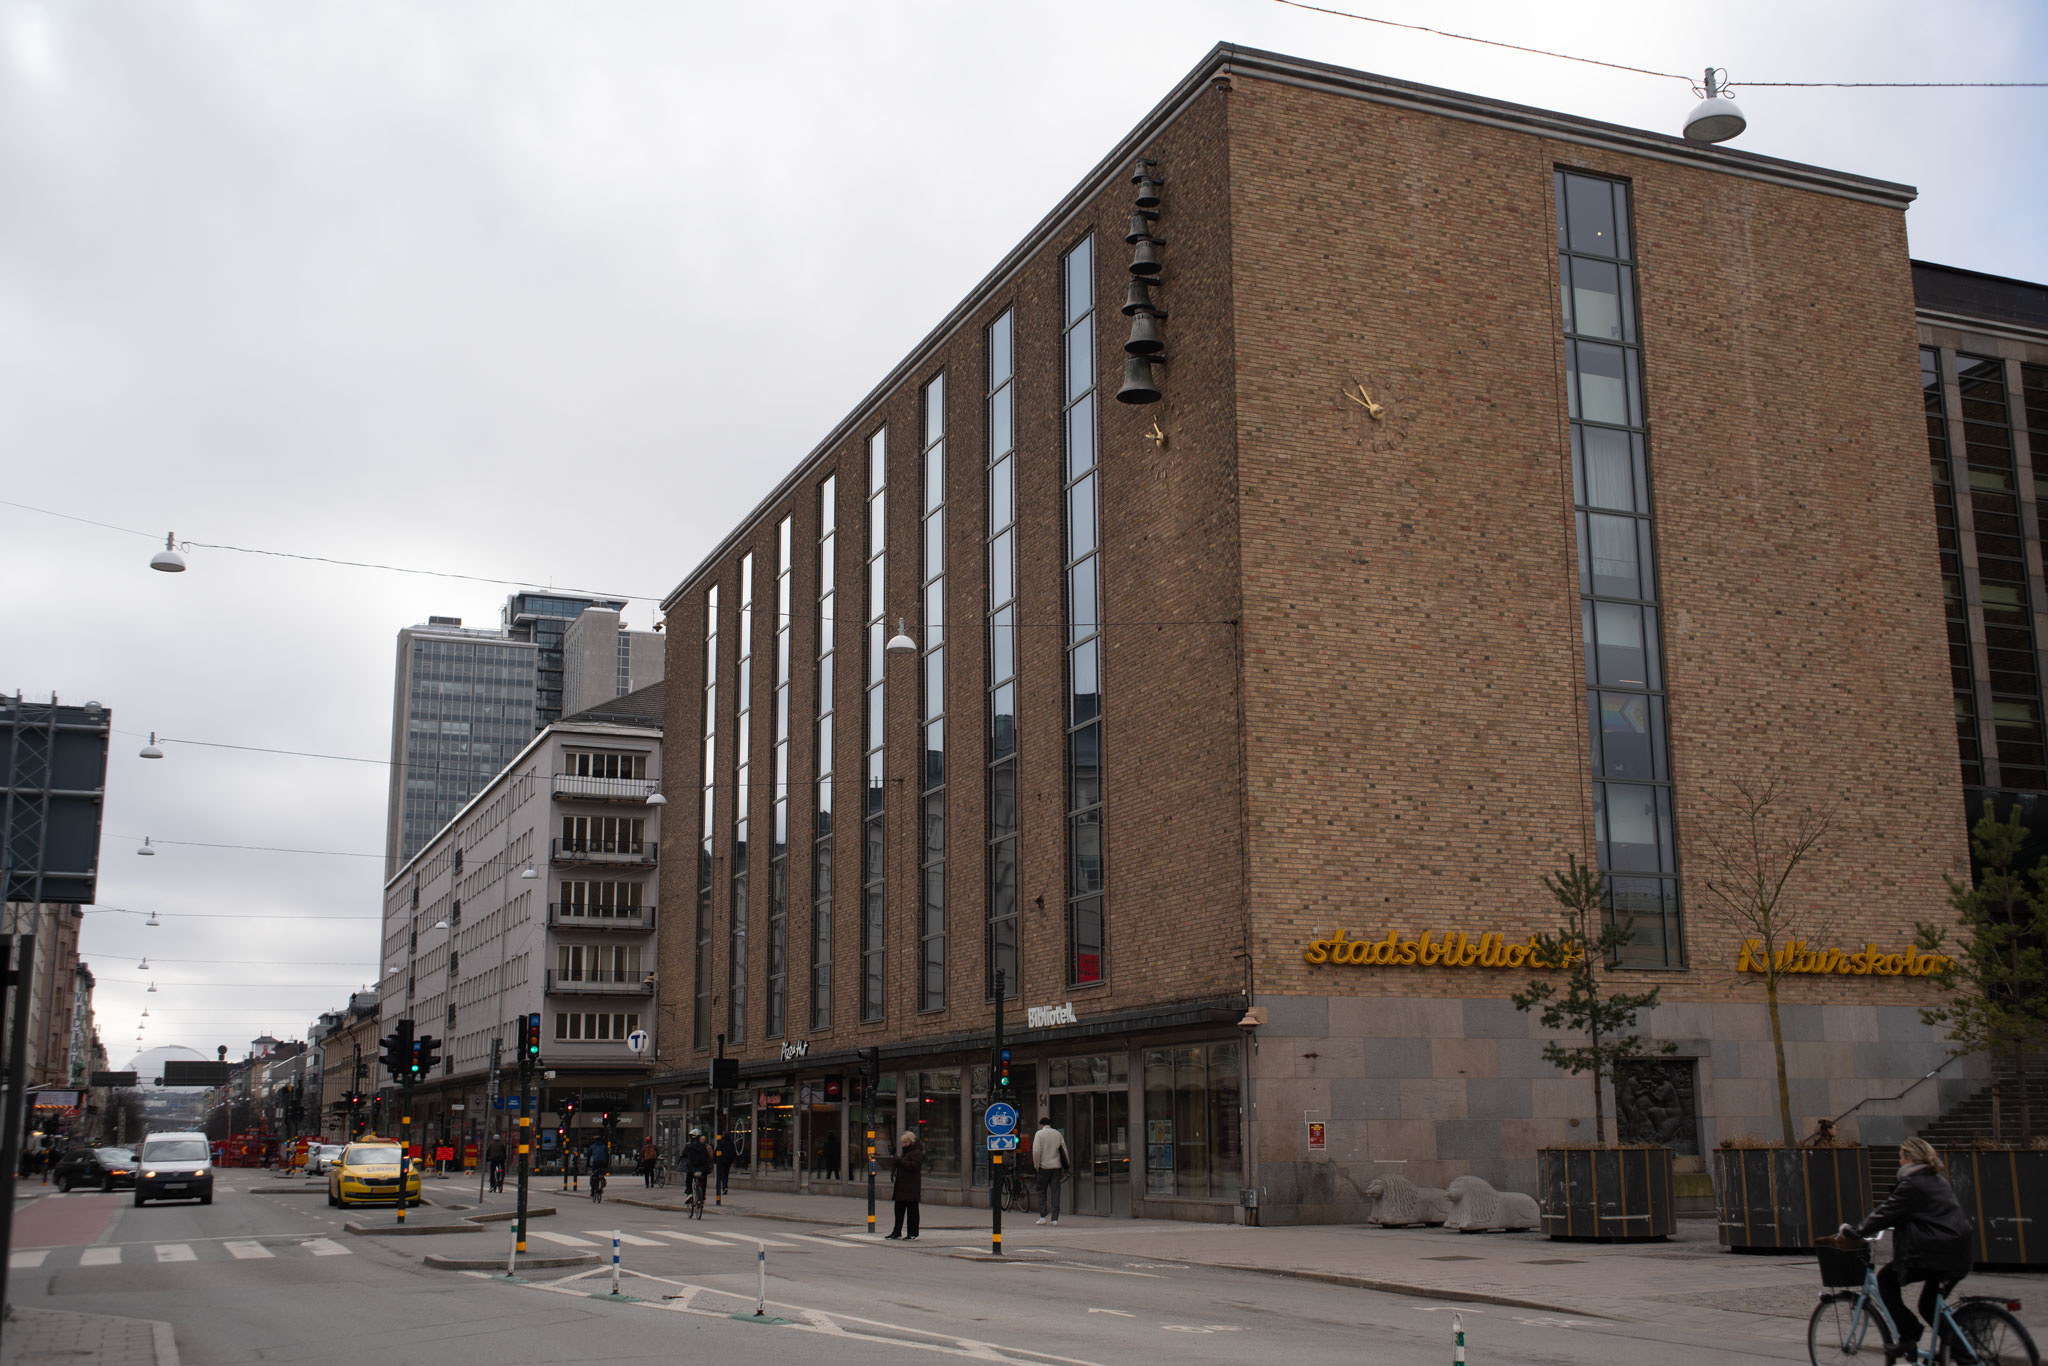
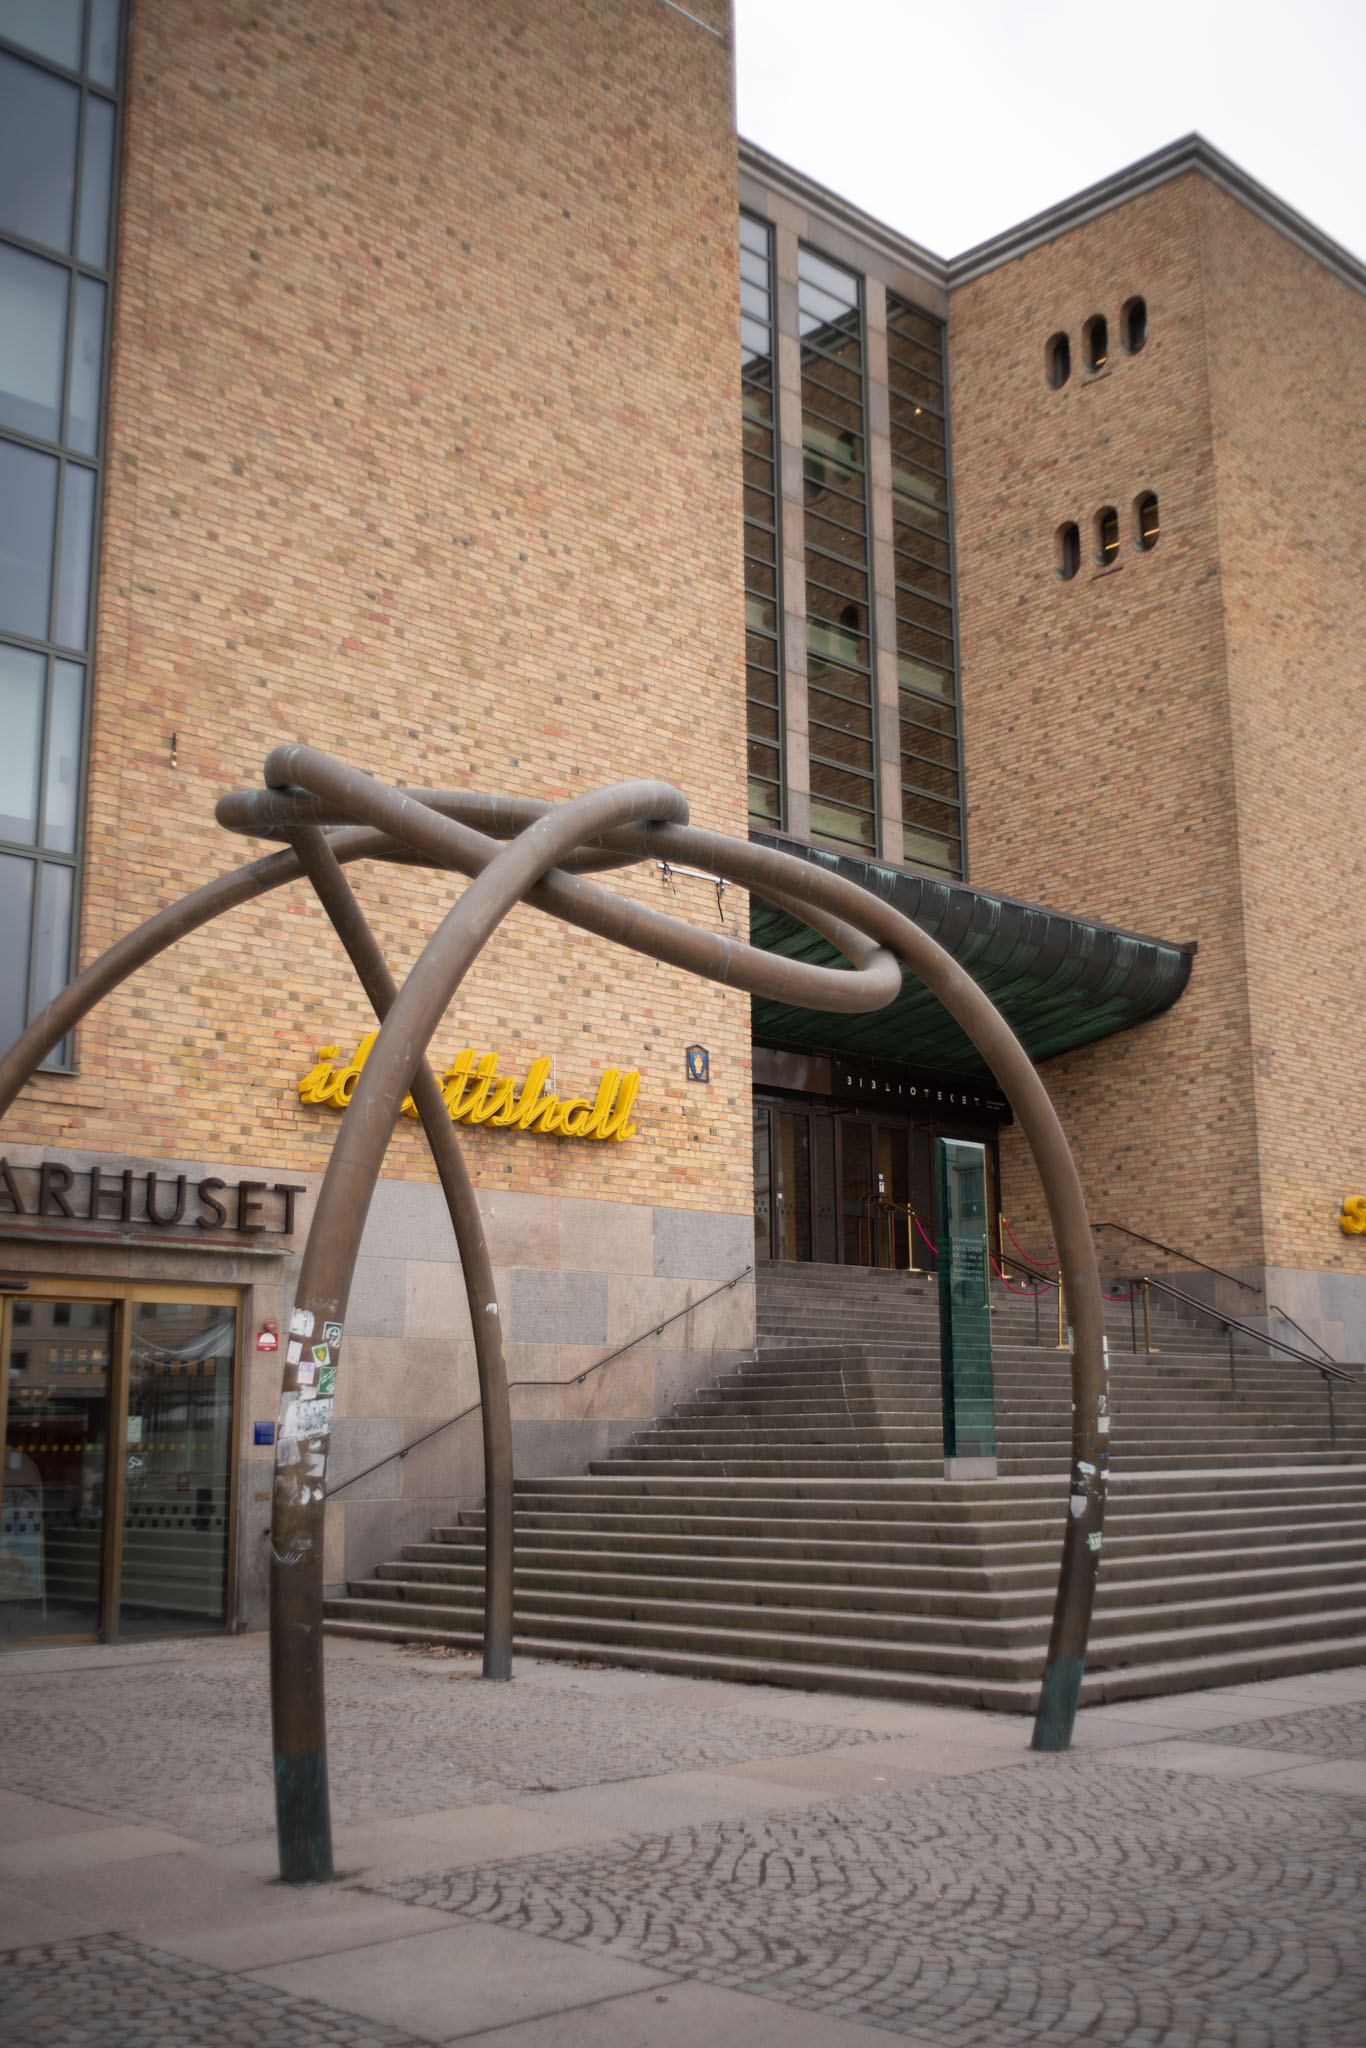
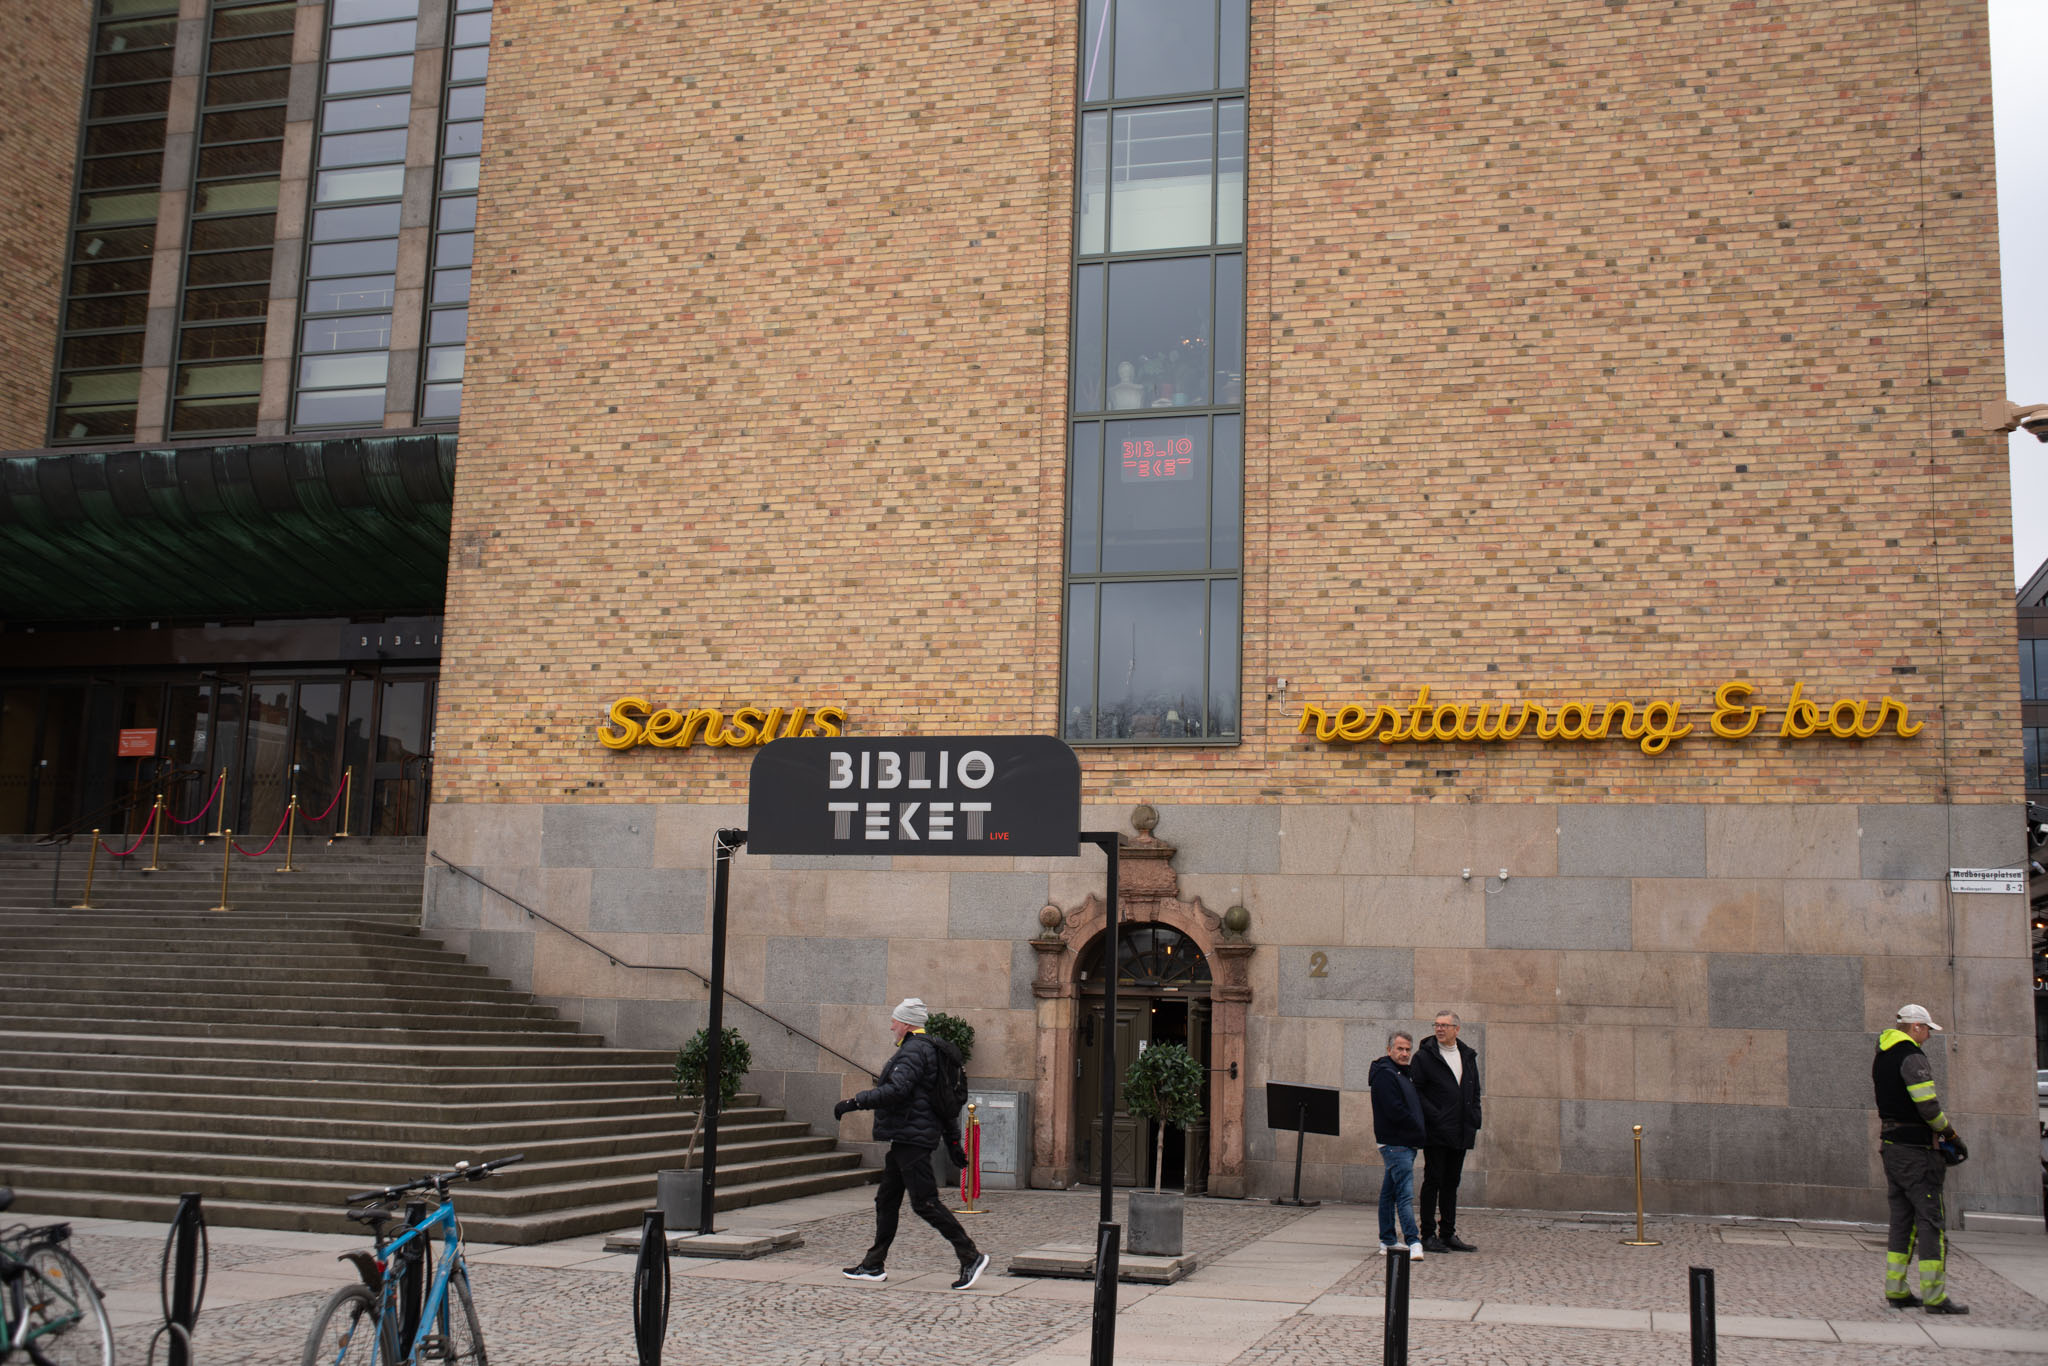
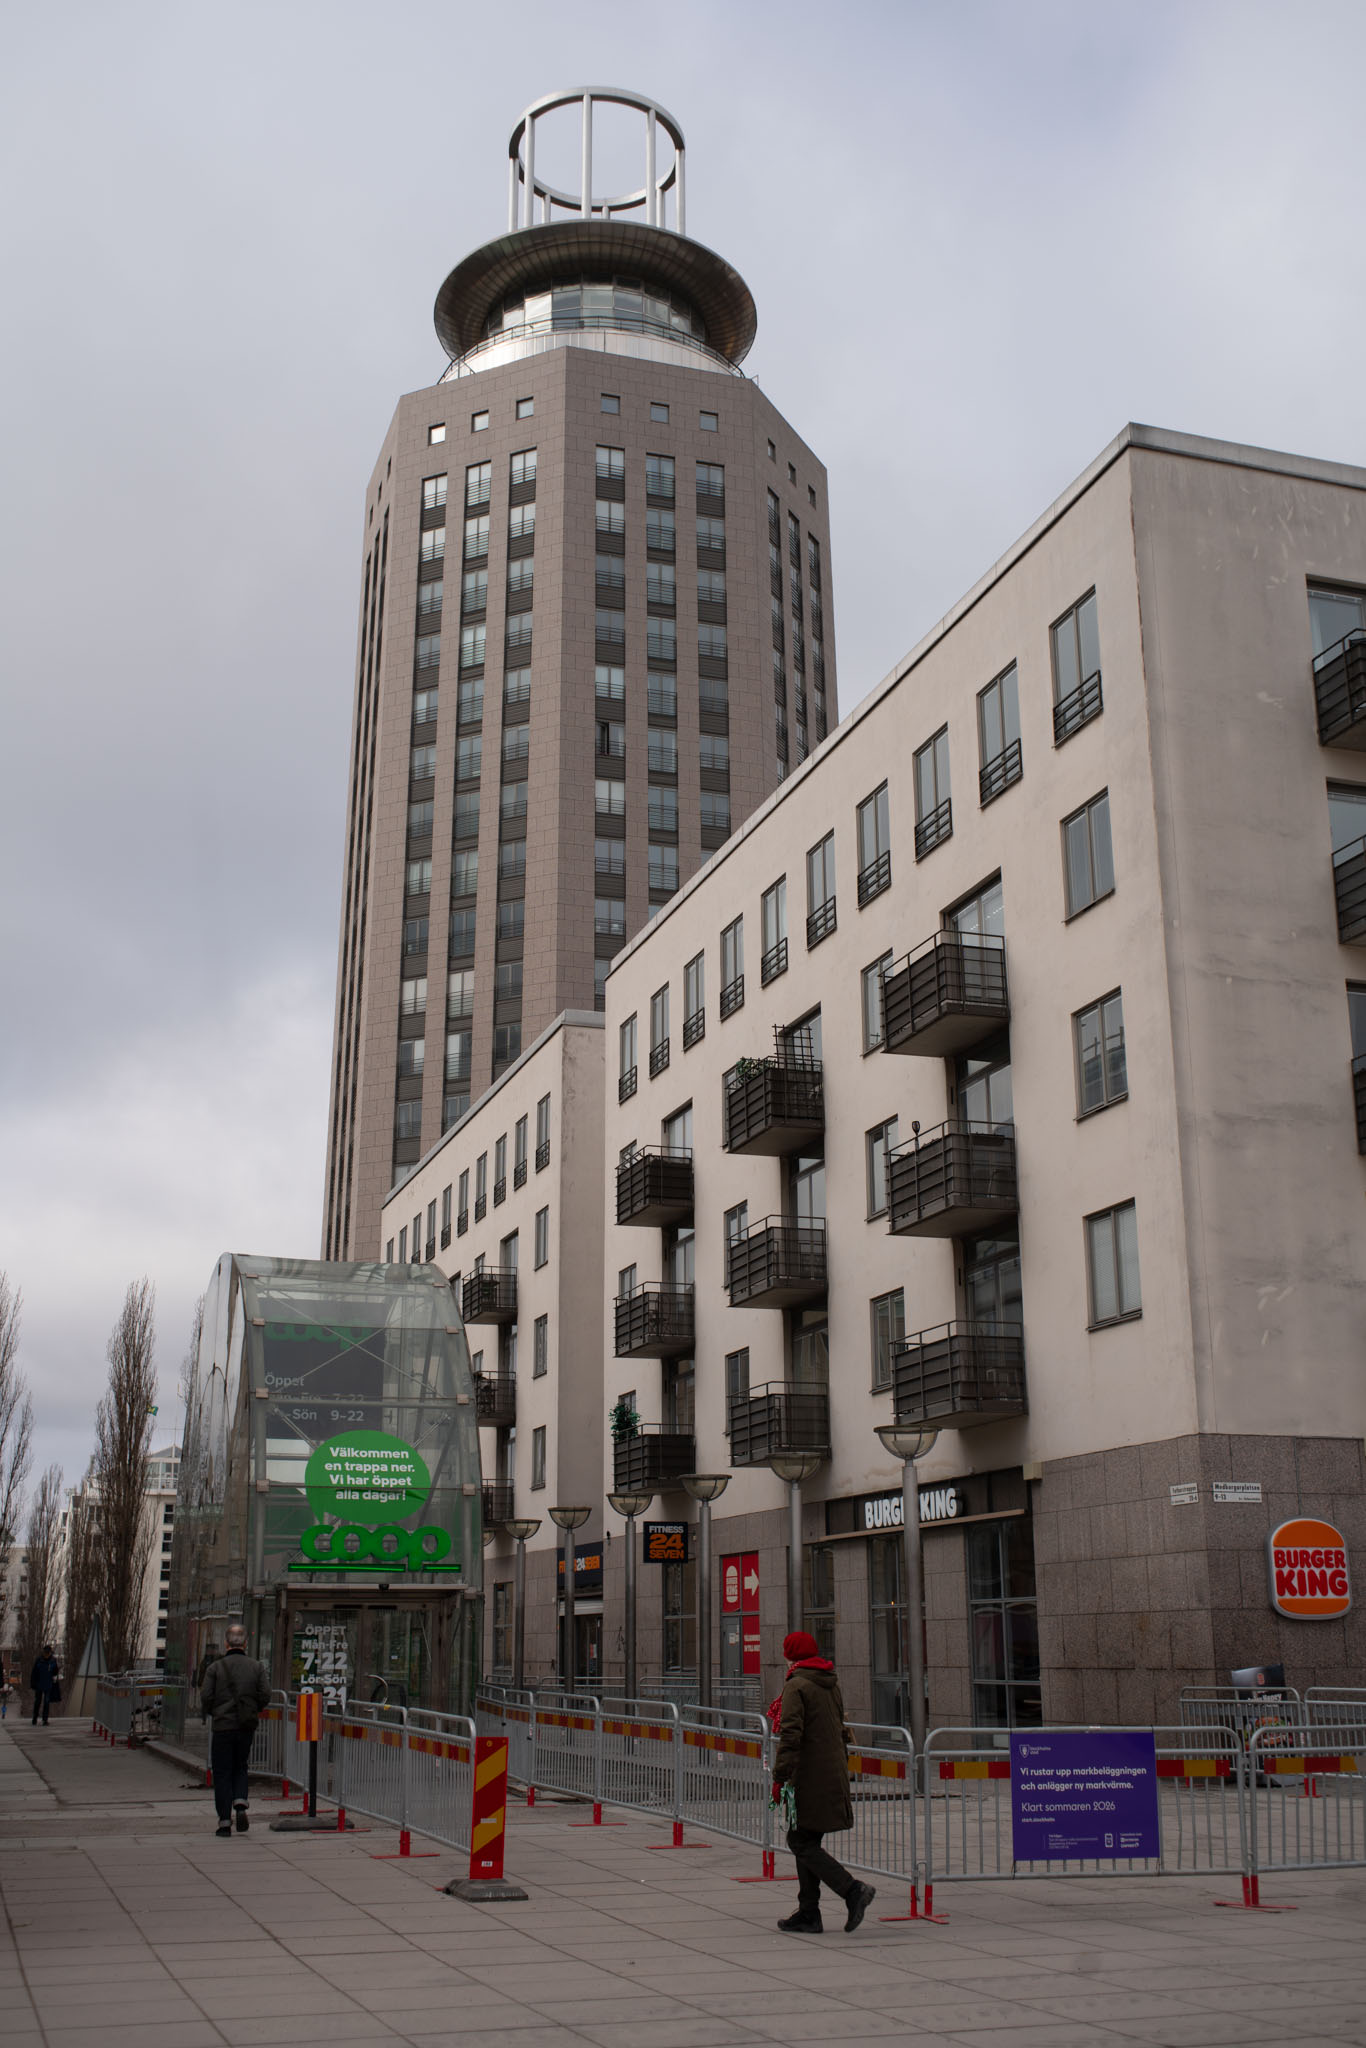
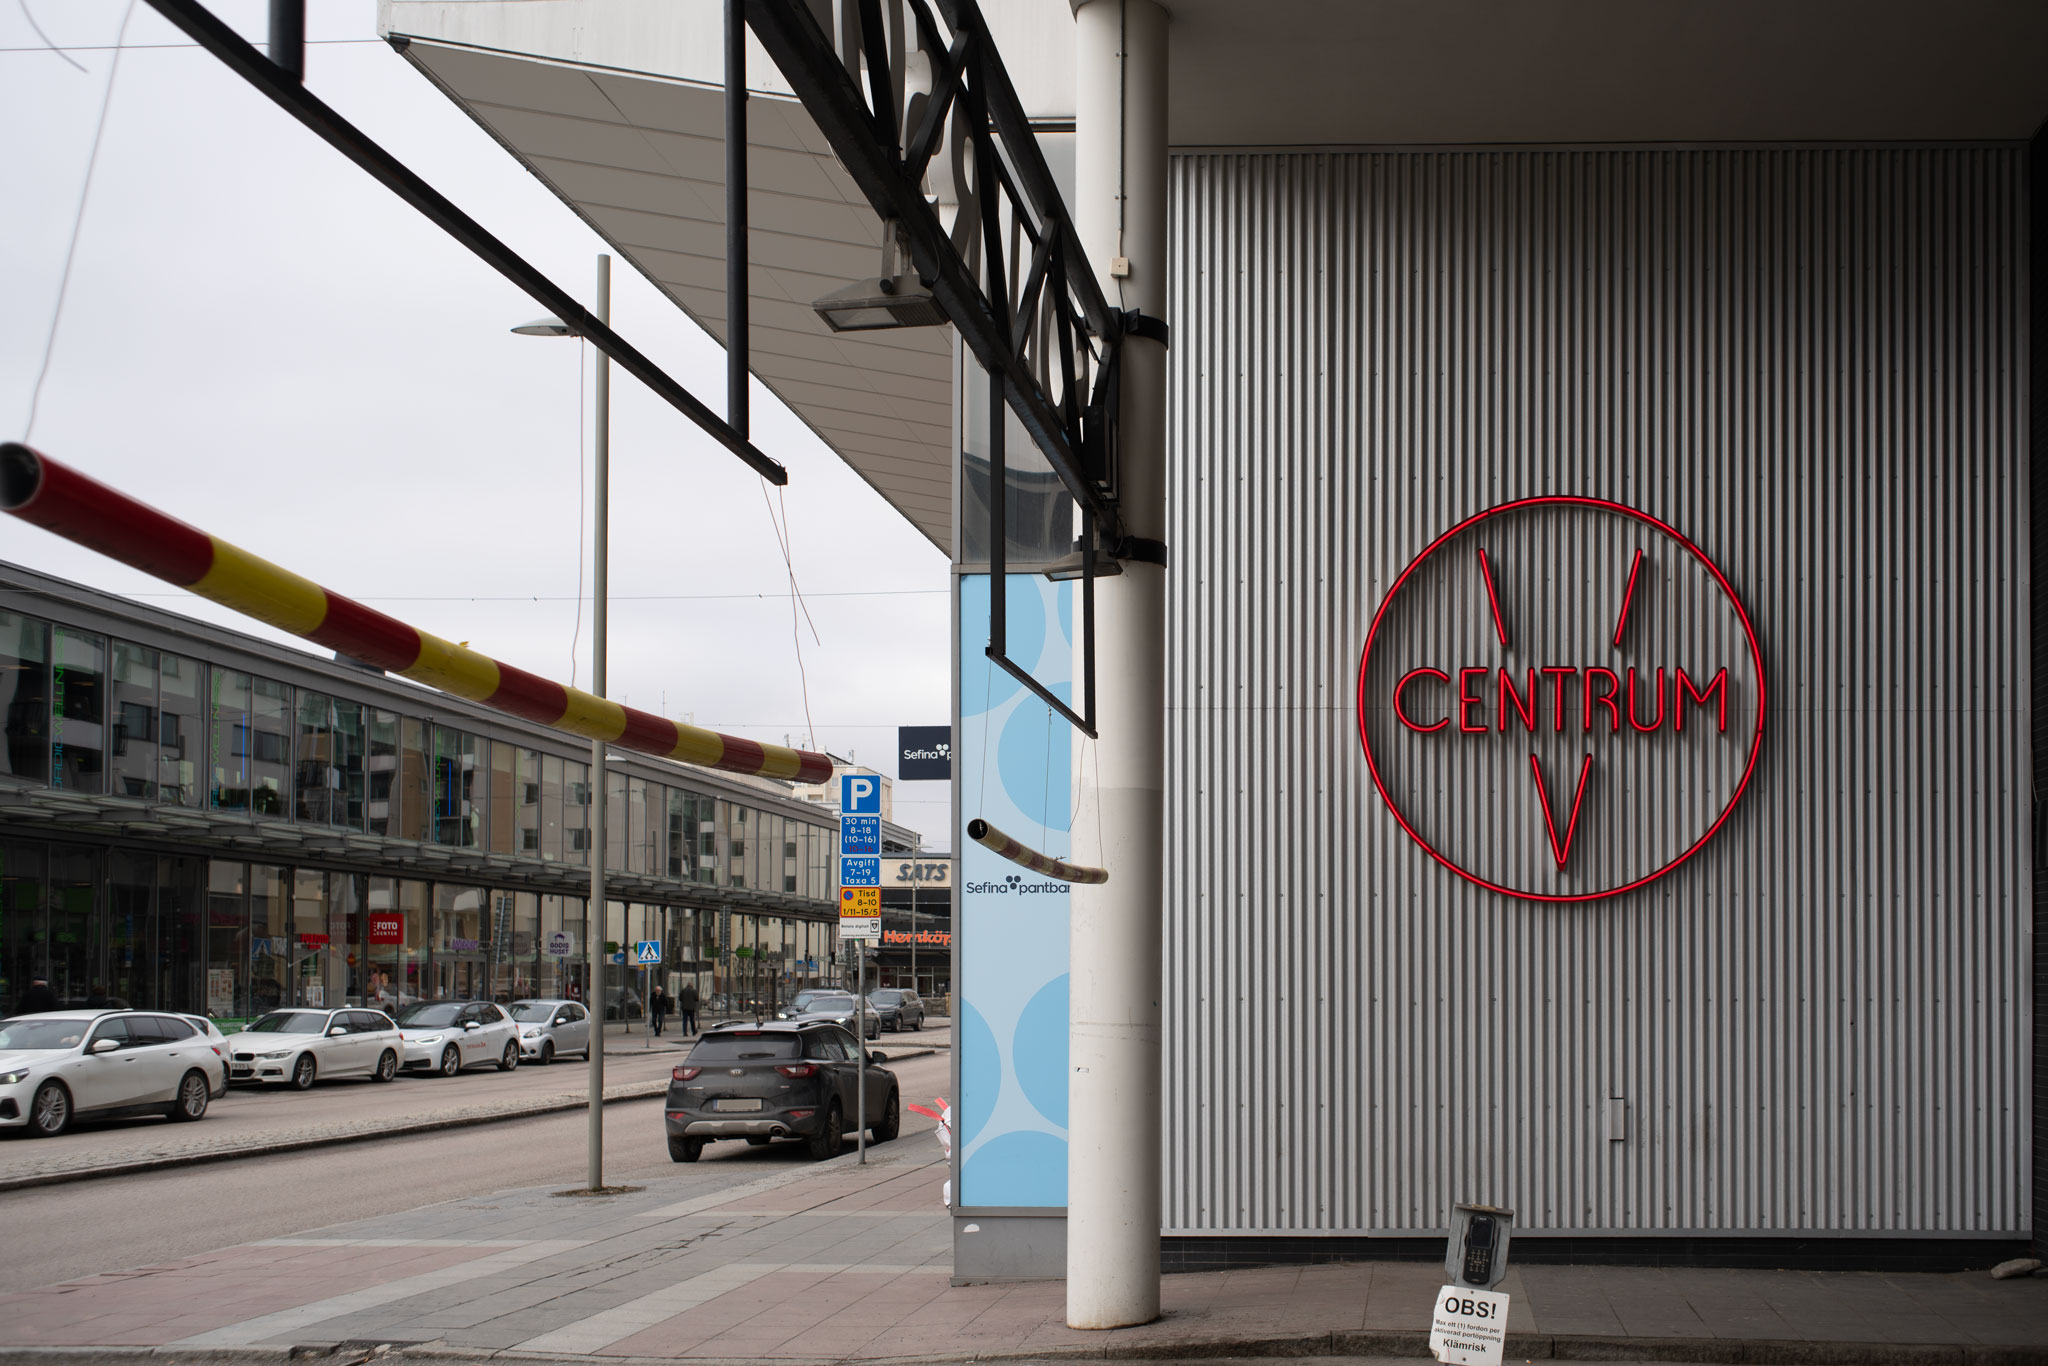
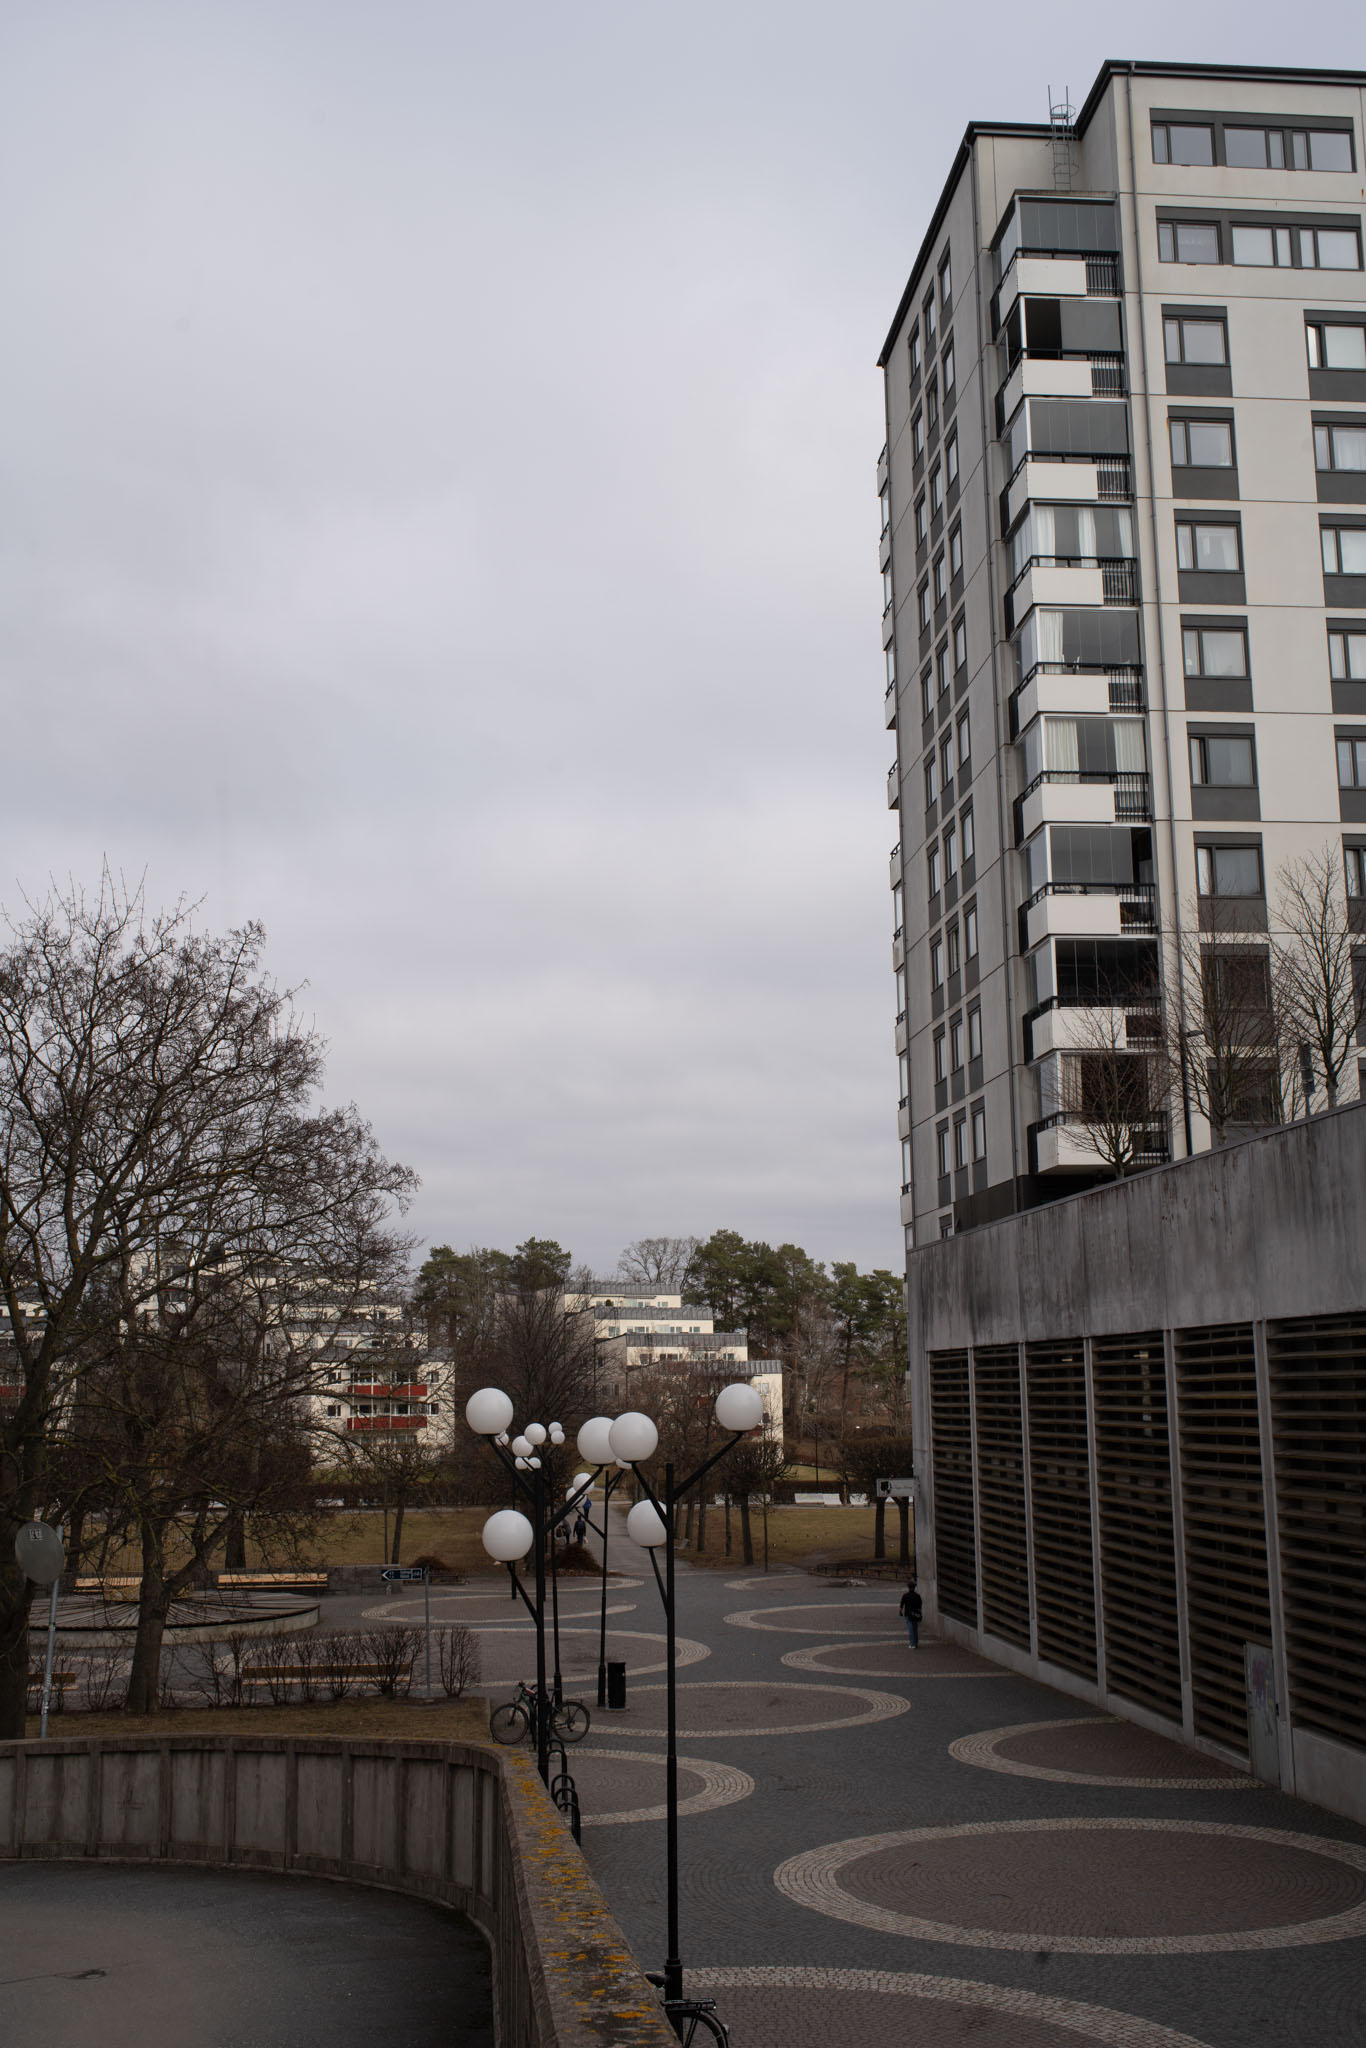
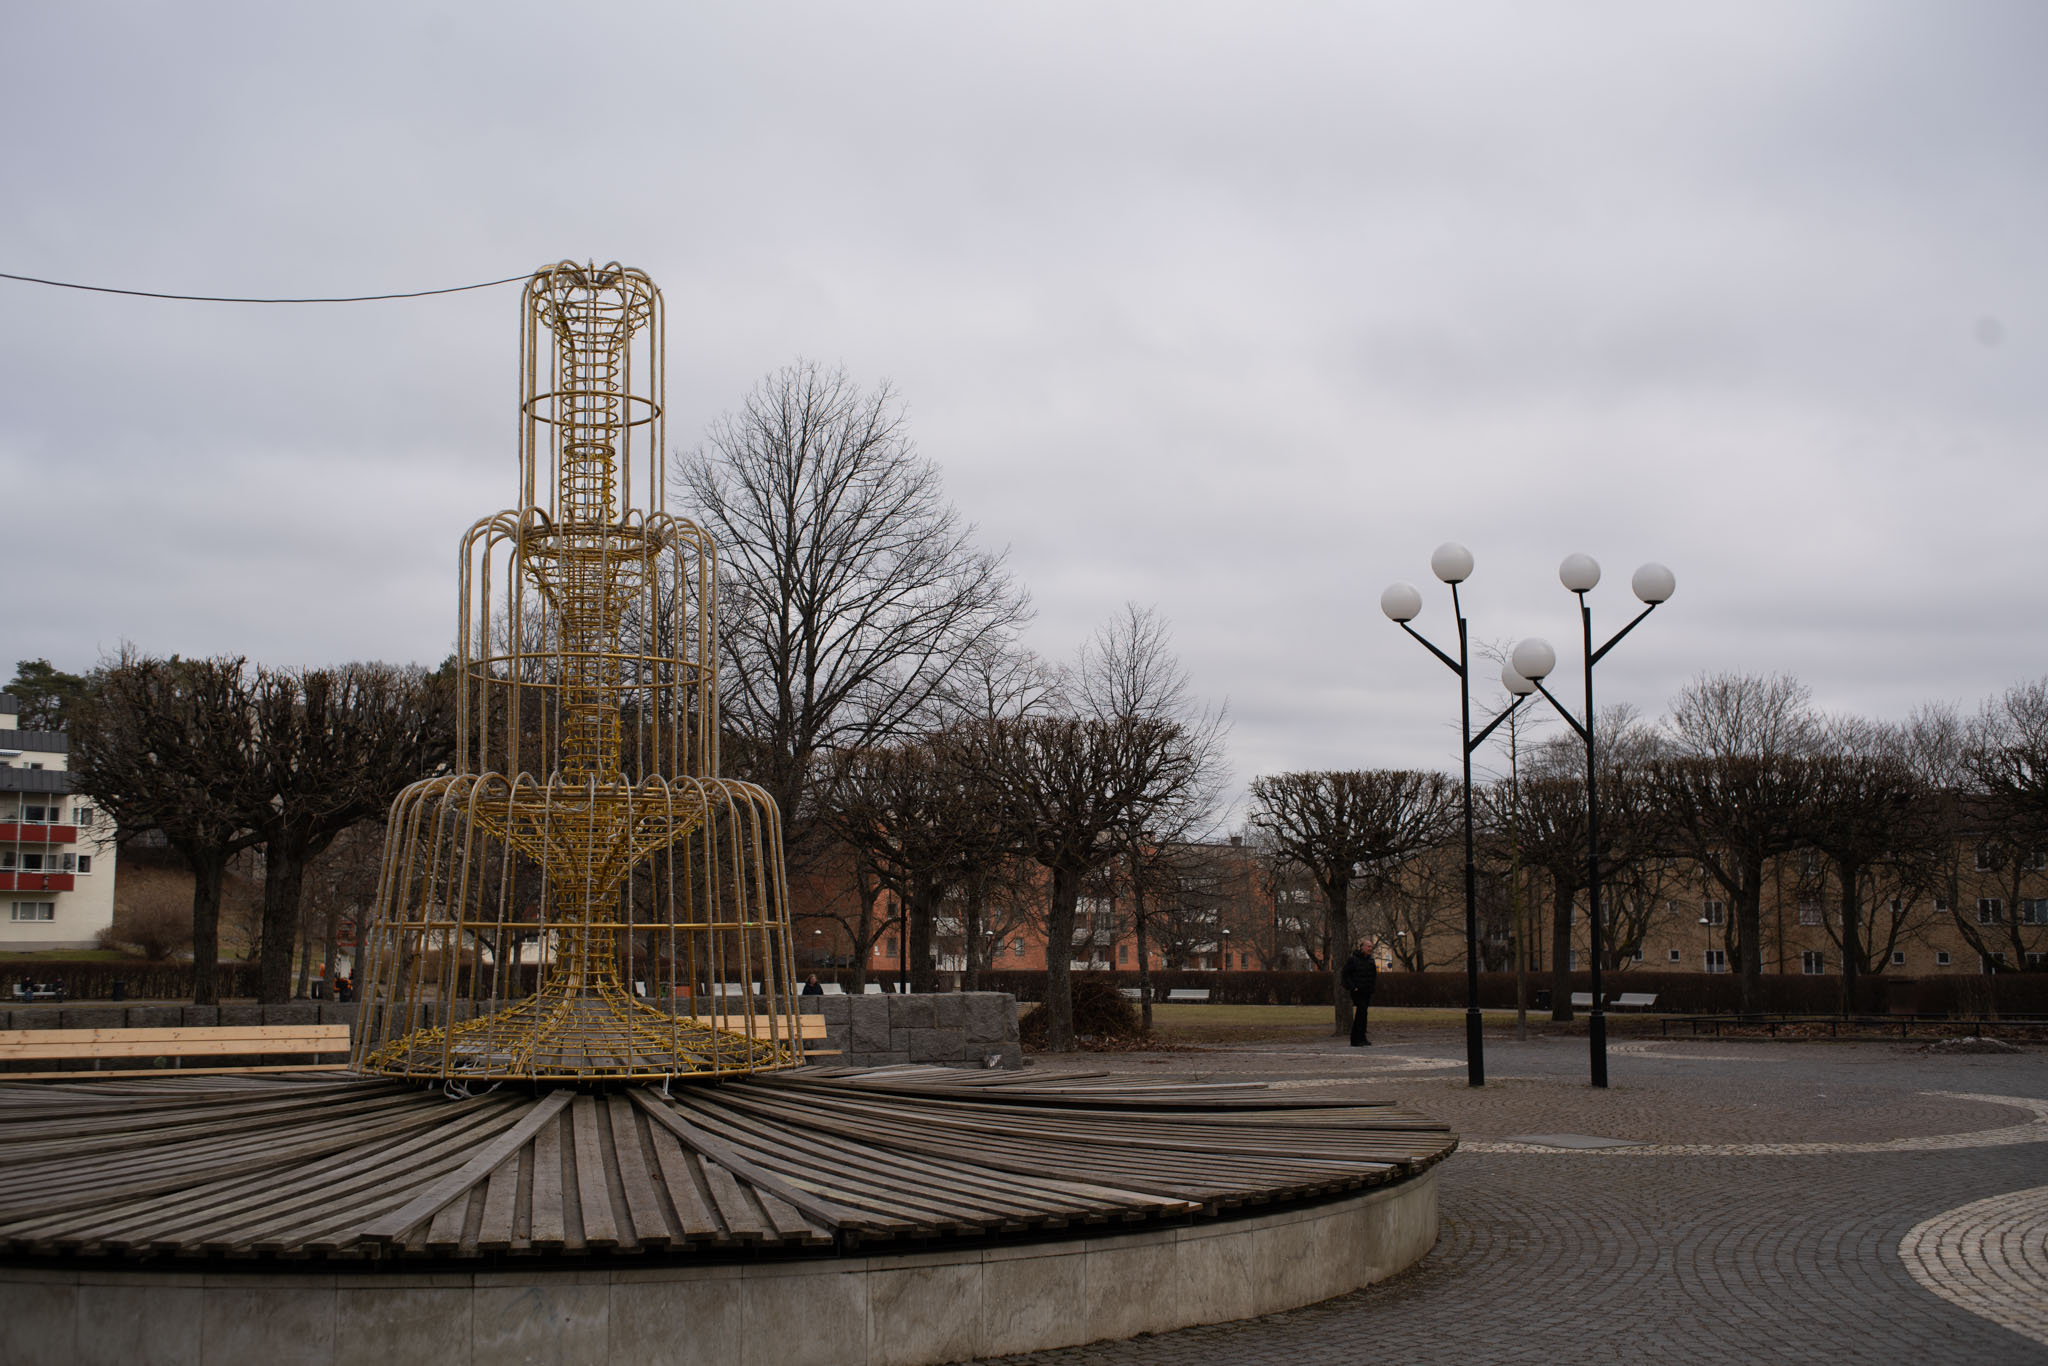
This walk-around is based on imagery that occurred between the 16th and 17th of March. It begins with me boarding a ferry in Helsinki, continues with me walking across the Stockholm central district of Södermalm and ends with me walking around in the Stockholm suburb of Vällingby (In Vällingby I switched lenses and those images will be forthcoming).
Whenever I intend to shoot vintage lenses I choose between Sony ⍺7R2 (high resolution, compact body, wide range of adapters) and my Nikon Z5 (better ergonomics, supreme battery life) and in this case I chose the Sony simply because of compactness.
Shots were taken using a Fotga Konica AR->NEX adapter mounted on the pictured body, unless mentioned otherwise. Unlike the image above, the lens hood was not used. All shots in RAW, handheld with IBIS on.
Edit in post: ACR default conversion only4, straighten, resize to 2k, save as JPEG quality 60.
Images and commentary
Ghosting, veiling
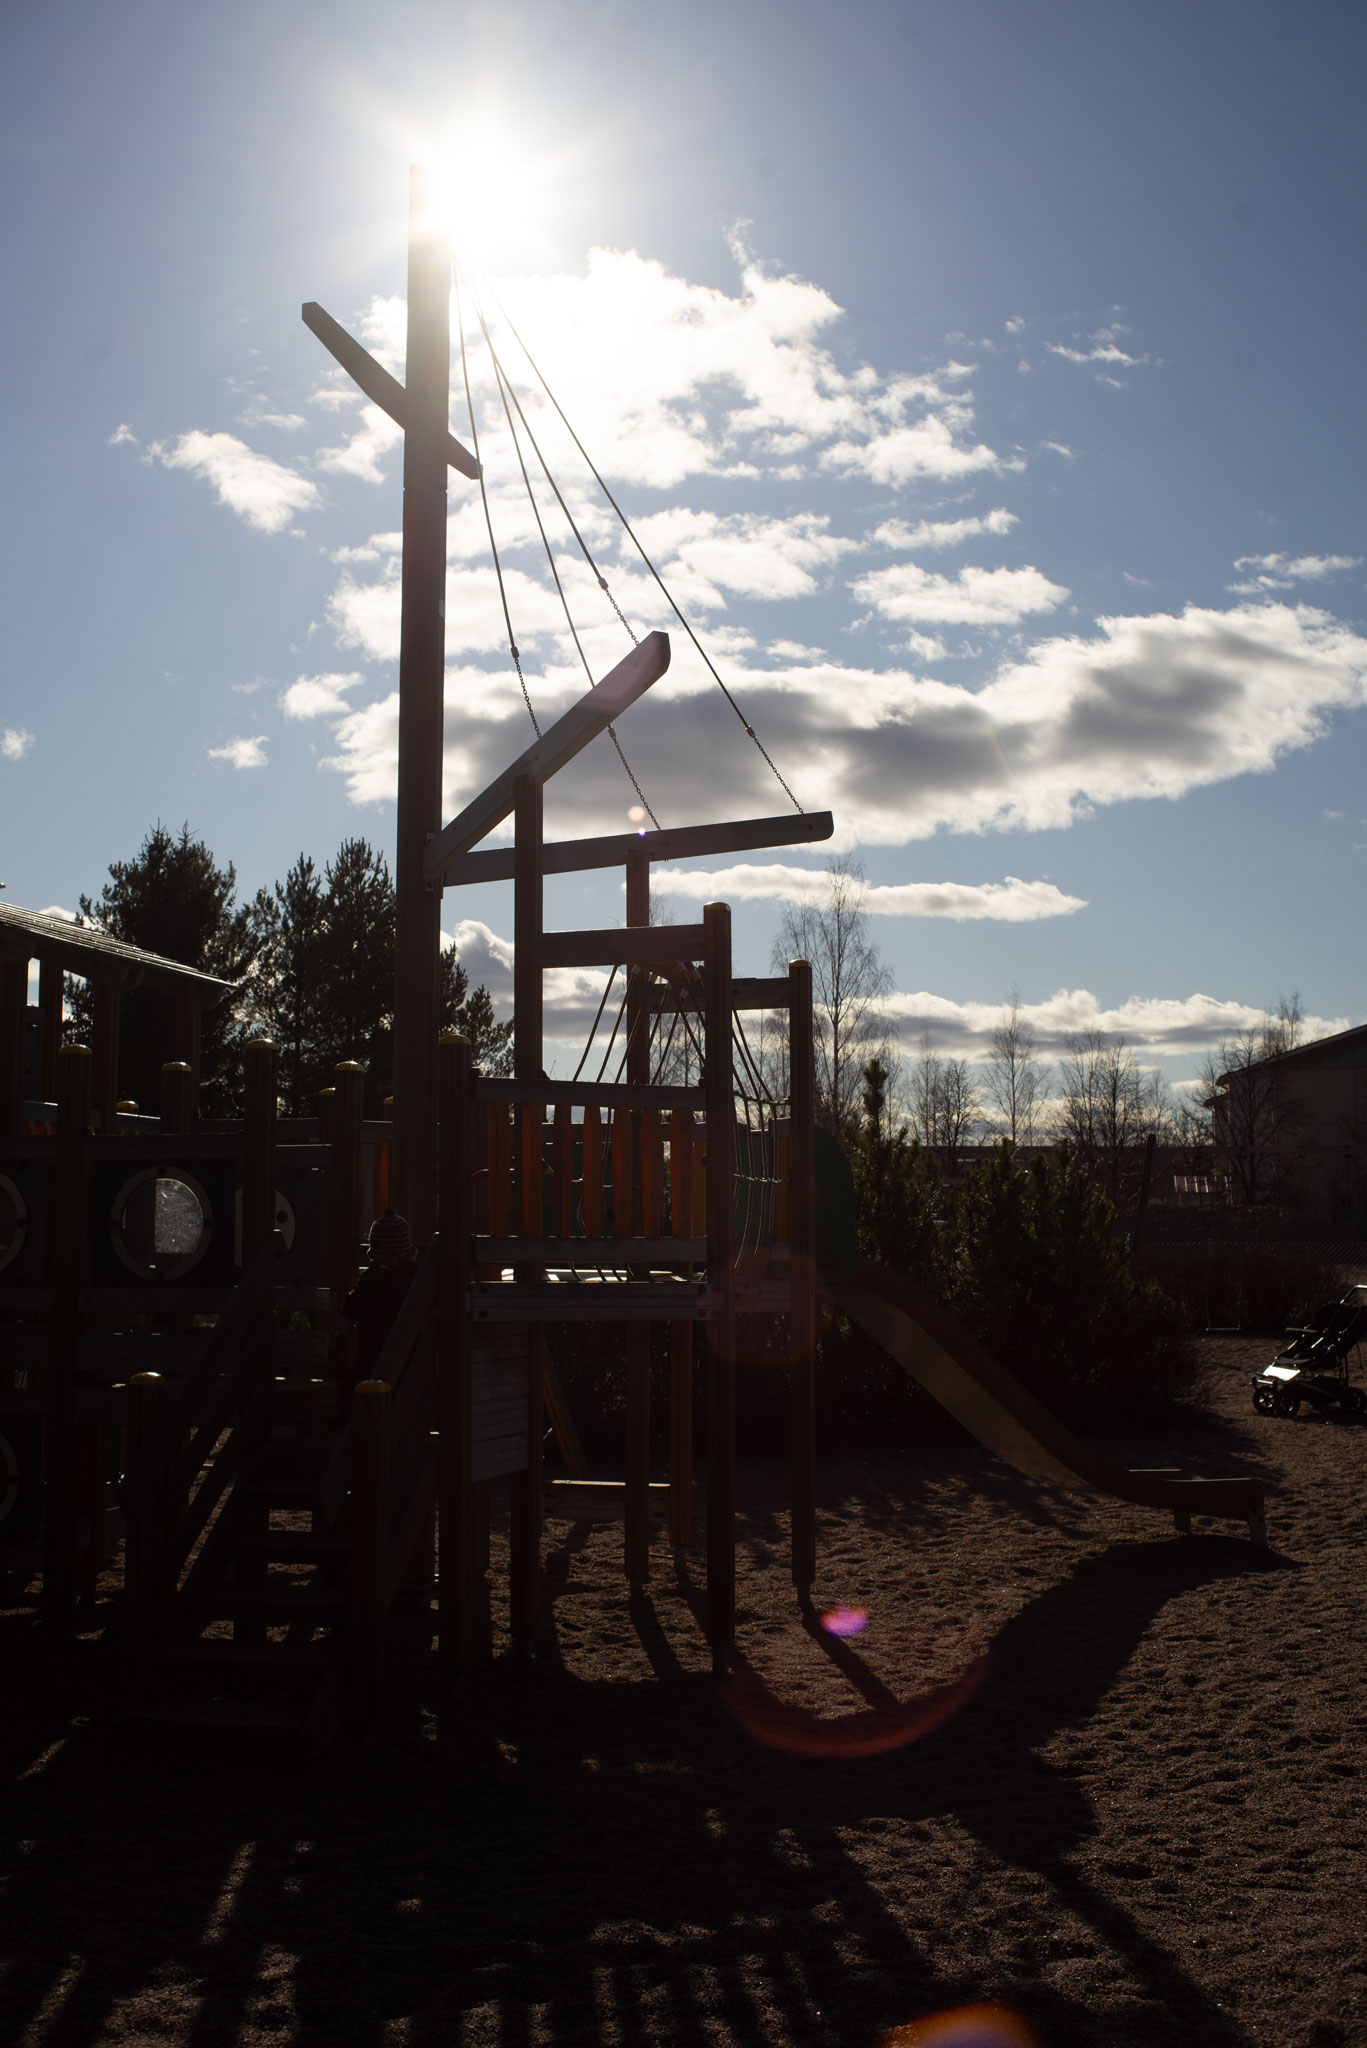
Because it so happened that the sun did not shine while I was out with this lens, the commentary on ghosting and veiling is based on imagery taken earlier (with a Sony ⍺7R).
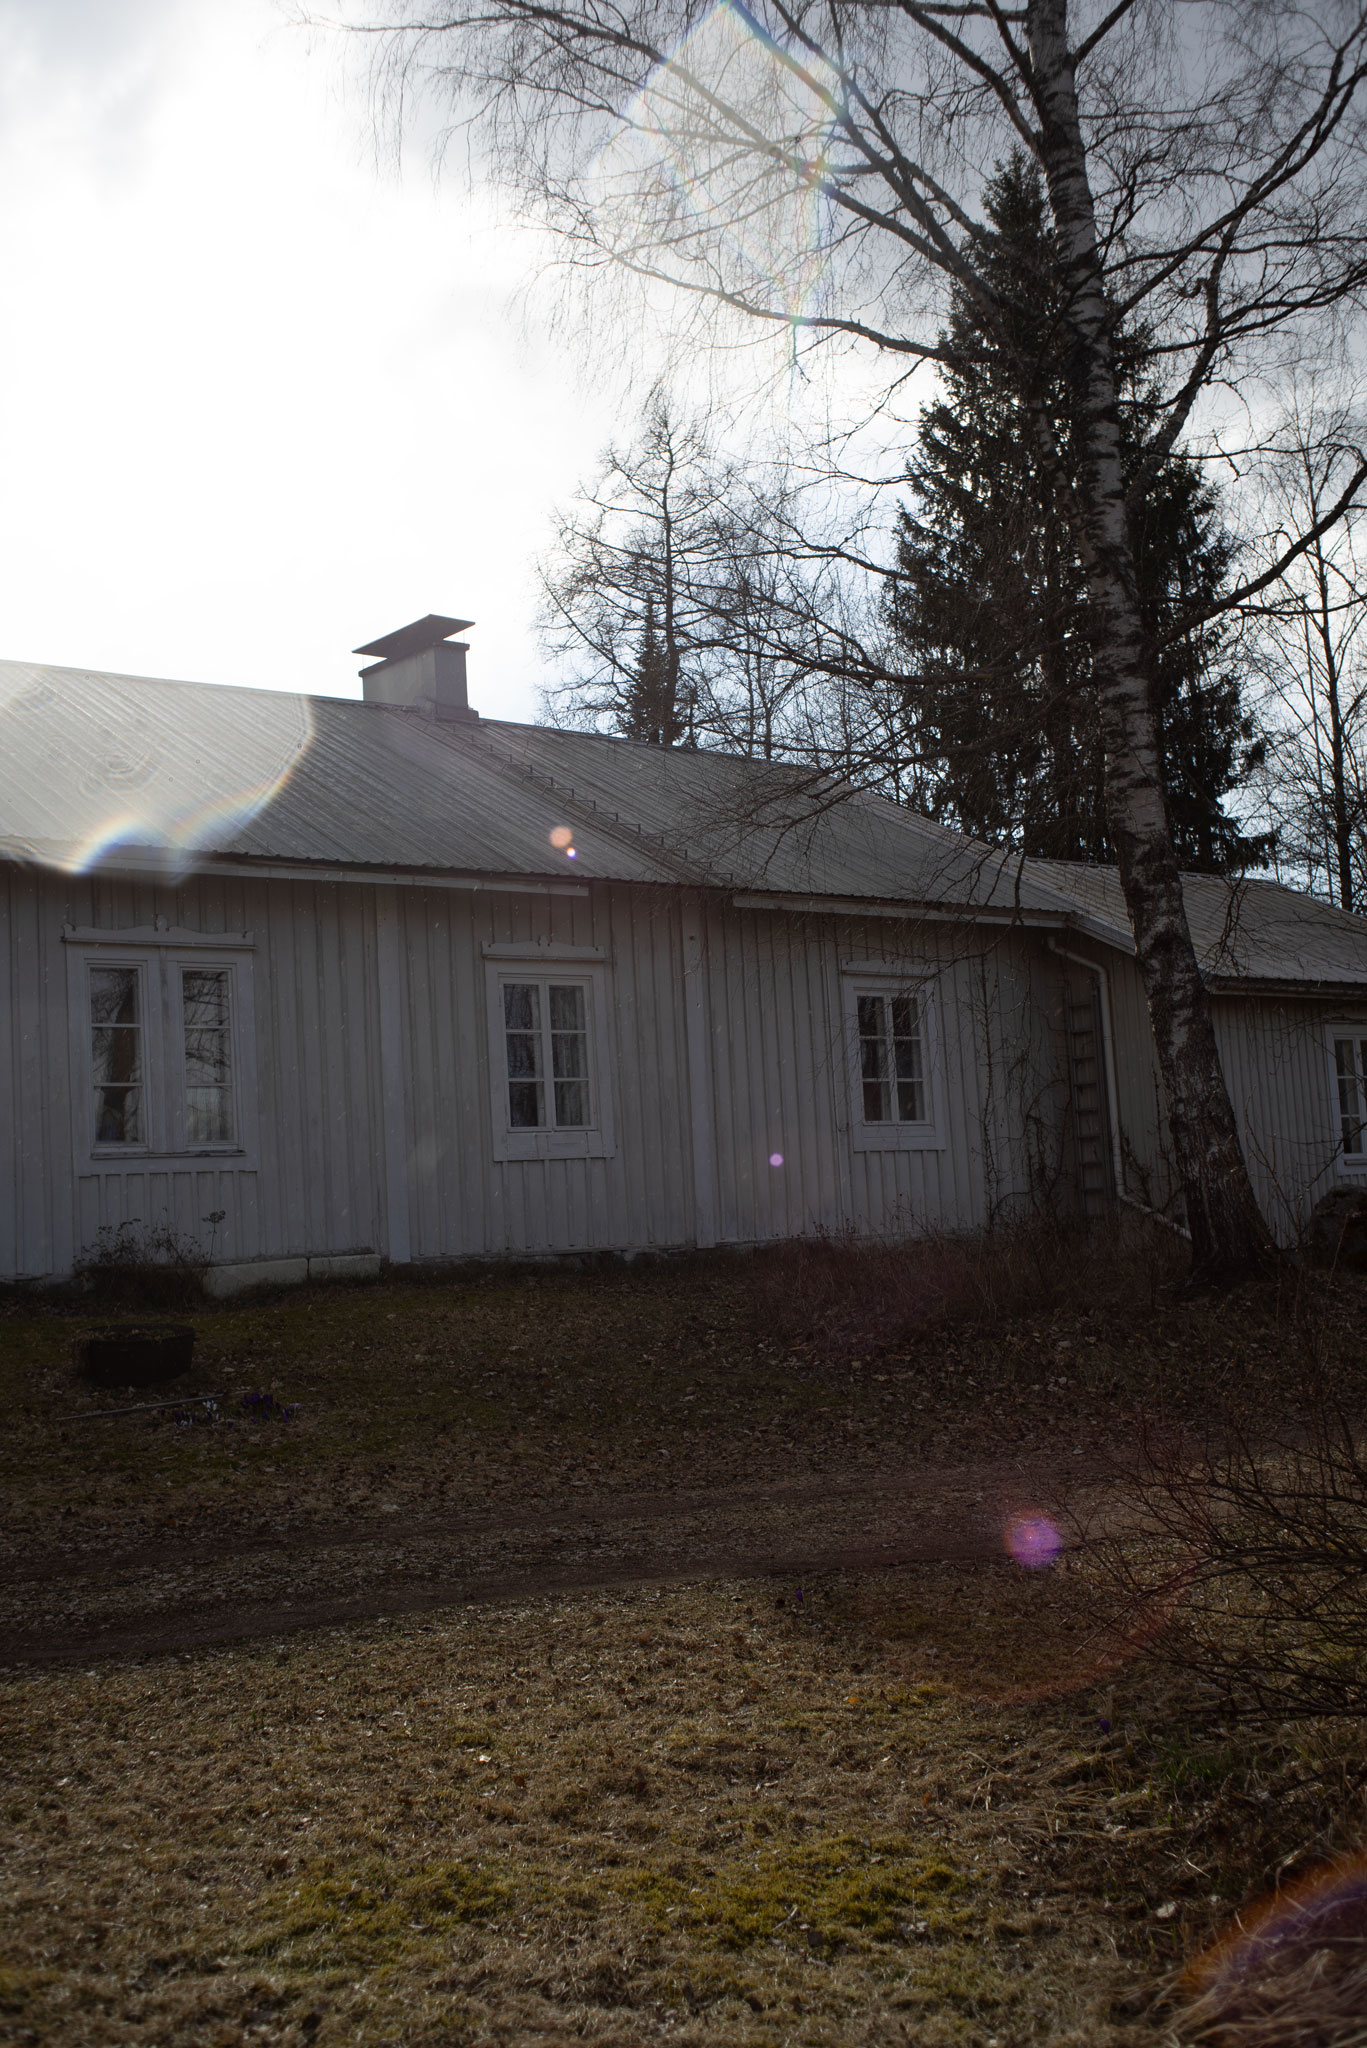
As is evident from the imagery below, this lens is by no means immune to either veiling flare (destruction of contrast around high-power light sources such as the Sun) nor ghosting (coloured shadows caused by internal reflections). Nor is the result particularly bad, especially for what in essence is a 1960s design updated with 1970s coating technology.
See for yourself, considering that these are the worst examples in my library.

Next, let’s discuss vignetting. With 55 mm being a generous filter thread for a 35/2.8 lens, extreme vignetting was not to be expected. At f/2.8 there is some vignetting, but it is not a showstopper and at f/4 vignetting is not field-relevant. At f/5.6 vignetting is practically gone.
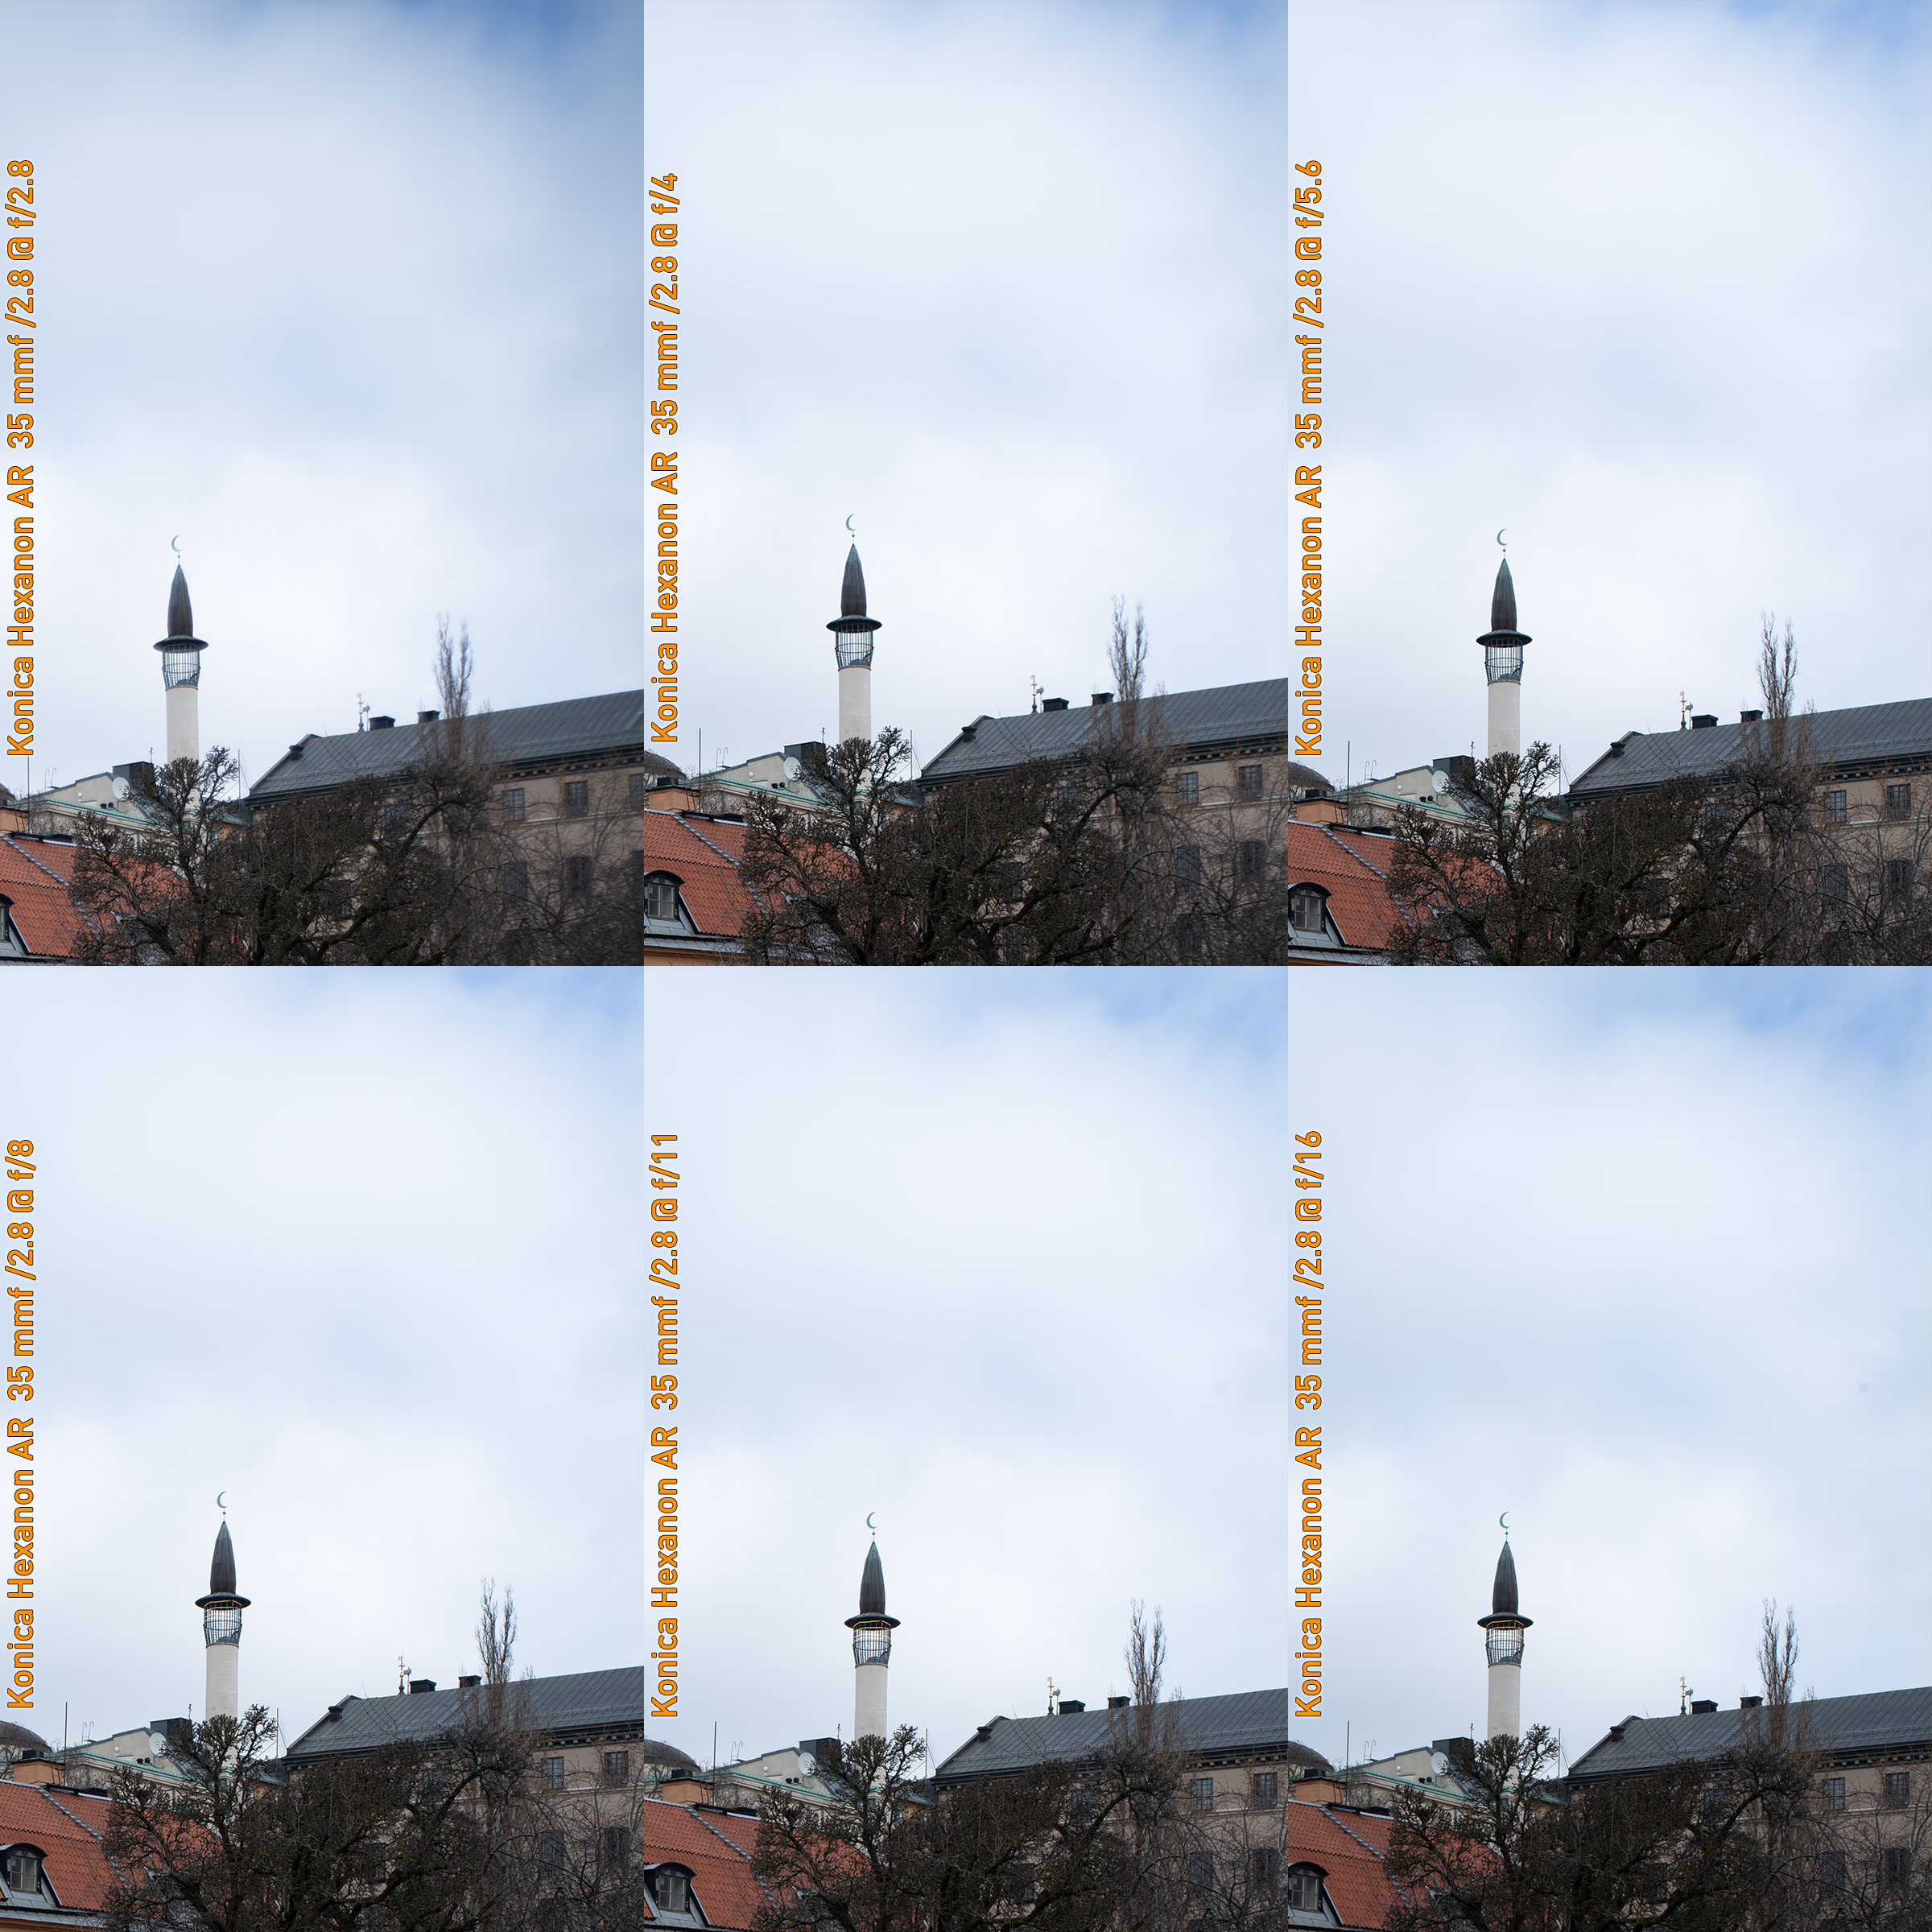
(right-click and open in new tab for larger version)
Sharpness
Before we get started with sharpness: unless you know the difference between ‘definition’ and ‘contrast’, you better read up on the distinction.
No one expects a legacy lens from the 1960s to match the sharpness of modern glass, and everyone knows that if you shoot a 1960s wide-angle wide open, sharpness shouldn’t be the priority.
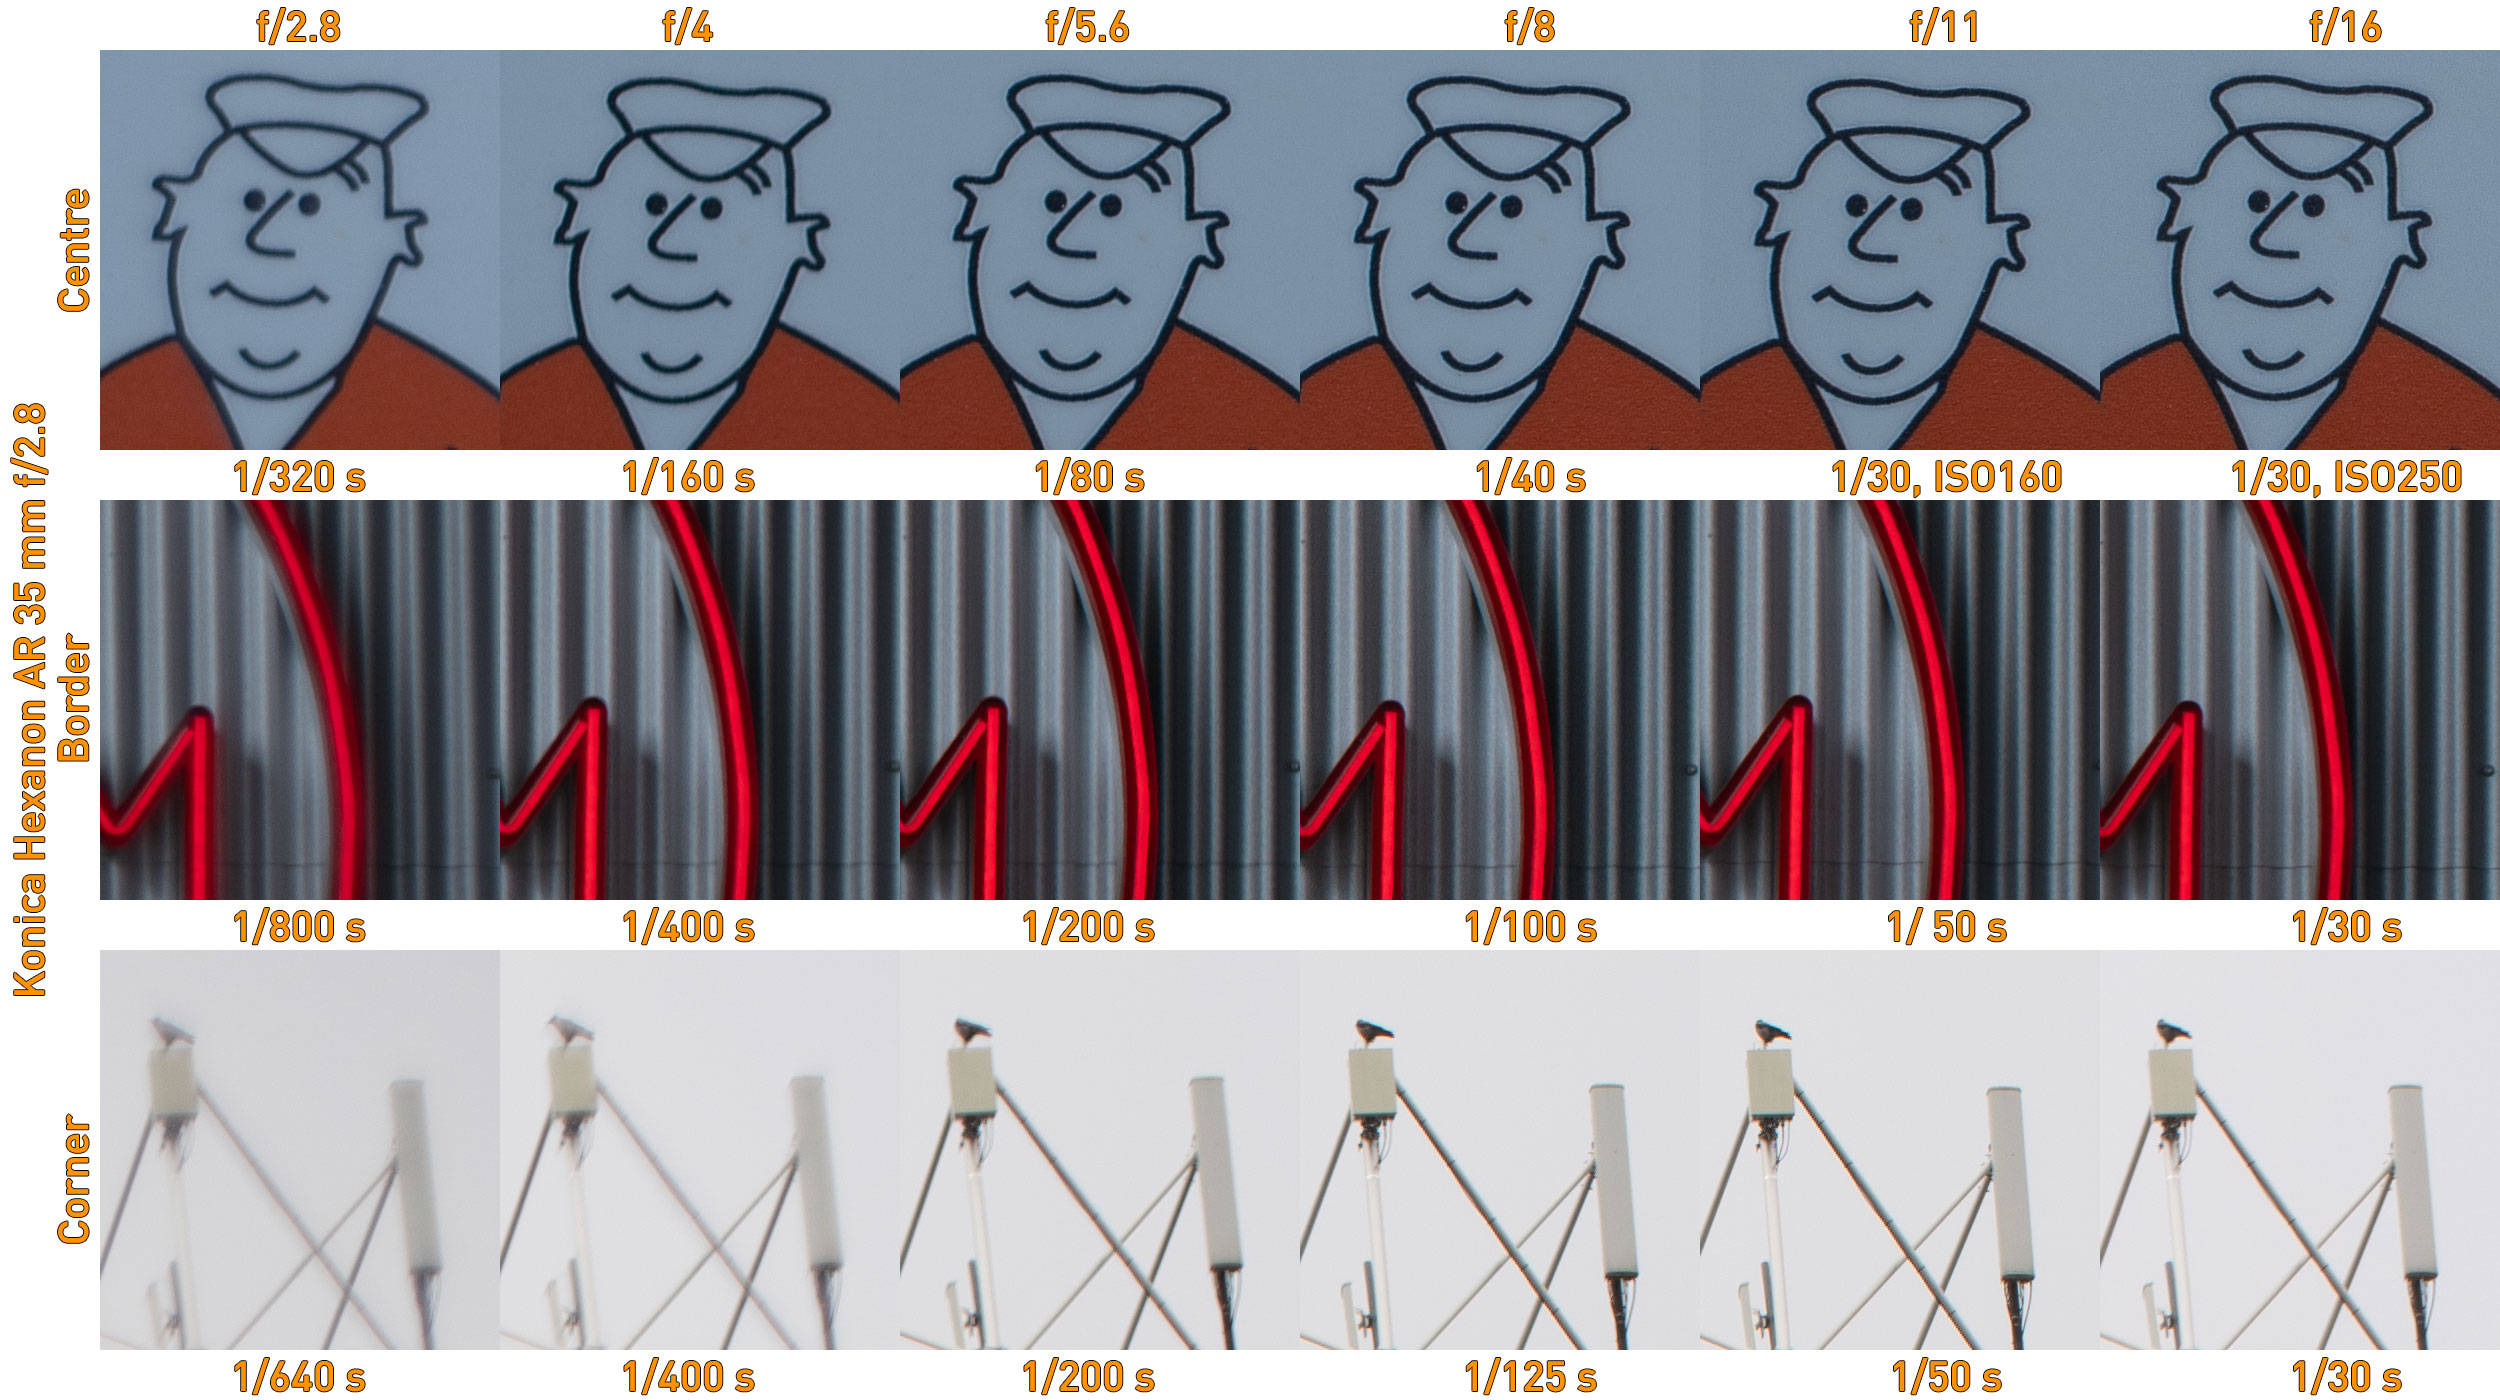
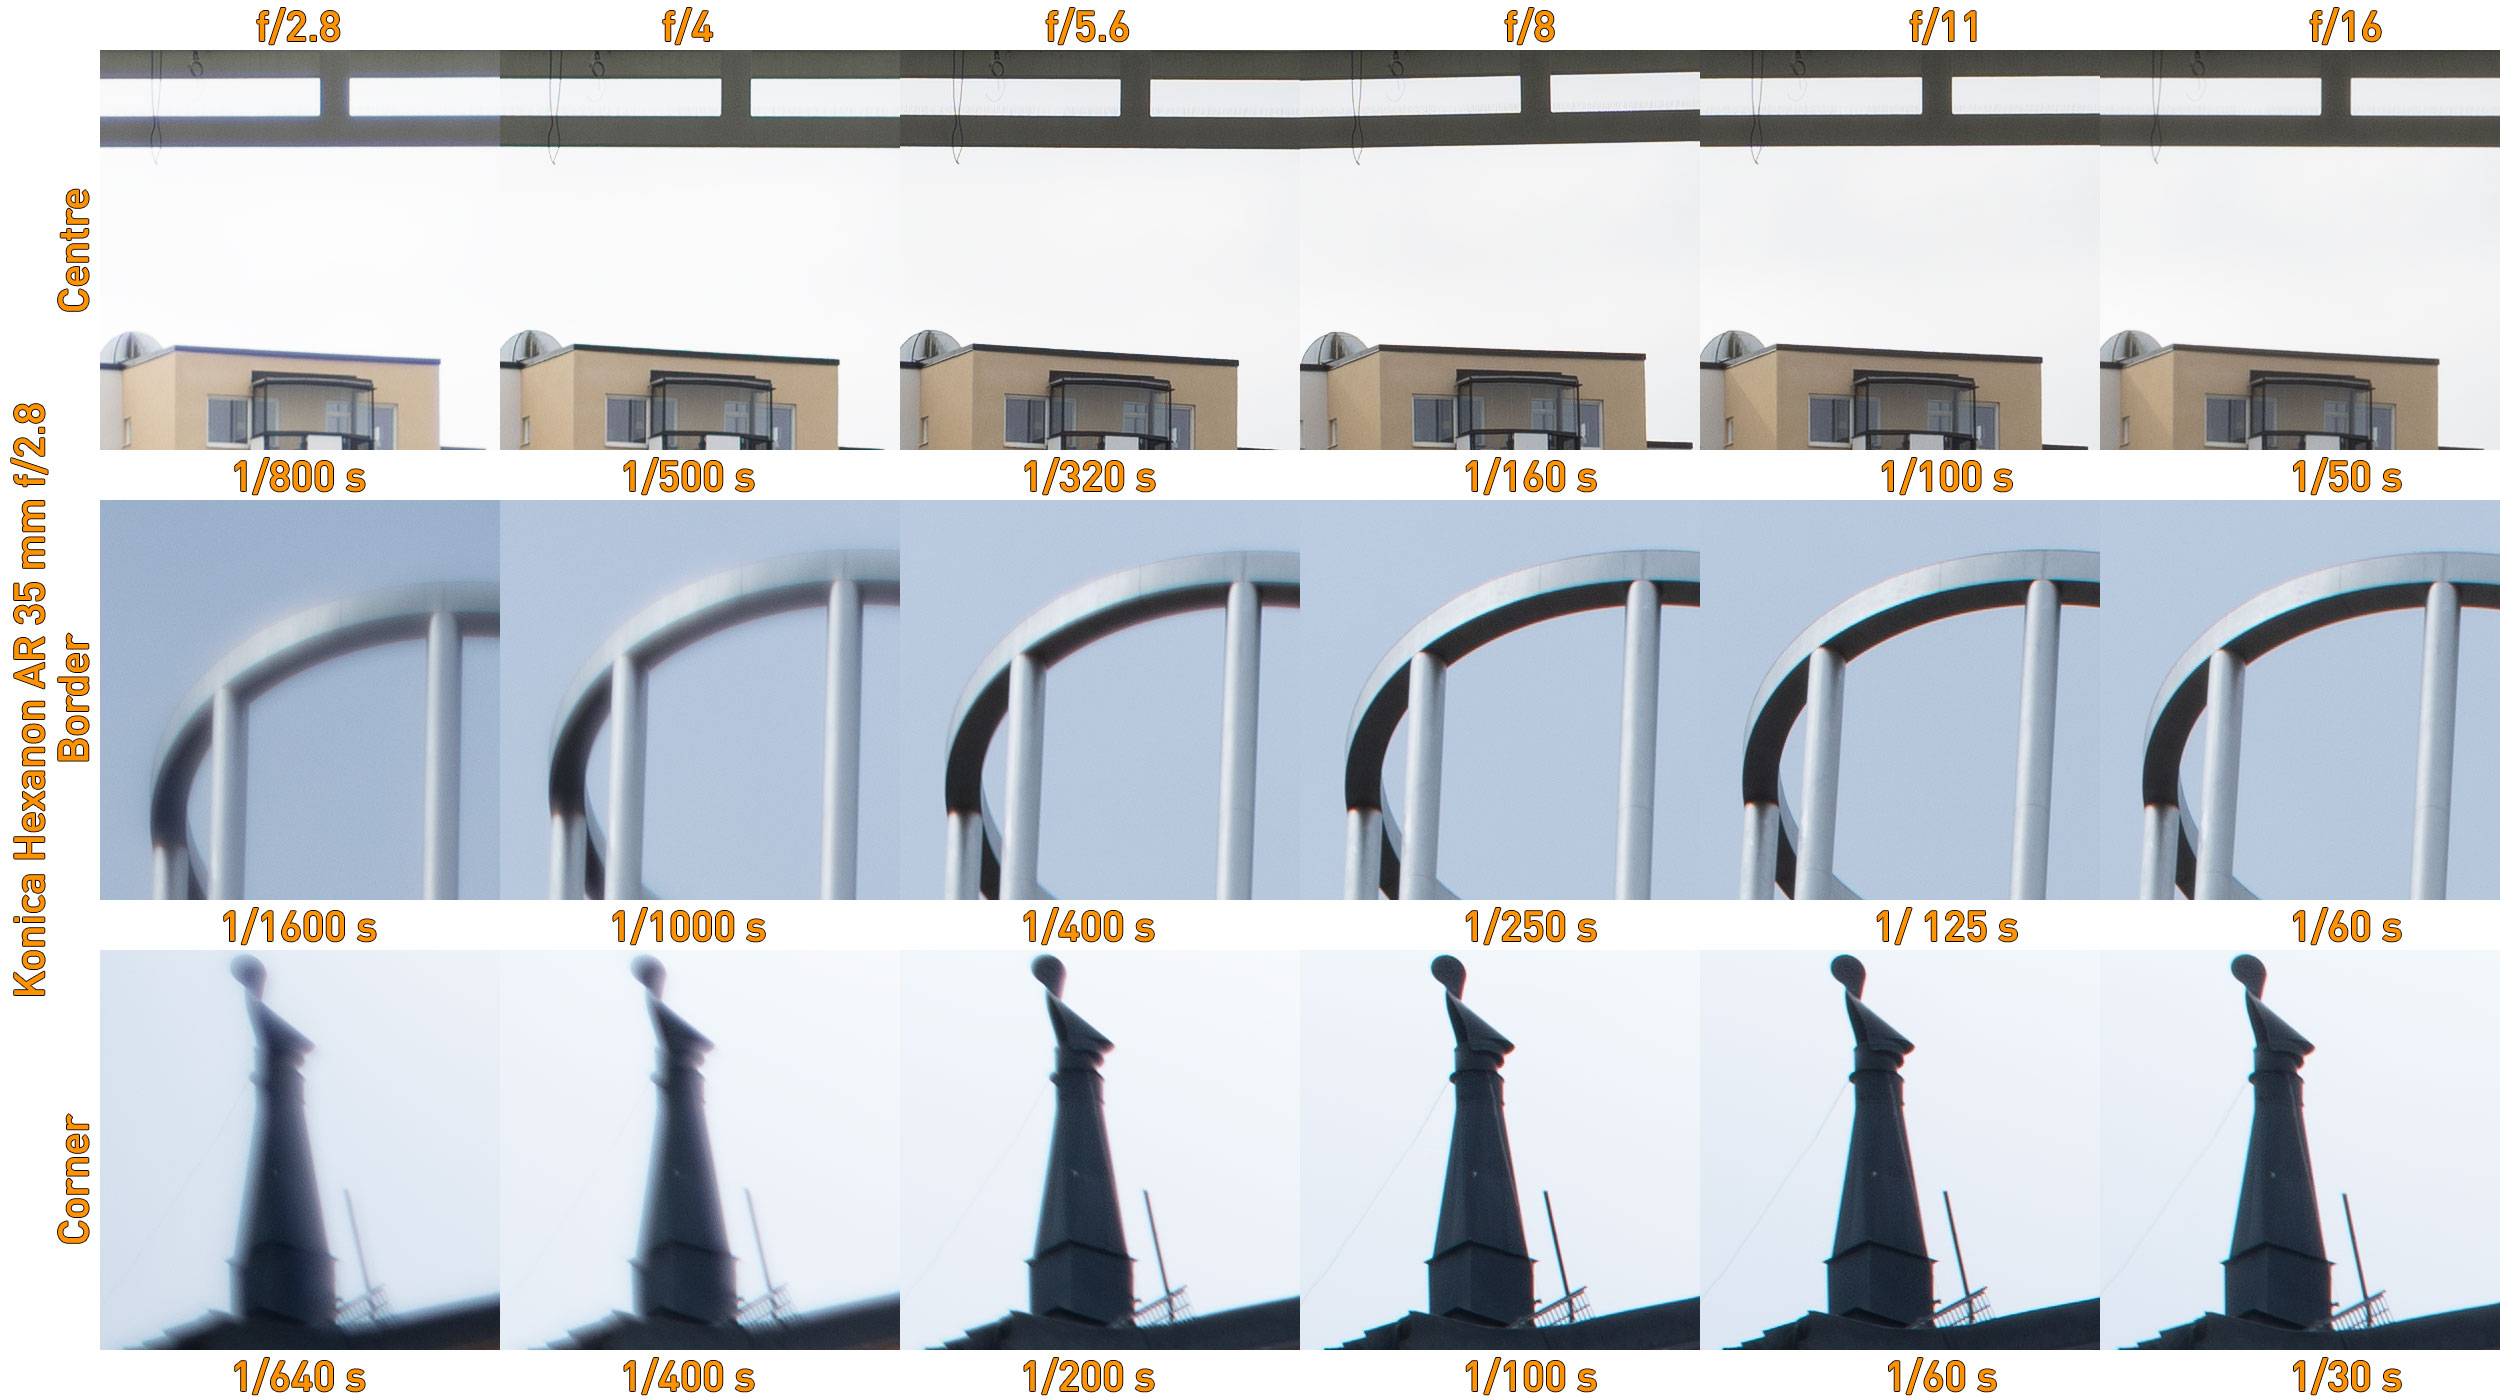
The collage above (f/2.8–f/16) shows six (1:1) crops From various areas of the frame (collected from three different images.
Centre sharpness wide open is so/so. Definition is surprisingly good, but the image lacks contrast. Stopping down to f/4 shows a marked improvement, and f/4 is in the centre already fully usable if stopping down further would lead to undesired outcomes (such as greater depth of field or longer shutter times). Stopping down further to f/5.6 and even to f/8 leads to minor improvements in centre sharpness whereas f/11 no longer leads to an improvement and stopping down to f/16 leads to diffraction setting in leading to a mild (surprisingly mild) drop in sharpness
Border areas are notably soft and glowy at f/2.8. Stopping down to f/4 leads to the glow disappearing and the outlines firming up. Stopping down to f/5.6 leads to another increase in sharpness and at f/8 we’re again reaching peak sharpness territory. Interestingly going from f/5.6 to f/8 is not an insignificant step as f/8 shows details that simply were not there at f/5.6. Going from f/8 to f/11 leads to a very mild increase in sharpness, while going further to f/16 leads to a drop in contrast. If off-centre sharpness is crucial, f/8-f/11 is your safe bet while f/5.6 can work in some circumstances.
Corners are another story as it seems that corners are one stop worse than borders. f/2.8 and f/4 can be ‘interesting’ but if sharpness is sought these apertures should be avoided. Going to f/5.6 recovers a lot of contrast, but should best be avoided. f/8 adds a lot of detail, and f/11 adds a bit more detail. f/16 shows a clear drop in contrast.
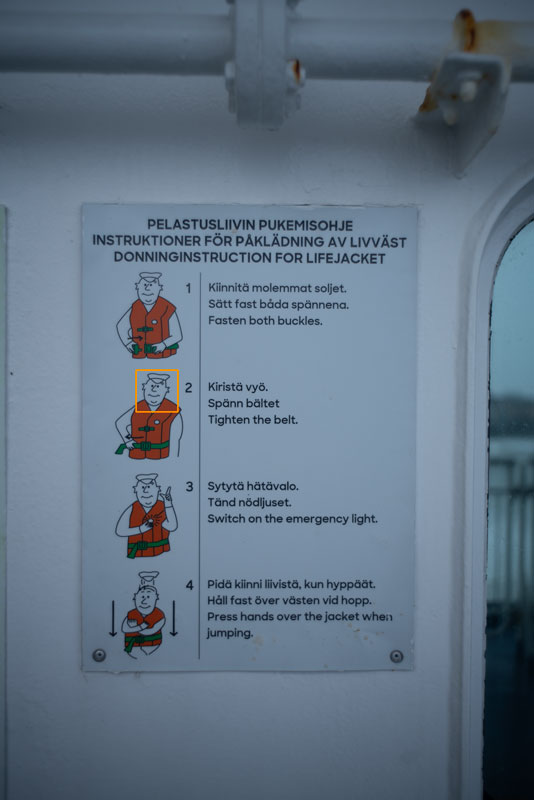
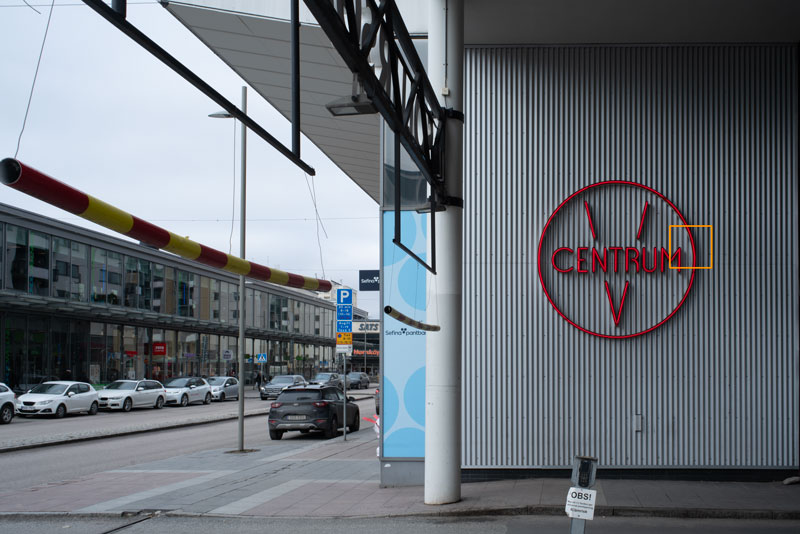
The gallery below shows the original images and the areas of the crops highlighted.
These results are not entirely unexpected for a lens that is a 1960s design. The fundamental reason for lack of wide-open contrast and – to a somewhat lesser degree – definition is most likely simple spherical aberration. There also are clear indications of lateral chromatic aberrations, but we will look at those separately.
Another reason for the lens’ weak corner performance is clearly the existence of some level of field curvature, specifically that the field of sharpness folds toward the camera towards the corners. While strong field curvature can make a lens very challenging to use at all and unusable for general photography, mild field curvature is more the rule than the exception with legacy lenses and is rather a trait that you need to master (and maybe even use to your advantage) than a showstopper.
The absence of any visible corner smearing means that astigmatism is not egregious, but mild to moderate astigmatism could be a contributing factor to loss of contrast and definition in corner areas. Sadly, as I have not had a chance to photograph night-time scenes with this lens yet, I cannot give a certain answer regarding astigmatism or comatic aberration.
Chromatic aberrations
Because some of the images above already show signs of chromatic aberrations, a closer inspection is warranted.
While the lens shows practically no signs of longitudinal chromatic aberrations, these crops show that border and corner areas do have a tendency to producing lateral chromatic aberrations (Please disregard the blurriness that is due to spherical aberration and field curvature, rather focus on the coloured shadows that indicate chromatic aberration). Lateral chromatic aberrations are pesky because they do not improve by stopping down, but can instead become worse as other aberrations recede. On the other hand, modern post-production tolls can help address these.
Other aberrations
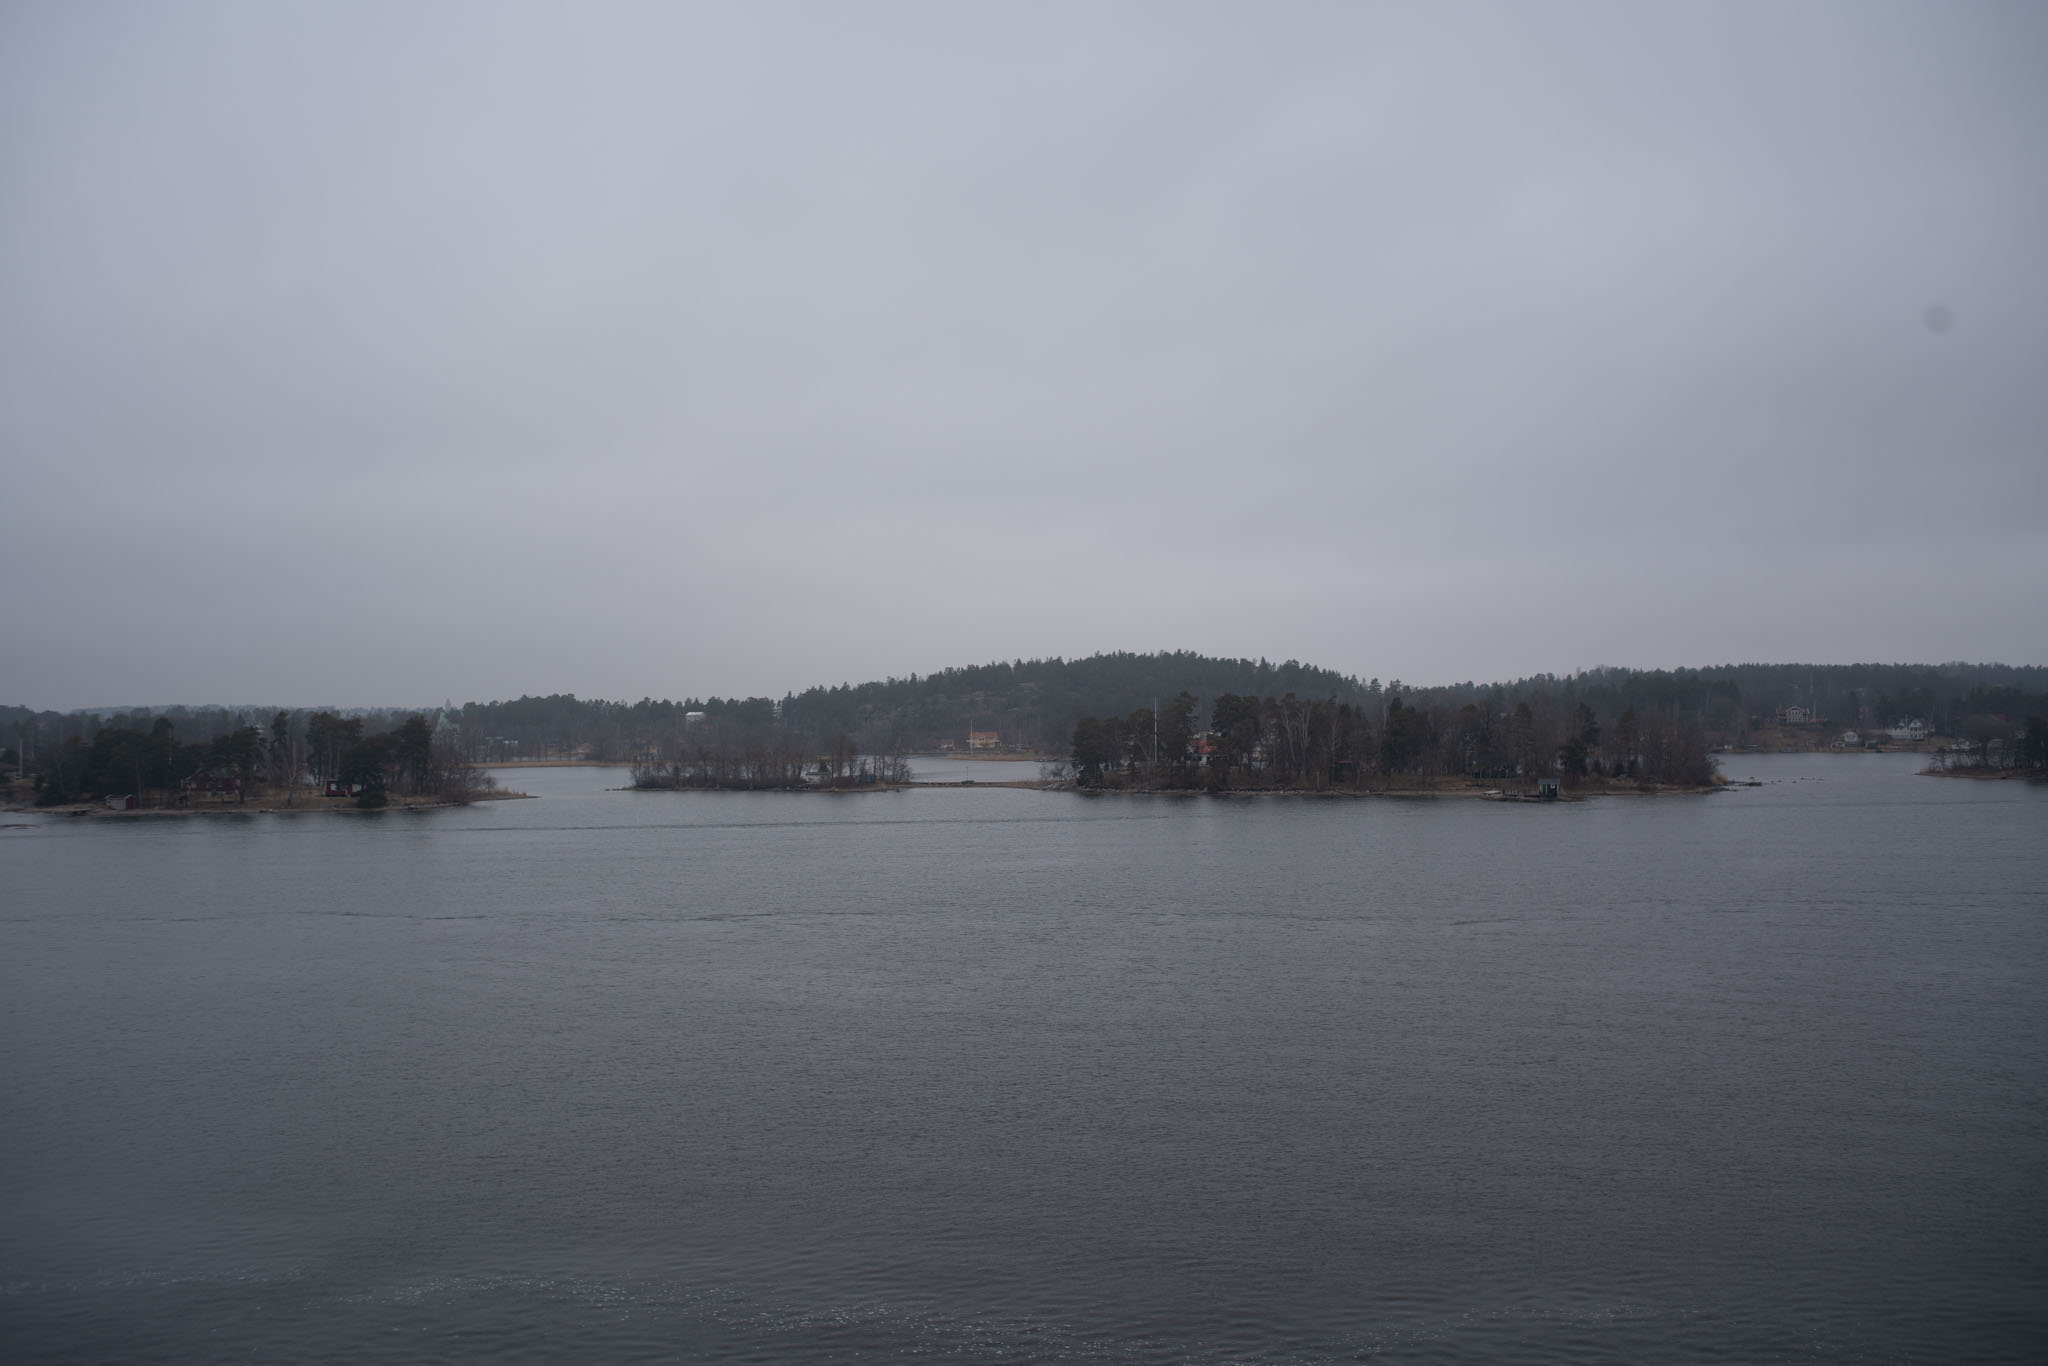
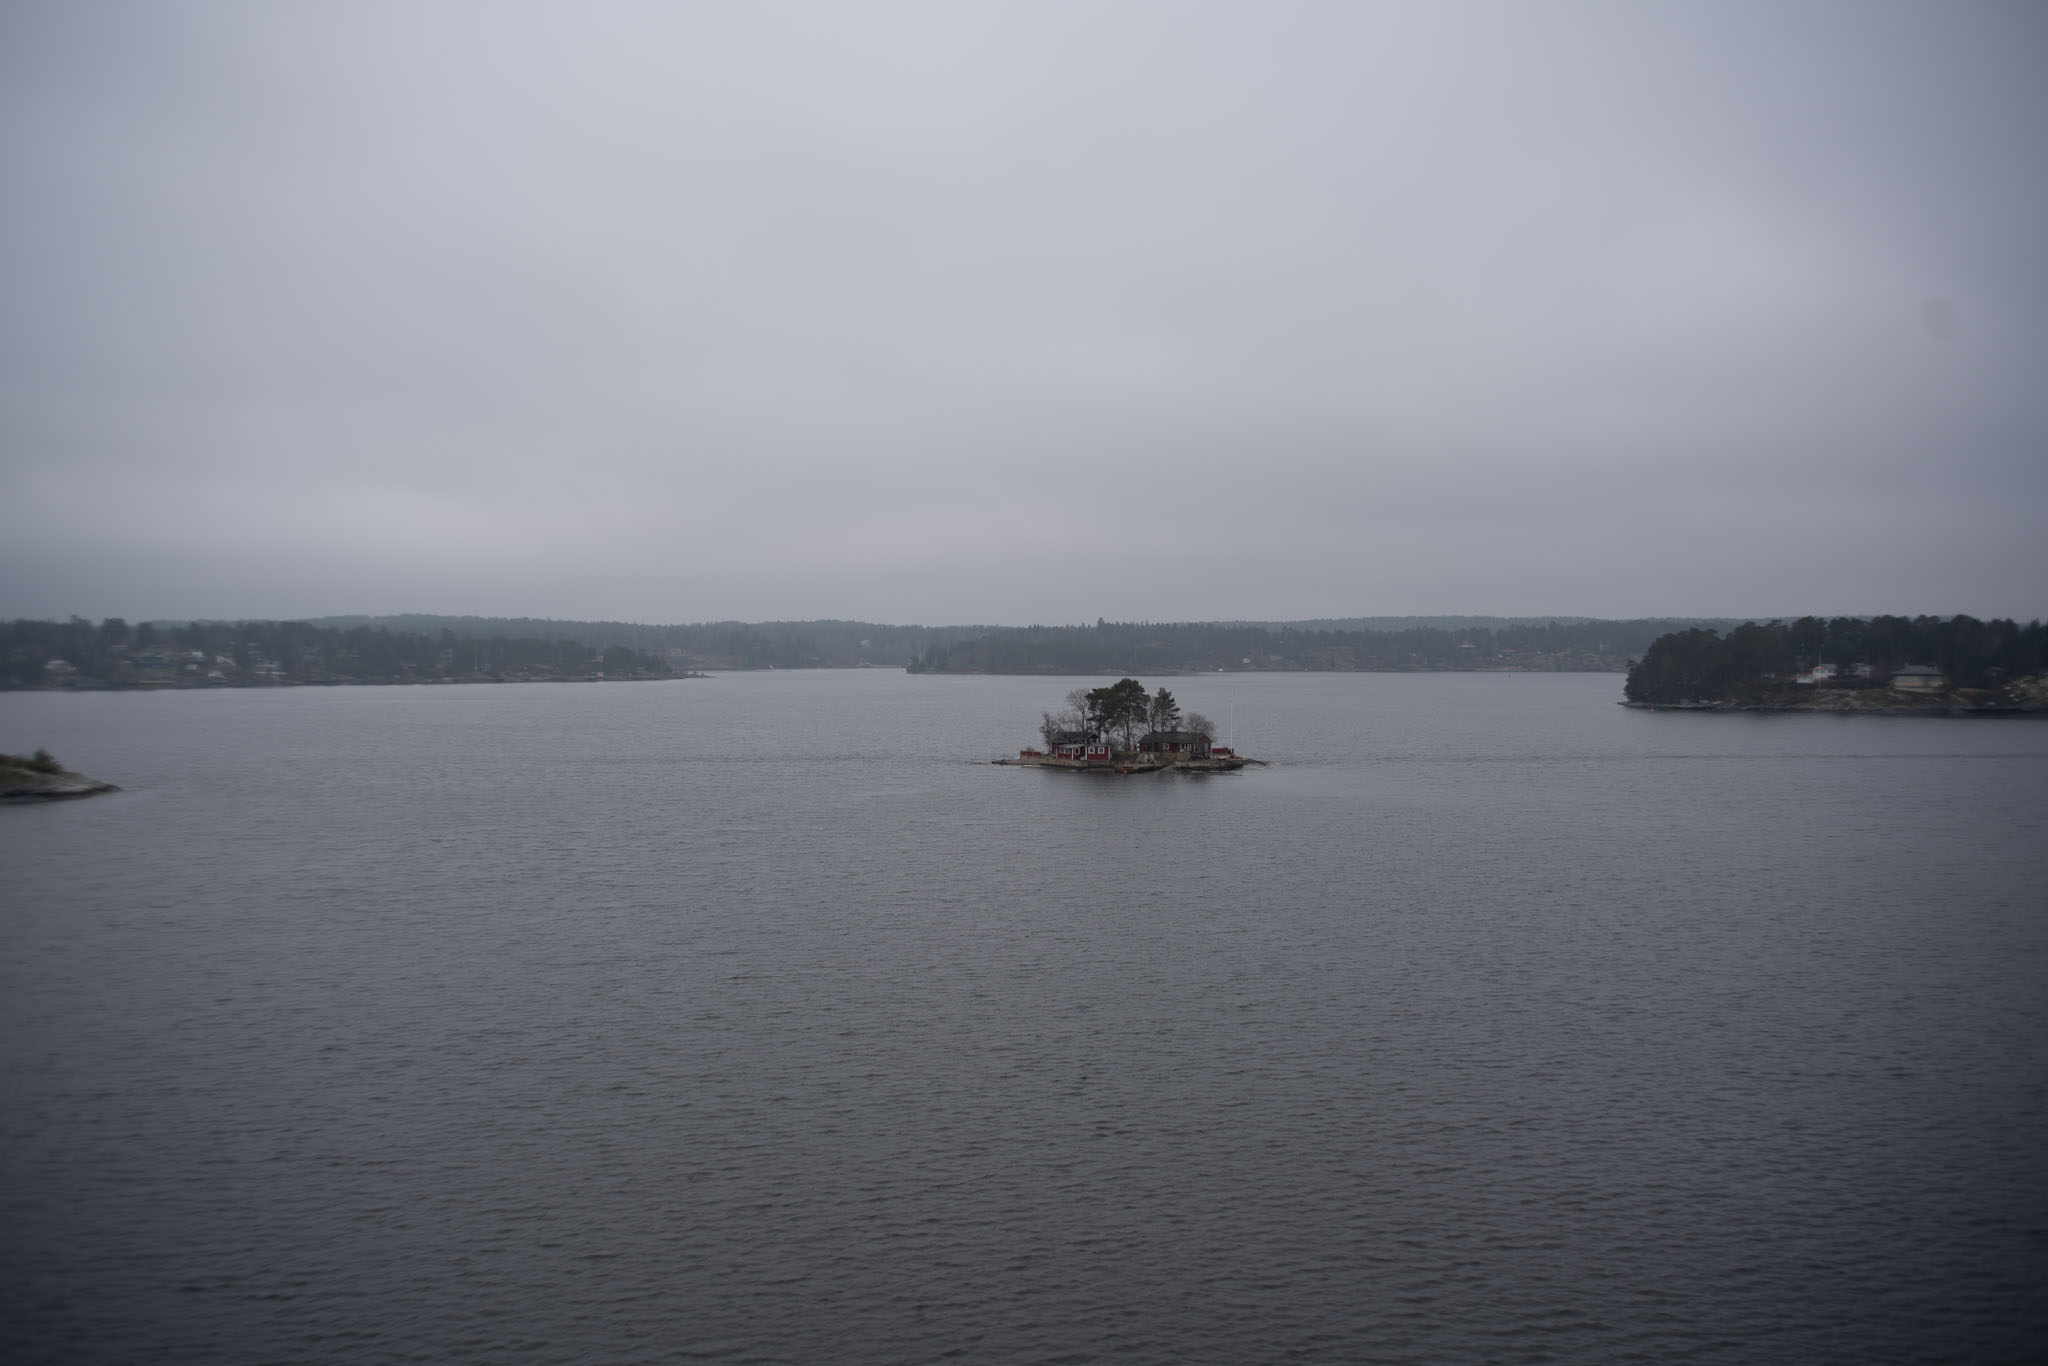
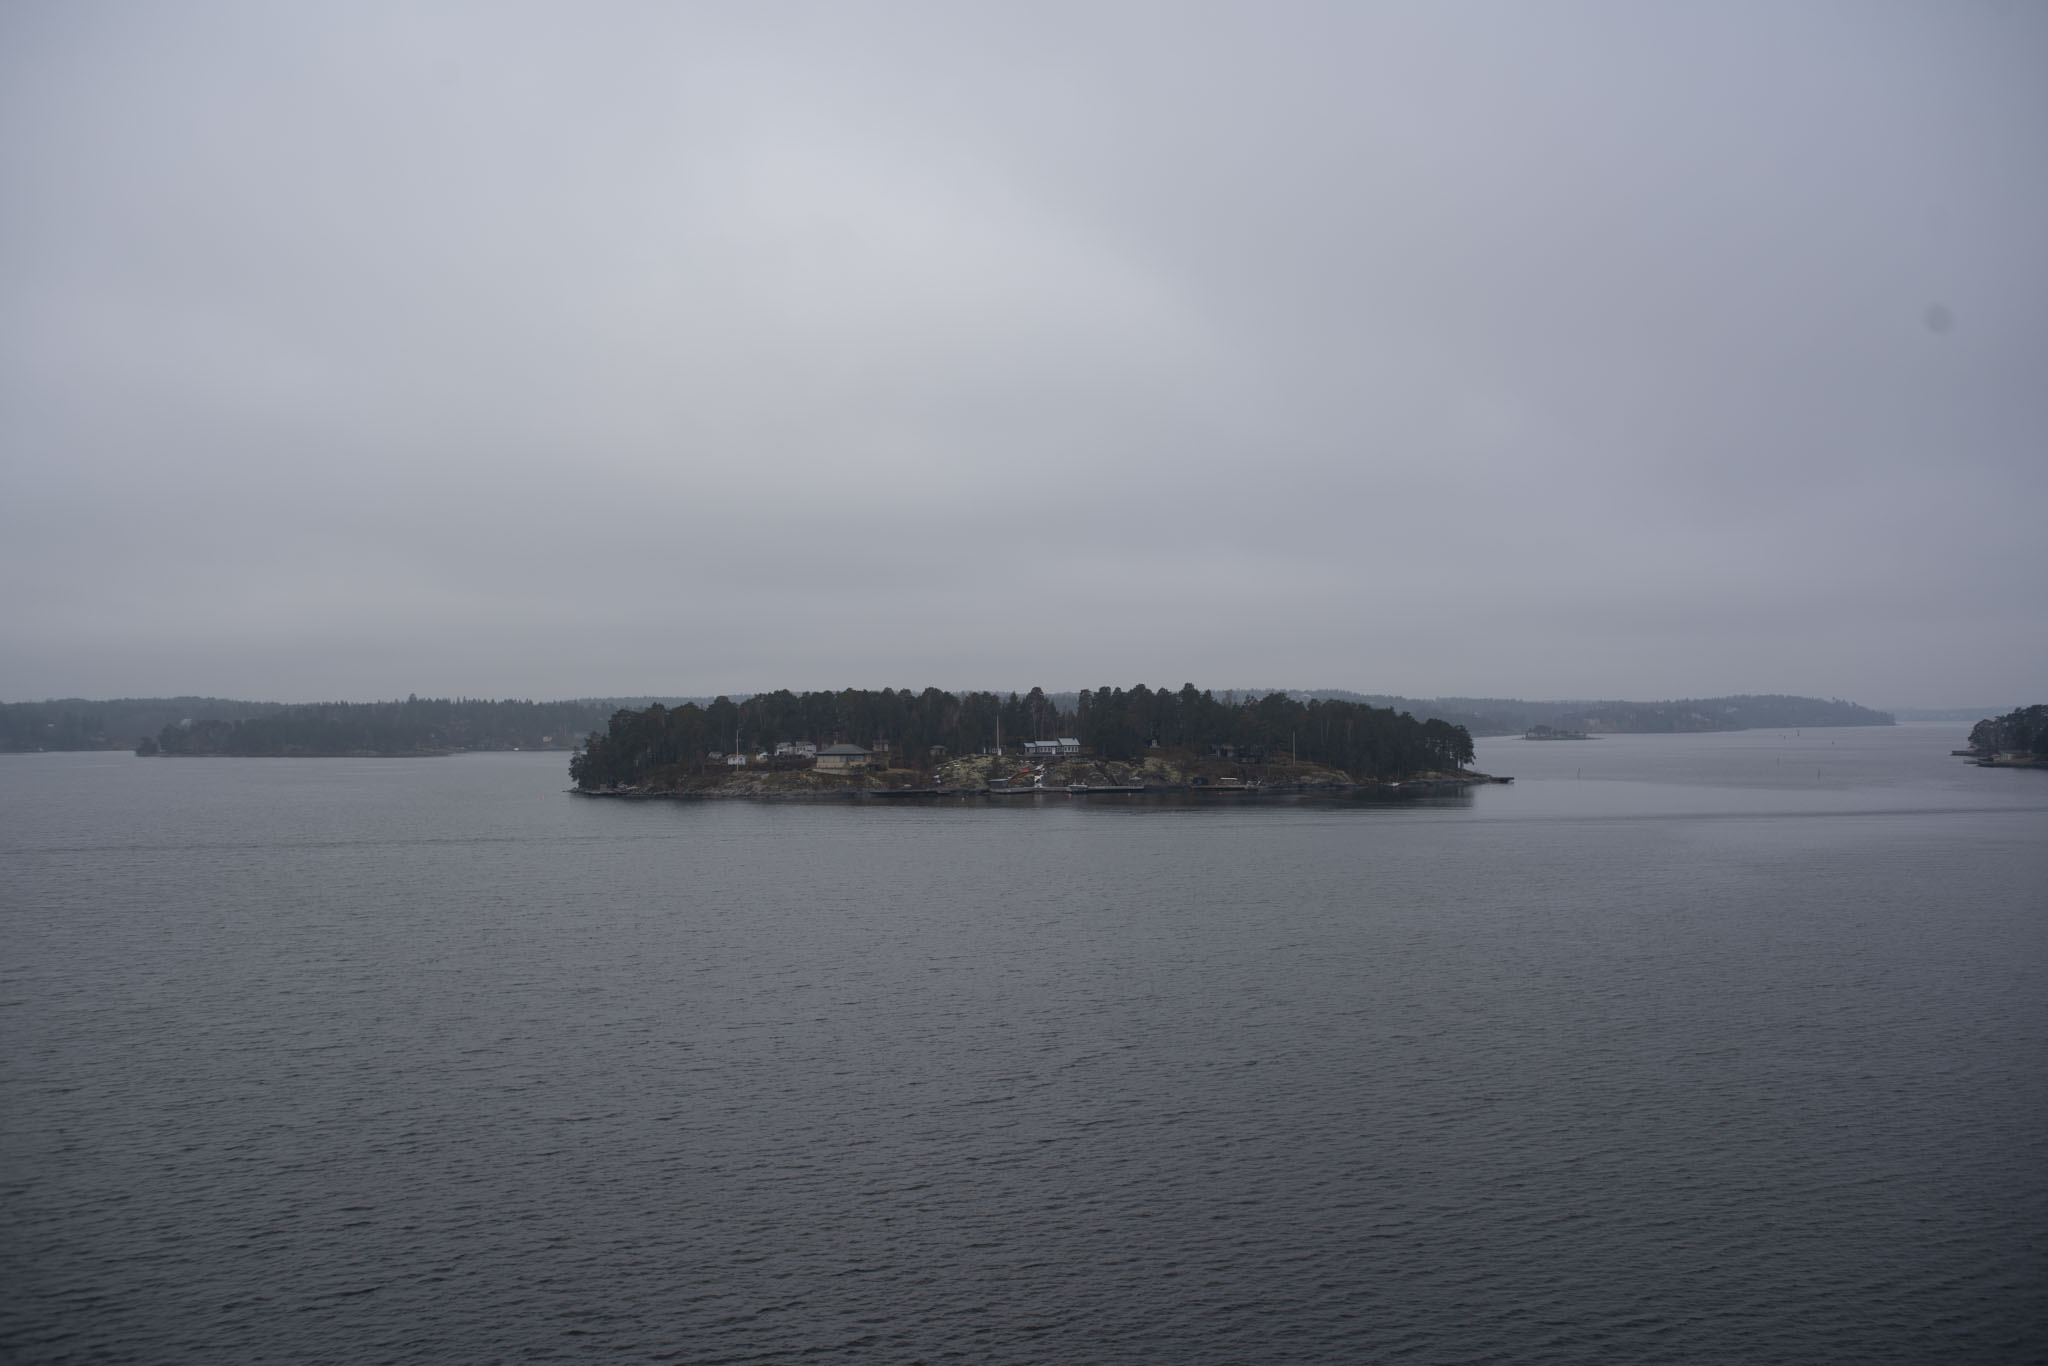
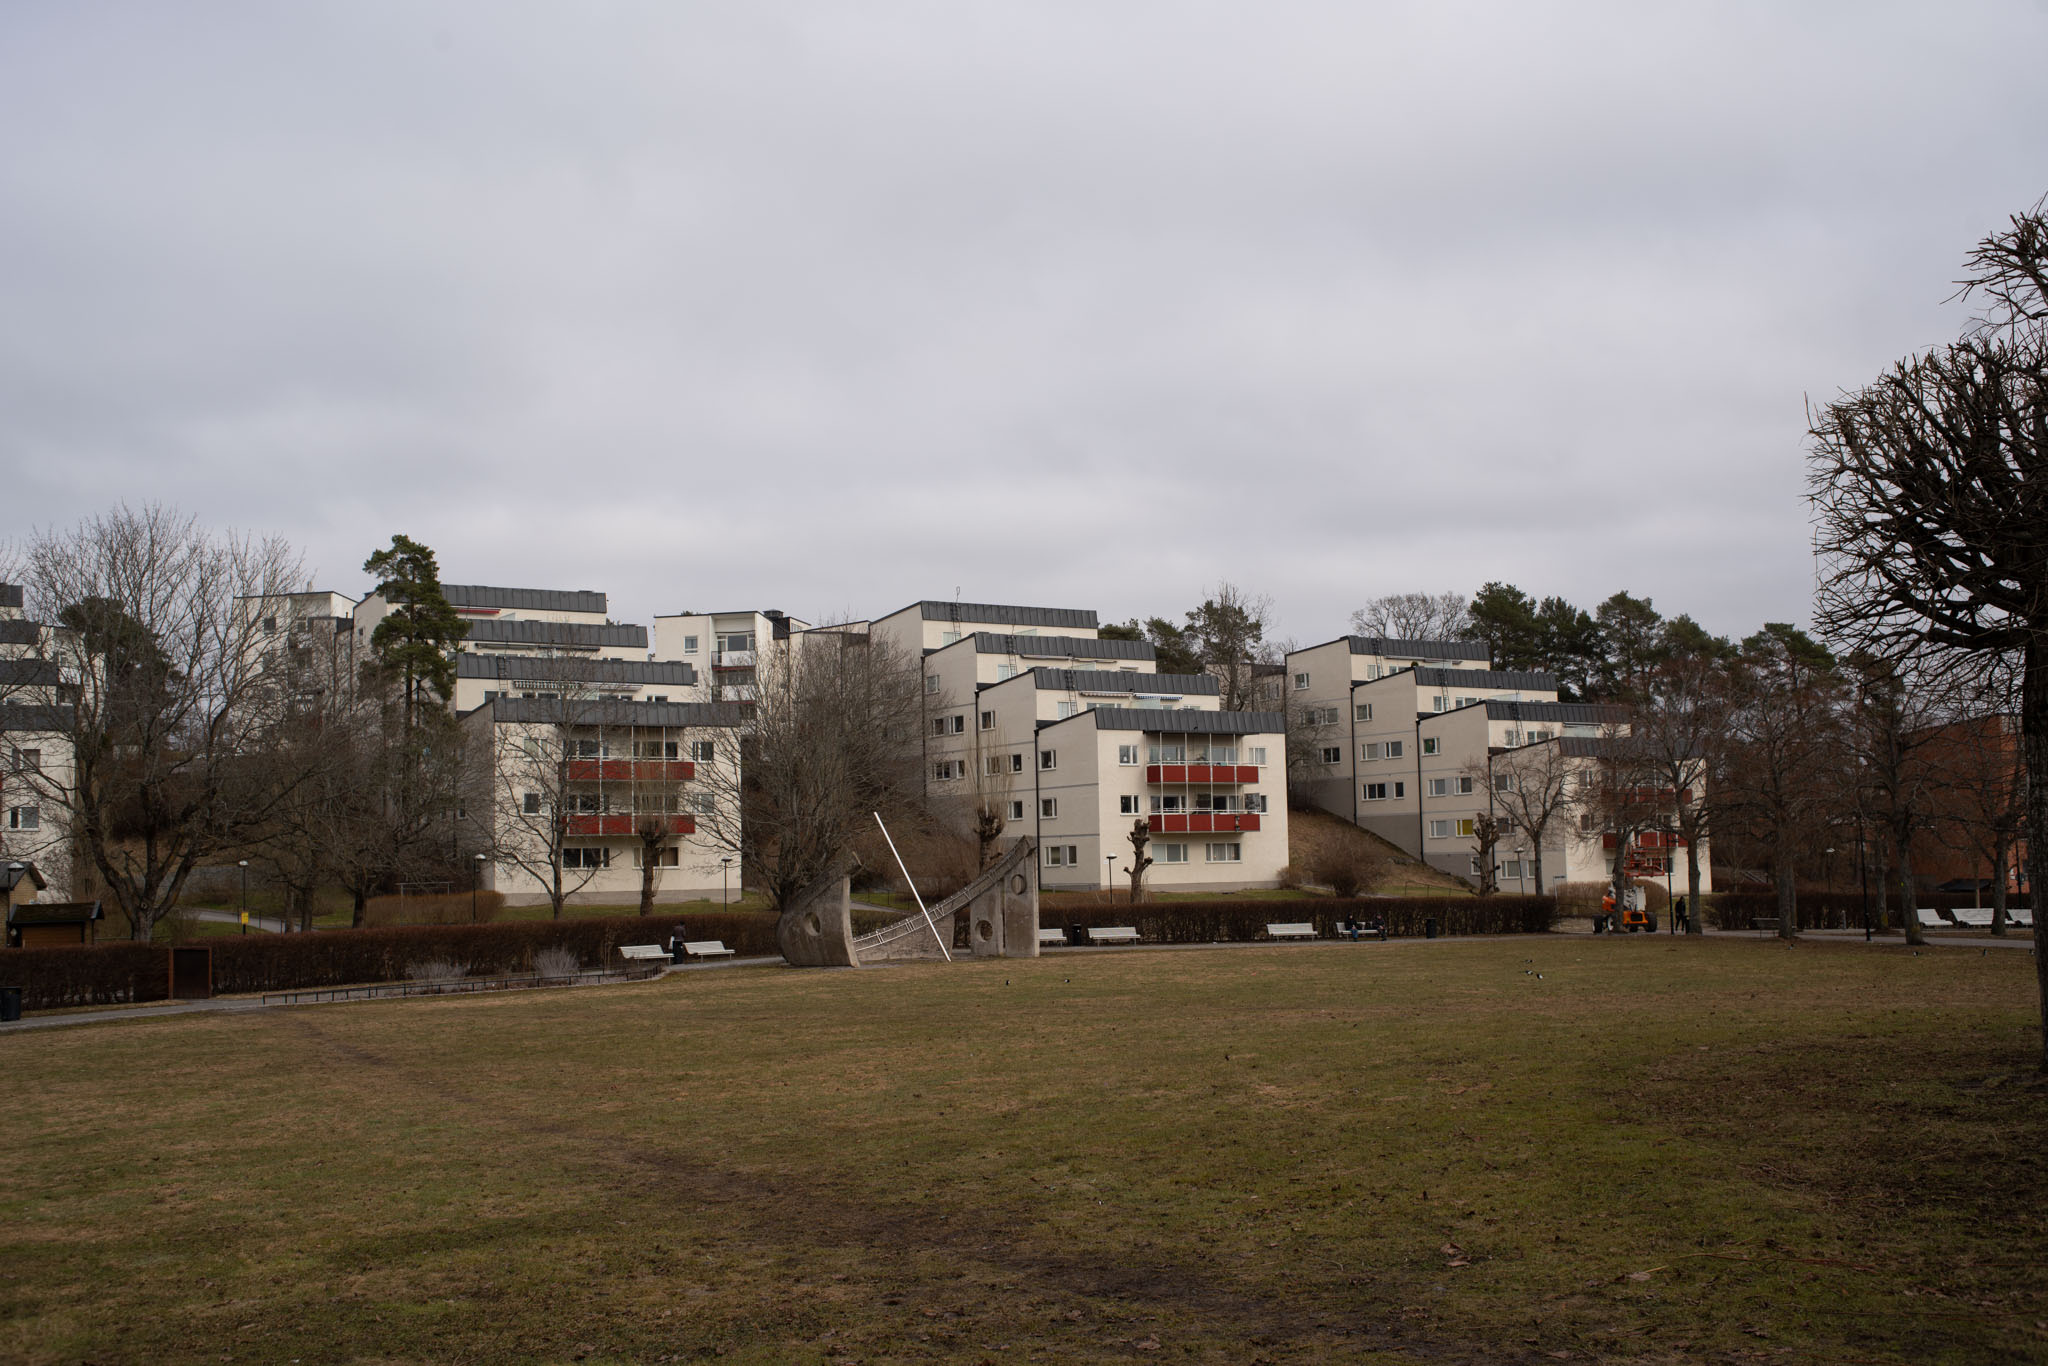
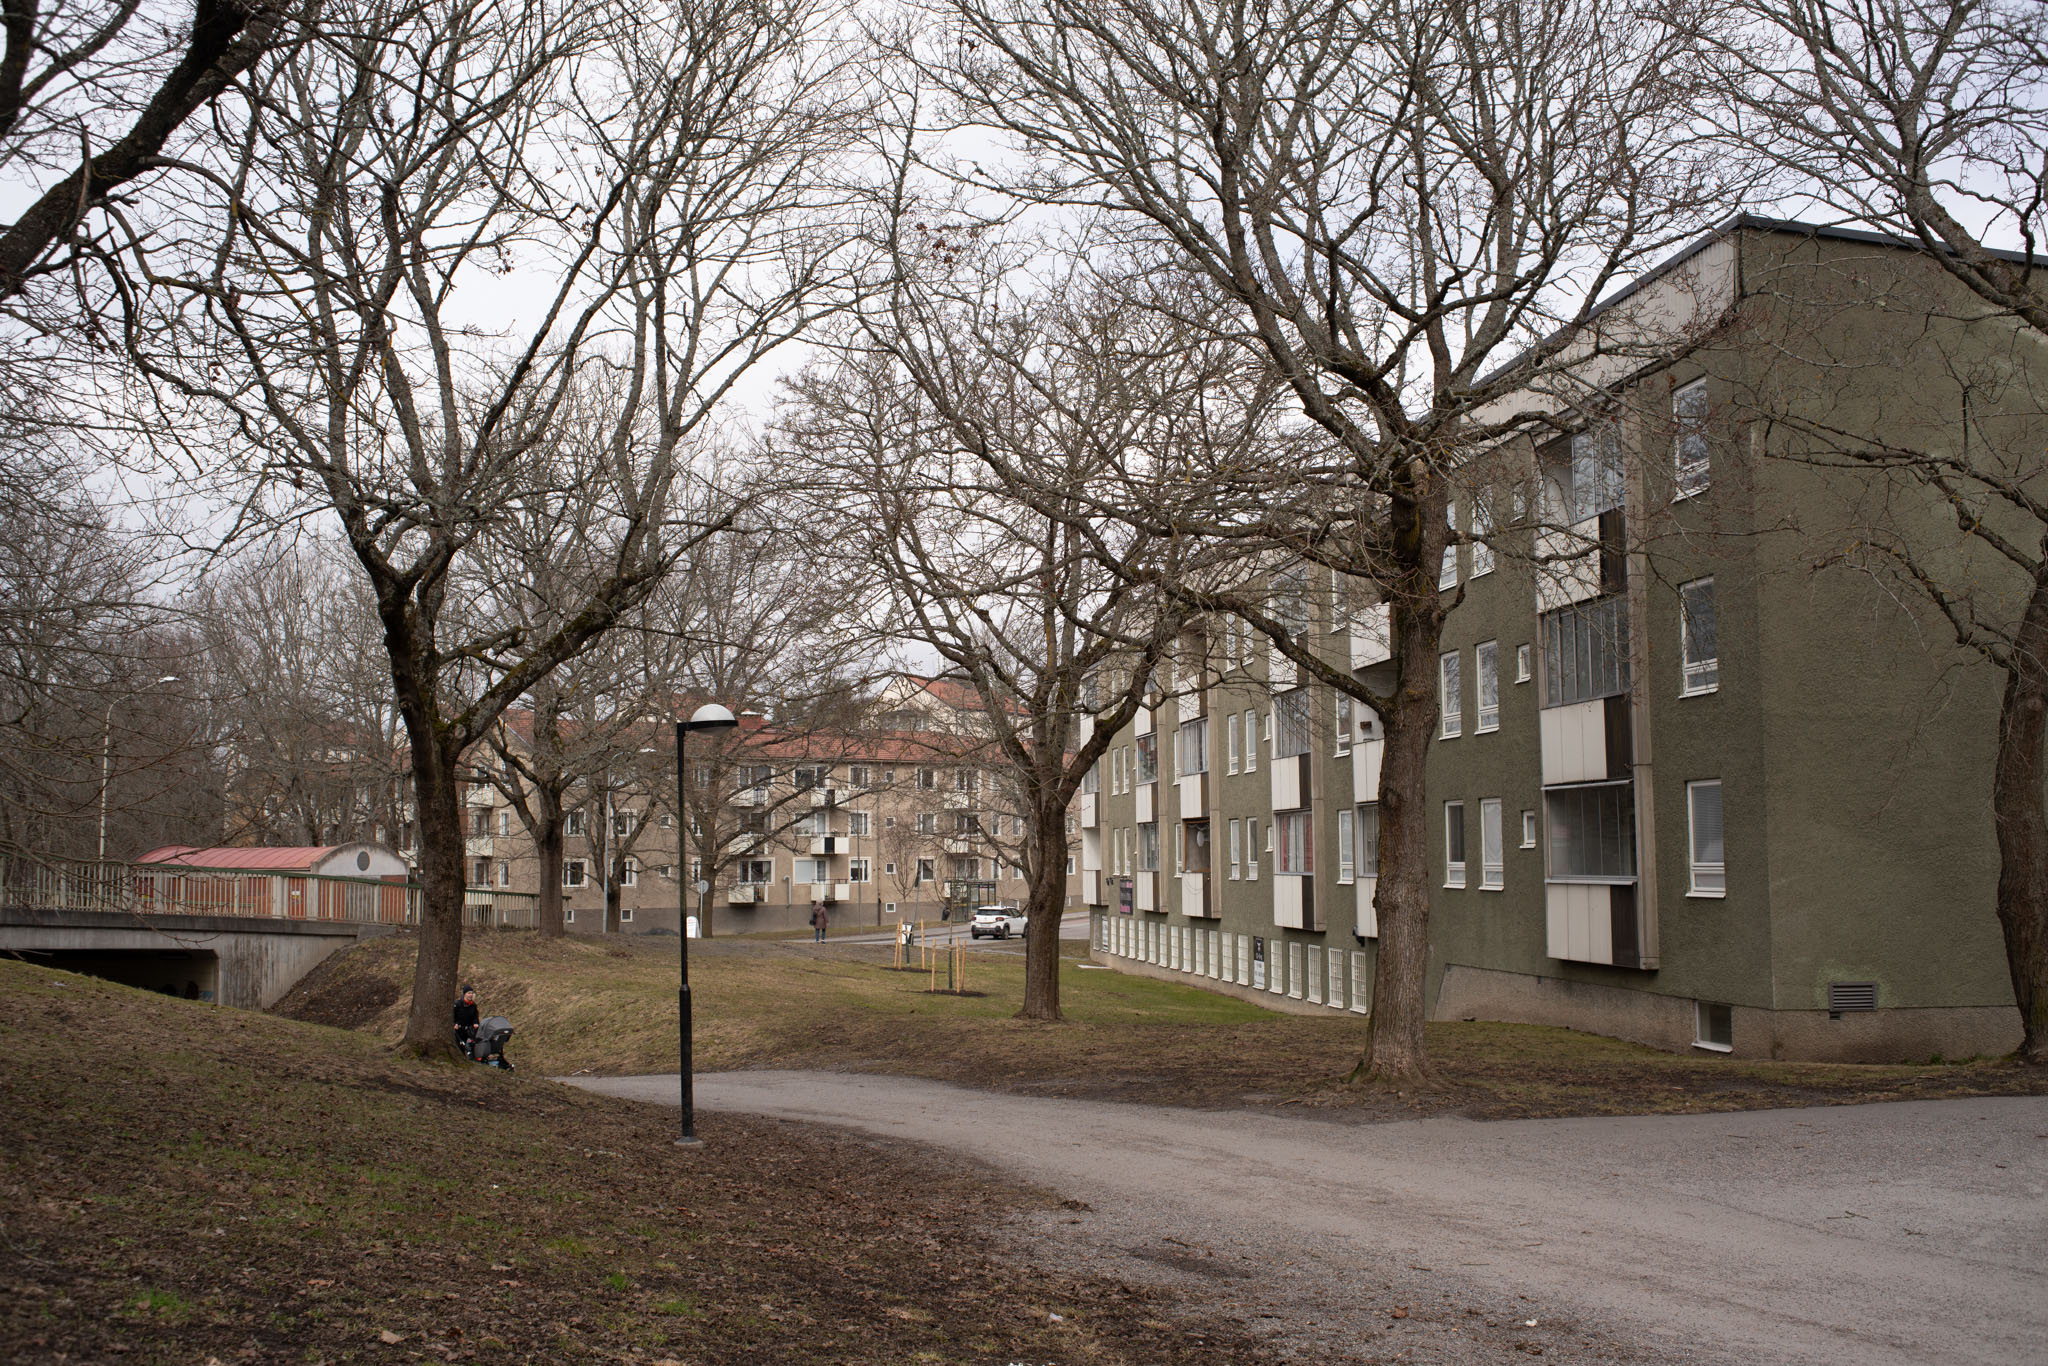
In terms of geometric distortions, this lens is very well controlled. It shows a minuscule amount of pincushion distortion, but far from being field-relevant. Also, I generally see no clear tint (that the images would be especially cold or warm) so colour balance of the lens is neutral and the images show Konica’s signature colours (You should not let predominantly bleak colours of overcast spring days fool you).
I have not had a chance to take this lens out to photograph starscapes or the nighttime lights of distant cities, so I can say nothing absolute about whether the lens shows significant comatic aberration or astigmatism. That said, with its moderate maximum aperture, I hope you have other lenses to reach for if you want to shoot in the dark.
Summary
The Konica Hexanon AR 35 mm f/2.8 is an in many ways more than decent legacy lens. When stopped down it can produce corner-to-corner sharp images that are remarkably free from geometric distortion and offer Konica’s signature colours. On the other hand when not stopped down, the lens can offer an interesting tool for atmospheric portraiture. It does not flare badly, and while its coatings are certainly not 21st century stuff, I was positively surprised.
Gallery
All images ISO 100 unless stated differently.
Click the thumbnail for a 2k version. If you want to pixel peep the original RAW files, please get in touch or leave a comment.


Footnotes
- AR is short for ‘Auto-Reflex’ – the 1965 Konica Camera that launched the Mount and the successful line of cameras. ↩︎
- Firstly, the AR mount was from the beginning geared to enable shutter priority auto exposure. Considering that that the mount was launched 1965, this makes it a very early such mount (e.g. the Canon FD mount that offered the same functionality was launched 6 years later). Secondly, at 40,5 mm, the Flange focal distance of the Konica AR mount is unusually short, meaning that Konica AR lenses could not be adapted to other cameras before the launch of Mirrorless cameras. ↩︎
- Mr. Granas is likely the top authority on Konica AR-era lenses and cameras and you can access his typology here. ↩︎
- No changes to exposure or colours, no sharpening, no denoising, no defringing. License plates and identifying marks retouched when necessary. ↩︎